How to Connect Dragonball Miner A40 to a Mining Pool
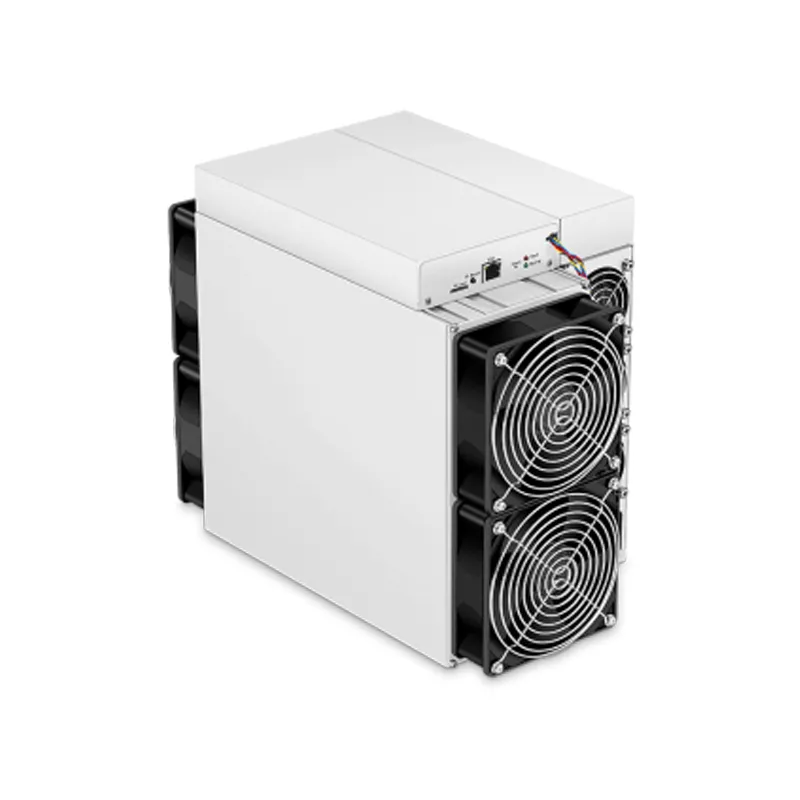
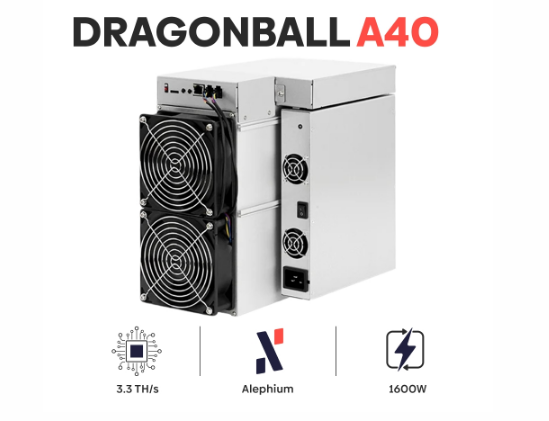
The DragonBall Miner A40 is a state-of-the-art mining device specifically optimized for ALPH cryptocurrency mining using the Blake3 algorithm. With its impressive 3.3T±5% hash rate and a power efficiency of 1600W±10%, the A40 is designed to deliver exceptional performance while maintaining operational flexibility. However, to fully leverage its capabilities, it’s essential to connect it to a reliable mining pool. This guide will walk you through the process of setting up your Dragonball Miner A40 with a mining pool, ensuring you maximize your mining efficiency and profitability.
Understanding the Dragonball Miner A40
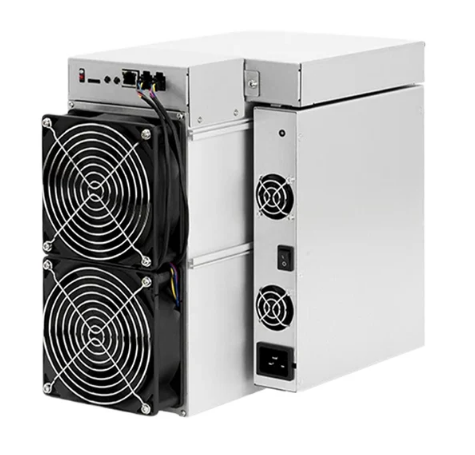
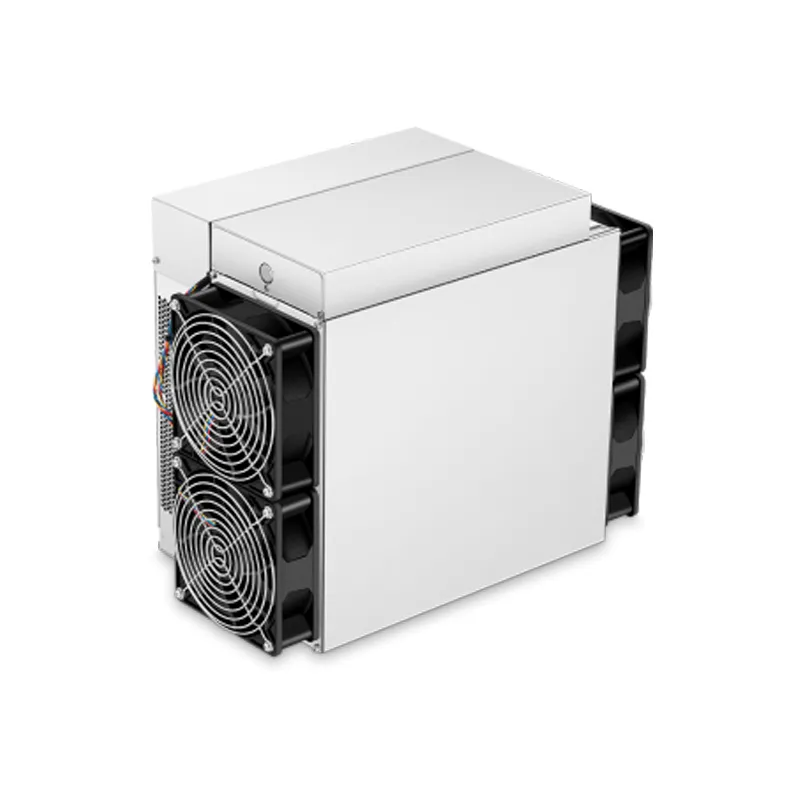
Before diving into the setup process, it’s important to familiarize yourself with the key features of the Dragonball Miner A40. This miner is engineered for professional-grade mining operations, combining robust hardware with user-friendly functionality. Its compact design (360×185×290mm) and lightweight construction (14.5kg) make it easy to integrate into existing mining setups, while its advanced cooling system ensures stable performance even in challenging environments.
The A40 operates within a broad temperature range (0-40°C) and can handle relative humidity levels of 10-90%, making it suitable for various climates. Its wide input voltage range (165-300V AC) ensures compatibility with different power infrastructures globally. Additionally, the miner features RJ45 Ethernet connectivity, supporting 10/100M networks for seamless integration into your mining network.
Why Join a Mining Pool?
Mining pools are collective groups of miners who combine their computational resources to increase their chances of successfully mining a block. By joining a mining pool, you can enjoy more consistent rewards, even if your individual hash rate is relatively low. For the Dragonball Miner A40, connecting to a mining pool is a strategic move to optimize your mining output and reduce the volatility of your earnings.
Choosing the Right Mining Pool
Not all mining pools are created equal. When selecting a pool for your Dragonball Miner A40, consider the following factors:
- Pool Hash Rate: A pool with a higher hash rate increases your chances of finding blocks, but remember that rewards are shared among more participants.
- Fee Structure: Most pools charge a fee, typically ranging from 1% to 3%. Choose a pool with a reasonable fee that aligns with your budget.
- Payout Threshold: Some pools have a minimum payout threshold. Ensure it’s achievable based on your mining capacity.
- Server Locations: Pools with servers closer to your location reduce latency, improving your mining efficiency.
- Reputation and Reliability: Opt for pools with a solid reputation and reliable uptime to avoid interruptions in your mining operations.
Once you’ve selected a suitable pool, proceed to configure your Dragonball Miner A40 accordingly.
Step-by-Step Guide to Connecting Your Dragonball Miner A40 to a Mining Pool
Step 1: Unbox and Power Up the Miner
Begin by unboxing your Dragonball Miner A40 and ensuring all components are present. Connect the miner to a power source within the specified voltage range (165-300V AC). Use a stable power supply to prevent fluctuations that could affect performance.

Step 2: Connect to the Network
Using an Ethernet cable, connect the miner to your local network. The A40 supports 10/100M Ethernet connections, ensuring reliable communication with your mining pool’s servers. Ensure your router or switch is functioning correctly and has internet access.
Step 3: Access the Miner’s Web Interface
The Dragonball Miner A40 comes with a built-in web interface for configuration. To access it, follow these steps:
- Find the Miner’s IP Address: You can locate the miner’s IP address through your router’s connected devices list or by using a network scanning tool.
- Open a Web Browser: Enter the miner’s IP address into your browser’s address bar and press Enter.
- Log In: You’ll be prompted to enter login credentials. The default username and password are typically provided in the user manual. For security reasons, change these credentials after your first login.
Step 4: Configure Mining Pool Settings
Once logged into the miner’s web interface, navigate to the mining pool configuration section. Here’s how to set it up:

- Select Pool Type: Most mining pools support the Stratum protocol, which is compatible with the A40.
- Enter Pool Details: Enter the following information:
- URL: The pool’s server address (e.g., stratum+tcp://pool.example.com:3333).
- Port: The specific port number provided by the pool.
- Worker Name: Create a unique worker name for your miner (e.g., A40_Worker1).
- Password: Some pools require a password; check the pool’s instructions for details.
- Add Backup Pools: It’s advisable to add one or two backup pools in case the primary pool experiences downtime. Repeat the process for each backup pool.
Step 5: Save and Apply Settings
After entering all necessary details, save the settings and apply them. The miner will restart its mining process and begin connecting to the specified pool.
Step 6: Monitor Mining Activity
Most mining pools provide a dashboard where you can monitor your miner’s performance. Log in to your pool account using the credentials you created during registration. Look for your worker name (e.g., A40_Worker1) to verify that your miner is actively contributing to the pool.

Additionally, the Dragonball Miner A40’s web interface offers real-time monitoring of hash rate, temperature, and other critical metrics. Regularly check these parameters to ensure optimal performance.

Step 7: Optimize Performance
To maximize your mining efficiency, consider the following tips:
- Maintain Cooling: Ensure the miner is placed in a well-ventilated area to prevent overheating.
- Update Firmware: Periodically check for firmware updates from Dragonball to benefit from performance enhancements and new features.
- Adjust Power Settings: If your electricity costs are high, consider tweaking the miner’s power settings to reduce consumption without significantly impacting hash rate.
- Monitor Pool Performance: Keep an eye on your pool’s performance metrics and consider switching to a different pool if you’re not satisfied with the results.
Troubleshooting Common Issues
Miner Not Connecting to Pool
- Check Network Connectivity: Ensure the miner is properly connected to the internet.
- Verify Pool Details: Double-check the pool URL, port, and worker name.
- Restart the Miner: Sometimes, a simple restart resolves connectivity issues.
Low Hash Rate
- Inspect Cooling: Overheating can reduce performance. Clean the miner’s fans and vents regularly.
- Check Power Supply: Ensure the power source is stable and within the specified voltage range.
- Update Firmware: Outdated firmware may impact performance.
High Rejection Rates
- Switch Pools: High rejection rates may indicate server issues. Try switching to a backup pool.
- Check Latency: Connect to a pool with servers closer to your location.
Conclusion
The Dragonball Miner A40 is a powerful mining device designed to excel in ALPH cryptocurrency mining. By following this guide, you can seamlessly connect it to a mining pool, enhancing your mining efficiency and profitability. Remember to choose a reputable pool, monitor performance regularly, and optimize your setup to get the most out of your investment. With its advanced features and robust design, the Dragonball Miner A40 is poised to be a valuable asset in your cryptocurrency mining journey. Happy mining!