Step-by-step Guide to Dragonball Miner A40 Installation
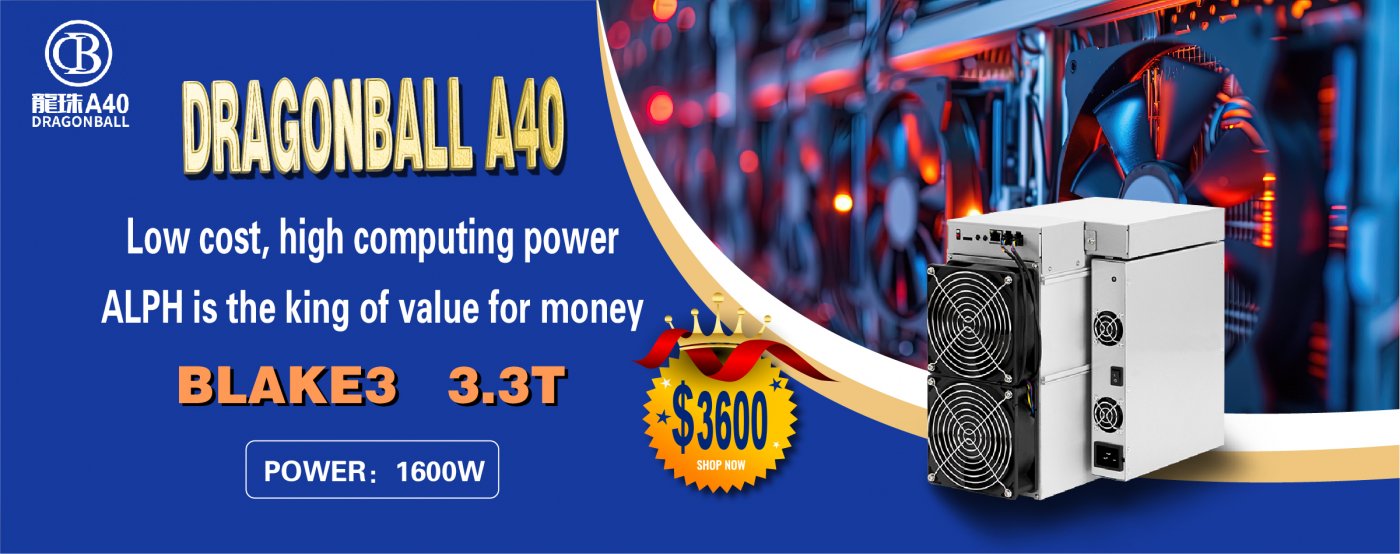
The DragonBall Miner A40 is a cutting-edge mining rig designed specifically for ALPH cryptocurrency mining, leveraging the Blake3 algorithm to deliver exceptional performance. Whether you’re a seasoned mining operator or a newcomer to the ALPH ecosystem, this guide will walk you through the installation process step-by-step, ensuring you get your A40 up and running efficiently.
Product Introduction
The DragonBall Miner A40 is a professional-grade mining solution that combines technical excellence with practical functionality. With a computing power of 3.3T±5% and optimized for the Blake3 algorithm, it offers a competitive edge in ALPH mining. Its robust design, thermal efficiency, and power optimization make it a reliable choice for miners worldwide.
Key features include:
- High Hashrate: 3.3T±5% for efficient ALPH mining.
- Power Efficiency: 1600W±10% power consumption with a wide input voltage range (165V-300V).
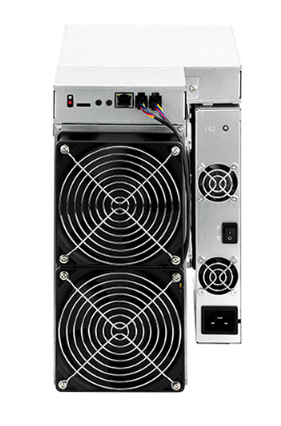
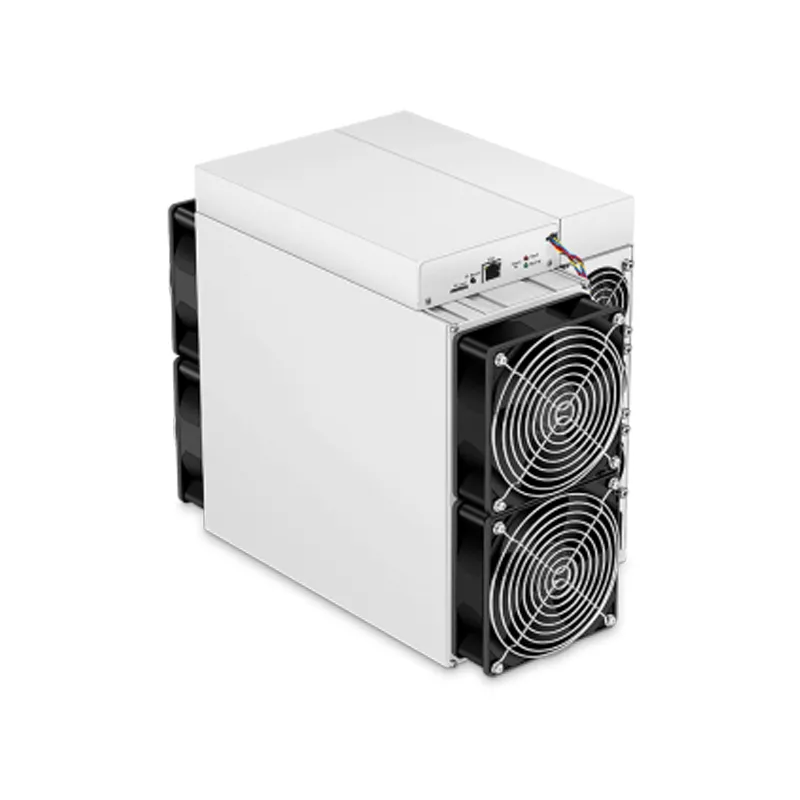
- Compact Design: Space-efficient chassis (360×185×290mm) with superior cooling capabilities.
- Global Compatibility: Operates in temperatures from 0-40°C and humidity levels of 10-90%.
- Reliability: Built for continuous operation at altitudes up to 2000 meters.
- Connectivity: RJ45 Ethernet port for seamless integration into mining networks.
Pre-Installation Preparation
Before diving into the installation process, it’s essential to prepare your workspace and gather the necessary tools and components.
Tools and Equipment Needed
- DragonBall Miner A40 unit
- Power supply unit (PSU) compatible with 1600W±10%
- Ethernet cable for network connectivity
- Screwdriver set (if required for PSU installation)
- Power cables and connectors
- Stable internet connection
Workspace Setup
- Location: Choose a well-ventilated area with adequate airflow to ensure optimal cooling.
- Power Supply: Ensure your power source can handle the miner’s 1600W±10% consumption and falls within the 165V-300V input range.
- Network Access: Confirm that your Ethernet connection is stable and capable of supporting 10/100M networks.
- Safety Precautions: Keep the workspace free of dust and moisture to prevent damage to the miner.
Step-by-Step Installation Guide
Step 1: Unboxing and Inspection
Carefully unbox the DragonBall Miner A40 and inspect all components for any signs of damage during transit. Ensure you have the following:
- Miner unit
- Power cables
- User manual
If any components are missing or damaged, contact the supplier immediately.

Step 2: Connecting the Power Supply
- PSU Setup: Connect your power supply unit to the miner using the provided power cables. Ensure the connections are secure and properly aligned.
- Power Input: Plug the PSU into a compatible power source within the 165V-300V range.
- Safety Check: Double-check all connections to prevent short circuits or power surges.
Step 3: Network Configuration
- Ethernet Connection: Connect the miner to your router or network switch using an Ethernet cable.
- Network Verification: Ensure your network supports 10/100M connectivity for seamless operation.
Step 4: Powering On the Miner
- Initialization: Turn on the power supply and wait for the miner to initialize. The indicator lights should activate, signaling that the unit is receiving power.
- Boot-Up Sequence: Allow the miner to complete its boot-up process, which typically takes a few minutes.
Step 5: Accessing the Miner Interface
- IP Address Detection: Use your router’s admin panel or IP scanning software to locate the miner’s IP address.
- Web Interface: Enter the IP address into your web browser to access the miner’s configuration interface.
- Login Credentials: Use the default username and password provided in the user manual to log in.
Step 6: Configuring Mining Settings
- Pool Selection: Enter the details of your preferred ALPH mining pool, including the URL, port, and worker credentials.
- Hashrate Optimization: Adjust settings to maximize the miner’s 3.3T±5% hashrate while maintaining stable operation.
- Save Configuration: Save your settings and ensure the miner connects to the mining pool successfully.
Step 7: Monitoring and Maintenance
- Real-Time Monitoring: Use the miner’s interface to monitor performance, including hashrate, temperature, and power consumption.
- Thermal Management: Ensure the cooling system is functioning optimally to maintain temperatures within the 0-40°C range.
- Regular Checks: Perform periodic inspections to clean dust and verify connections, ensuring long-term reliability.
Product Advantages in Practice
The DragonBall Miner A40’s design and features translate into tangible benefits for miners:
- Trusted Brand Excellence: DragonBall’s reputation ensures reliability and confidence in your mining operations.
- Strategic Currency Focus: The A40’s optimization for ALPH mining positions you to capitalize on the growing Alephium ecosystem.
- Global Accessibility: Wide voltage range and temperature tolerance make it suitable for diverse operating environments.
- Superior Serviceability: Modular design and readily available replacement components minimize downtime and maintenance costs.
- Thermal Efficiency: Advanced cooling ensures stable performance even in challenging conditions.
- Power Optimization: Efficient power management reduces operational costs while maintaining high hashrates.
Conclusion
Installing the DragonBall Miner A40 is a straightforward process when approached methodically. By following this step-by-step guide, you can ensure a smooth setup and optimize your mining operations for maximum efficiency.
With its exceptional technical specifications, robust design, and practical advantages, the DragonBall Miner A40 is a powerful tool for anyone looking to succeed in the ALPH mining ecosystem. Whether you’re scaling up an existing operation or starting fresh, the A40 delivers the performance, reliability, and ease of use needed to thrive in the competitive world of cryptocurrency mining.
Happy mining!