JASMINER X16-Q Pro Dual-Mounting Installation Tips
The JASMINER X16-Q Pro has emerged as a game-changer in the cryptocurrency mining industry, offering unparalleled performance, energy efficiency, and versatility. Designed to meet the demands of both institutional mining operations and home miners, this cutting-edge mining solution combines advanced technology with practical design features. One of its standout attributes is its dual-mounting installation capability, which provides flexibility and adaptability in various mining setups.
In this article, we’ll explore the dual-mounting installation tips for the JASMINER X16-Q Pro, helping you maximize its potential and optimize your mining operations. Whether you’re setting up a professional mining facility or integrating the unit into a home environment, these insights will ensure a smooth and efficient installation process.
Understanding the JASMINER X16-Q Pro’s Dual-Mounting Capability
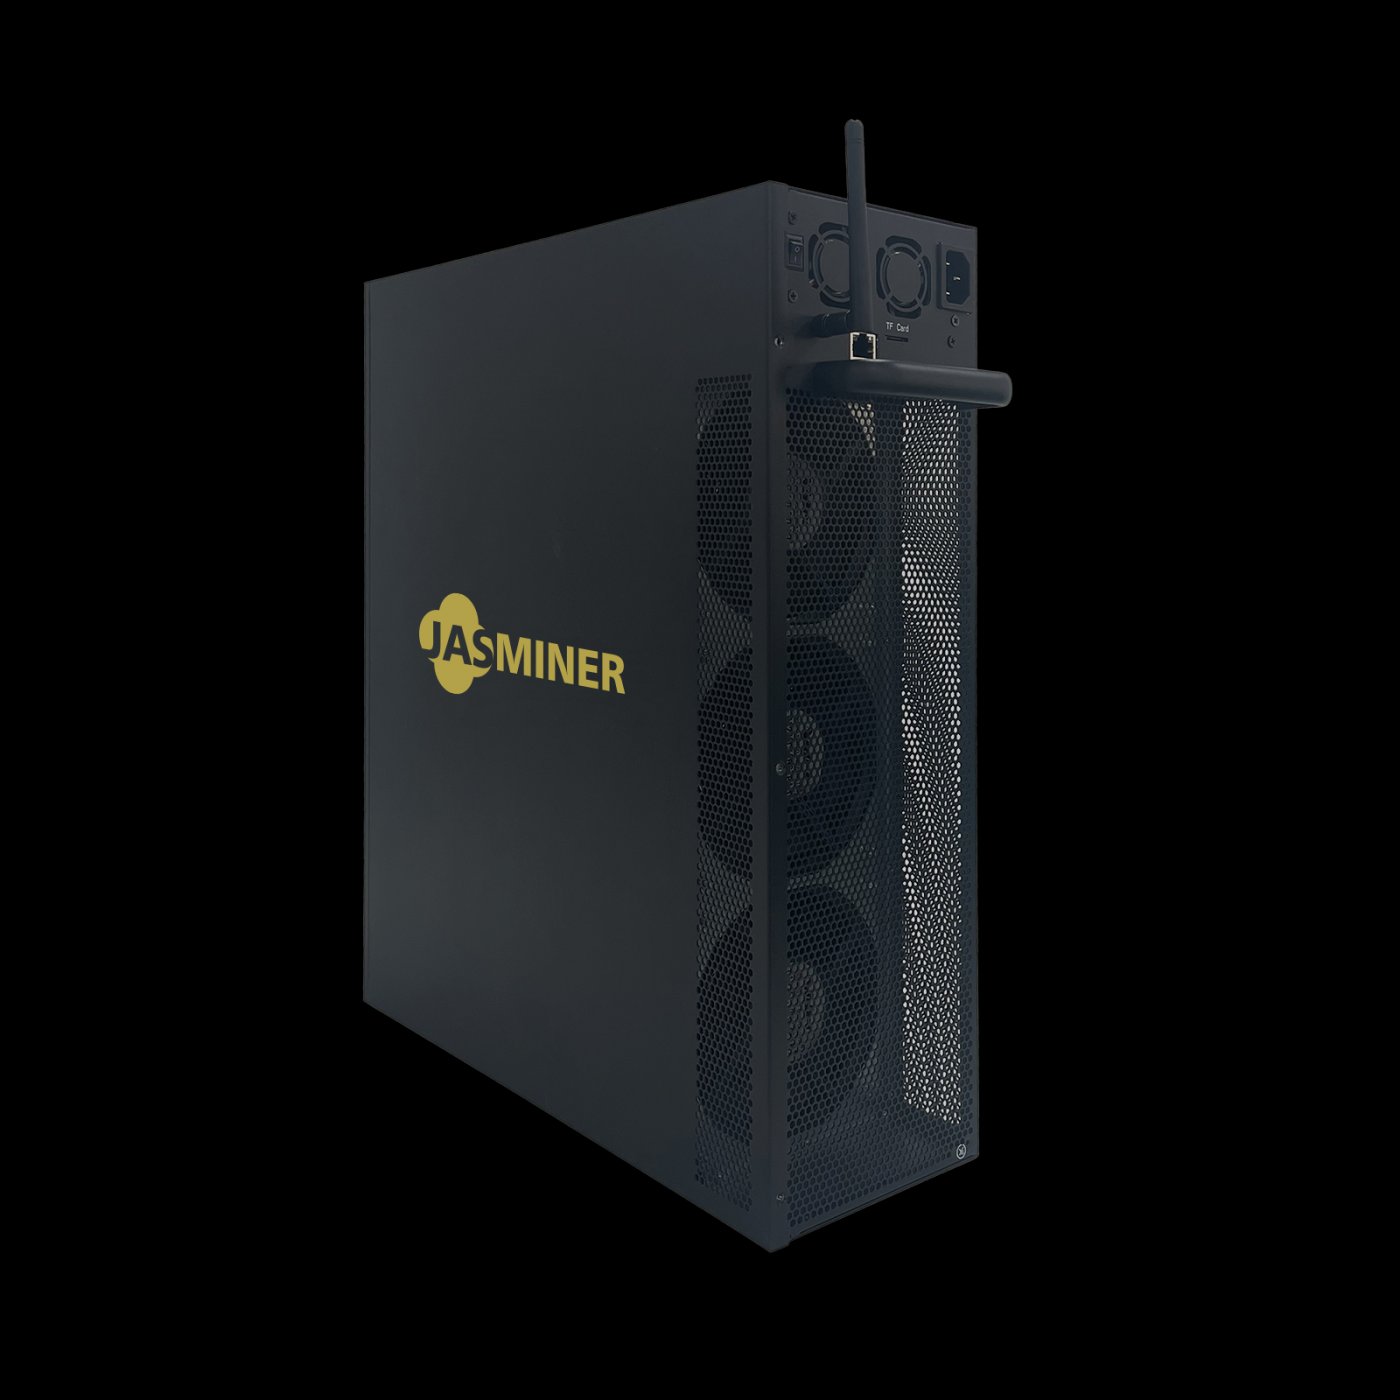
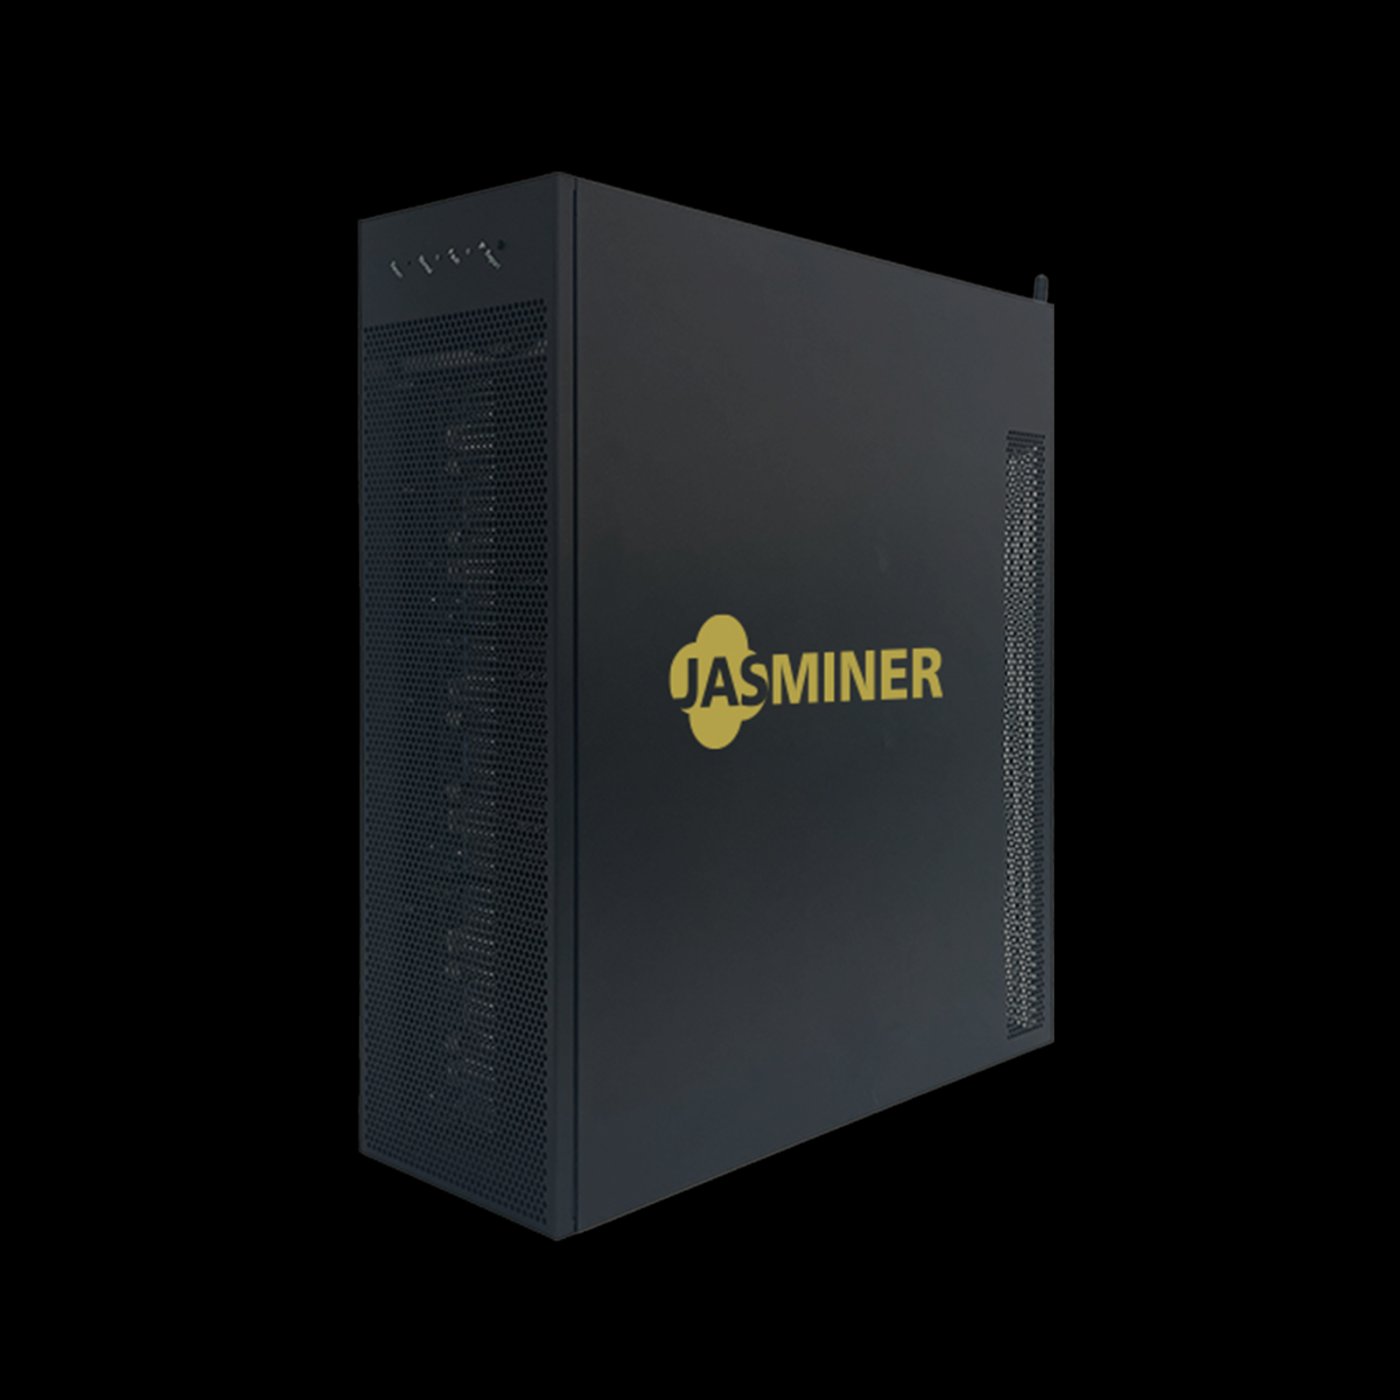
The JASMINER X16-Q Pro is designed with a 3U server form factor (445mm × 132.5mm × 443mm), making it compact yet powerful. Its dual-mounting feature allows for two primary installation configurations:
- Rack Mounting: Ideal for professional mining facilities, this method leverages the unit’s compatibility with standard 3U server racks.
- Hanging Mounting: Perfect for home miners or spaces with limited infrastructure, this method utilizes the unit’s integrated hanging lugs for secure suspension.
This dual-mounting flexibility ensures that the X16-Q Pro can adapt to diverse environments, from sophisticated data centers to compact residential setups.
Rack Mounting: Professional Setup for Optimal Performance
Step 1: Preparing the Server Rack
Before installing the JASMINER X16-Q Pro, ensure that your server rack is compatible with 3U form factor units. Verify that the rack has sufficient airflow and space to accommodate the unit’s cooling requirements.
Step 2: Positioning the Unit
Align the X16-Q Pro with the rack’s mounting rails. The unit’s hanging lugs can be used to guide it into position. Ensure that the front panel is accessible for maintenance and monitoring.
Step 3: Securing the Unit
Use the provided screws to fasten the unit to the rack’s mounting rails. Double-check the tightness of the screws to prevent vibrations or movement during operation.
Step 4: Optimizing Airflow
The X16-Q Pro’s advanced cooling system relies on efficient airflow. Position the unit in a way that maximizes ventilation, avoiding obstructions to the intake and exhaust vents.
Step 5: Connecting Power and Networking
The unit supports a universal power input range of 110-240V, ensuring compatibility with global power standards. Connect the power supply and utilize the Gigabit Ethernet or WiFi connectivity for seamless integration into your mining network.
Hanging Mounting: Space-Efficient Solution for Home Miners
Step 1: Selecting the Installation Location
Choose a location with sufficient airflow and minimal obstructions. Ensure the mounting surface can support the unit’s weight (approximately 10kg).
Step 2: Installing the Hanging Brackets
Use the hanging lugs on the X16-Q Pro to attach it to a secure bracket or hook. Ensure the unit is level and stable to prevent operational issues.
Step 3: Ensuring Proper Ventilation
Even in a hanging configuration, maintaining proper airflow is crucial. Avoid placing the unit too close to walls or other equipment that could restrict ventilation.
Step 4: Connecting Power and Networking
Similar to rack mounting, connect the power supply and networking cables. The unit’s compact design and quiet operation (≤40dB) make it ideal for residential environments.
Key Advantages of the JASMINER X16-Q Pro in Dual-Mounting Scenarios
- Flexibility: The dual-mounting feature allows the unit to adapt to various environments, from professional mining facilities to home setups.
- Space Optimization: The compact 3U form factor ensures efficient use of space, whether mounted in a rack or suspended from a ceiling or wall.
- Enhanced Cooling: The unit’s advanced cooling system is optimized for both mounting configurations, ensuring consistent performance across diverse operating conditions.
- Ease of Maintenance: Both mounting methods provide easy access to the unit’s front panel for monitoring and maintenance tasks.
- Global Compatibility: The universal power input range and comprehensive networking options facilitate seamless integration into any mining infrastructure.
Practical Tips for Maximizing Performance
- Monitor Temperature: The X16-Q Pro operates optimally within a temperature range of 0-40°C. Use environmental sensors to ensure conditions remain within this range.
- Regular Maintenance: Clean the unit’s cooling fans and vents periodically to prevent dust buildup and maintain airflow efficiency.
- Optimize Networking: Use Gigabit Ethernet for stable connectivity in professional setups, while WiFi can be a convenient option for home environments.
- Future-Proofing: The X16-Q Pro’s advanced design and 8GB memory configuration ensure it remains relevant as mining requirements evolve.
Conclusion
The JASMINER X16-Q Pro’s dual-mounting installation capability is a testament to its versatility and adaptability. Whether you’re setting up a professional mining facility or integrating the unit into a home environment, the X16-Q Pro delivers exceptional performance and reliability.
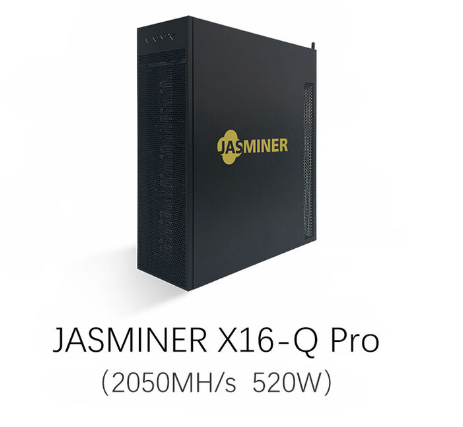
By following the installation tips outlined in this article, you can ensure a smooth setup process and optimize the unit’s performance. With its industry-leading hash rate of 2050MH/s (±10%), revolutionary power efficiency ratio of 0.25J/MH, and advanced cooling system, the JASMINER X16-Q Pro is poised to become a cornerstone of your mining operations.
Invest in the JASMINER X16-Q Pro today and experience the future of ETH mining technology. Its dual-mounting feature, combined with its cutting-edge performance, makes it the ideal choice for miners seeking efficiency, flexibility, and long-term profitability.