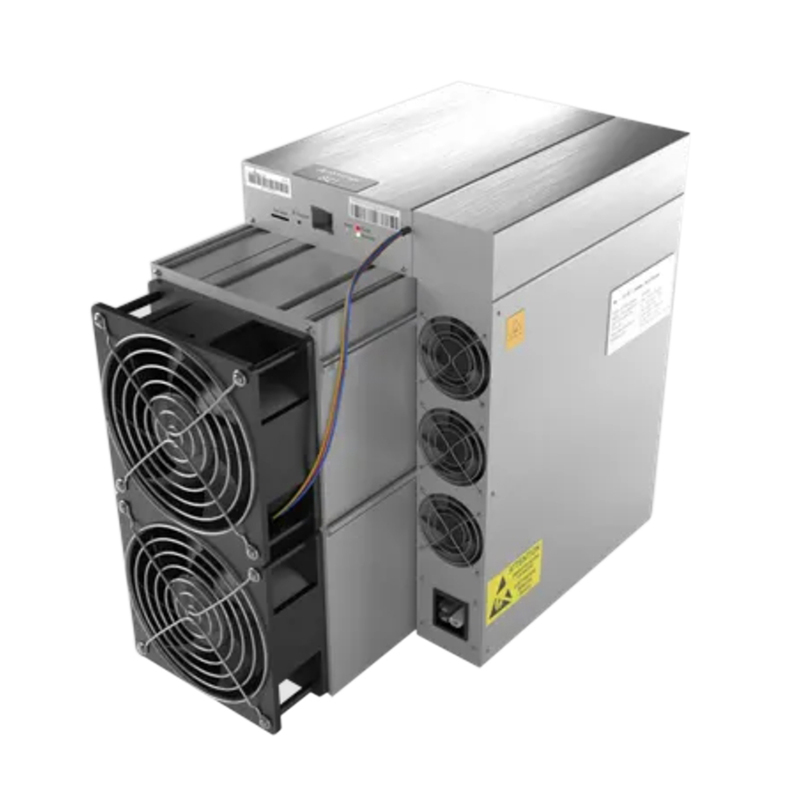
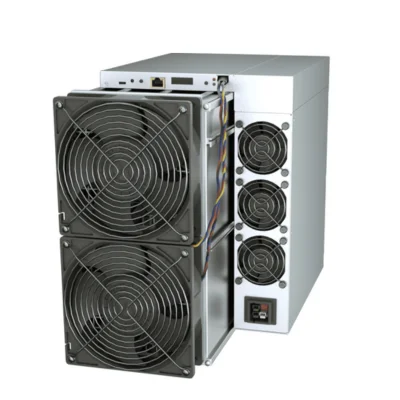
How to clean Antminer S21+ for optimal cooling
As an avid cryptocurrency miner, I’ve had the privilege of working extensively with the Antminer S21+ from Bitmain, the industry’s premier ASIC manufacturer. This remarkable mining rig has consistently delivered exceptional performance, reliability, and energy efficiency – attributes that have made it a staple in my mining operation.
However, maintaining the optimal performance of the Antminer S21+ requires a proactive approach, with regular cleaning and maintenance being crucial. In this article, I’ll share my insights and practical tips on how to clean the Antminer S21+ for optimal cooling, ensuring your mining rig continues to operate at peak efficiency.
Importance of Regular Cleaning
The Antminer S21+ is a workhorse in the cryptocurrency mining space, capable of delivering an impressive 216 TH/s hashrate. This level of mining power, combined with the unit’s compact form factor, generates a significant amount of heat during operation. Efficient cooling is, therefore, paramount to maintaining the miner’s performance and longevity.
Over time, the Antminer S21+’s internal components can accumulate dust, debris, and even thermal paste residue, which can impede airflow and compromise the cooling system’s effectiveness. Neglecting to clean the miner regularly can lead to overheating, decreased hashrate, and eventually, premature hardware failure.
By proactively cleaning the Antminer S21+, you can ensure that the quad-fan cooling system performs at its best, keeping the miner’s critical components within their optimal operating temperatures. This not only preserves the long-term reliability of your investment but also maximizes your return on investment (ROI) by maintaining peak mining efficiency.
Preparing for the Cleaning Process
Before diving into the cleaning process, it’s important to have the right tools and materials at hand. Here’s what you’ll need:
1. Anti-static gloves: to protect the internal components from static discharge.
2. Compressed air duster: to safely remove dust and debris from hard-to-reach areas.
3. Microfiber cloths: for gently wiping down surfaces and removing any residual dust.
4. Isopropyl alcohol (99% purity): for cleaning the heatsinks and thermal paste reapplication.
5. Thermal paste: high-quality thermal compound for reapplying on the CPU and other components.
6. A clean, well-lit work area: to ensure you can thoroughly inspect and clean the miner.
It’s also crucial to disconnect the Antminer S21+ from the power source and allow it to cool down completely before beginning the cleaning process. This will not only prevent any accidental shocks but also make it easier to handle the components during the cleaning.
Step 1: Disassembling the Antminer S21+
The first step in the cleaning process is to carefully disassemble the Antminer S21+. This involves removing the top cover, the fans, and the heatsinks, exposing the internal components for a thorough cleaning.
Begin by unscrewing the top cover and setting it aside. Next, disconnect the fan cables and remove the four fans, taking note of their original positions for proper reassembly later. With the fans out of the way, you can now access the heatsinks, which will need to be removed as well.
Gently lift the heatsinks, being mindful of the thermal paste that may have bonded them to the underlying components. If the heatsinks are stuck, you can use a thin, non-metallic tool to carefully pry them loose, taking care not to damage any delicate parts.
Step 2: Cleaning the Internal Components
Now that the Antminer S21+ is disassembled, you can start the cleaning process. Begin by using the compressed air duster to gently blow away any accumulated dust and debris from the internal components, including the circuit boards, capacitors, and other sensitive areas.
Take your time and be thorough, ensuring that you reach every nook and cranny. Pay special attention to the heatsinks, as these are critical to the miner’s cooling performance. Use the microfiber cloth to gently wipe down the heatsinks, removing any residual dust or thermal paste residue.
For stubborn debris or thermal paste buildup, you can use the isopropyl alcohol and a clean microfiber cloth to lightly dampen and wipe the affected areas. Be very careful not to let any liquid drip onto the circuit boards or other electrical components.
Step 3: Reapplying Thermal Paste
One of the most important steps in the cleaning process is the reapplication of thermal paste on the critical components, such as the CPU. Proper thermal interface material (TIM) application ensures efficient heat transfer from the chip to the heatsinks, which is essential for maintaining optimal operating temperatures.
Begin by thoroughly cleaning the surfaces where the thermal paste will be applied, using the isopropyl alcohol and a clean microfiber cloth. Make sure the surfaces are completely dry before proceeding.
Next, apply a small, pea-sized amount of high-quality thermal paste directly onto the center of the CPU. Gently spread the paste using a clean, non-metallic tool, ensuring a thin, even coverage across the entire surface.
Carefully place the heatsinks back onto the components, applying even pressure to ensure proper contact and heat transfer. Secure the heatsinks in place with the appropriate screws, taking care not to overtighten them.
Step 4: Reassembling the Antminer S21+
With the internal components cleaned and the thermal paste reapplied, it’s time to reassemble the Antminer S21+. Begin by reinstalling the fans, ensuring that they are properly connected and oriented in their original positions.
Next, carefully place the top cover back onto the miner, aligning the screw holes and securing it in place. Double-check that all the cables are properly connected and that the miner is ready for reassembly.
Step 5: Testing and Monitoring
After the Antminer S21+ has been fully reassembled, it’s time to power on the miner and check its performance. Monitor the miner’s operating temperatures, fan speeds, and overall hash rate to ensure that the cleaning process has been successful.
If the temperatures are within the recommended range (0-45°C) and the hash rate is consistent with the miner’s specifications, then the cleaning process has been a success. Continue to monitor the miner’s performance over the next few days to ensure that the improvements are sustained.
If you notice any issues, such as elevated temperatures or decreased hash rate, you may need to revisit the cleaning process or seek assistance from the Bitmain support team, who can provide expert guidance and troubleshooting advice.
Maintaining Peak Performance
Regularly cleaning the Antminer S21+ is a crucial step in preserving the miner’s long-term performance and reliability. By following the steps outlined in this article, you can ensure that your mining rig continues to deliver exceptional results, maximizing your return on investment and capitalizing on the ever-evolving cryptocurrency market opportunities.
Remember, as a passionate cryptocurrency miner, your commitment to maintaining the optimal condition of your Antminer S21+ is a key factor in your mining operation’s success. By taking the time to clean and maintain your miner, you’re not only protecting your investment but also contributing to the overall health and stability of the cryptocurrency ecosystem.
Happy mining, and may your Antminer S21+ continue to serve you well for years to come!
|
Please feel free to contact me to assist you in resolving your issues: E-mail: Minerfixessales@gmail.com WhatsApp/WeChat:+86 15928044684
The services we offer include:
a.New and Used Miners b.Miner Accessories c.Miner Repair Courses d.Global Repair Stations e.Overclocking and Underclocking Services |

|