How to Connect the Goldshell MINI DOGE III PLUS to a Mining Pool
As an avid cryptocurrency enthusiast and a seasoned miner, I have been exploring the world of mining for quite some time. The latest addition to my mining setup is the Goldshell MINI DOGE III PLUS, a compact and efficient cryptocurrency mining device that has quickly become a game-changer in the industry.
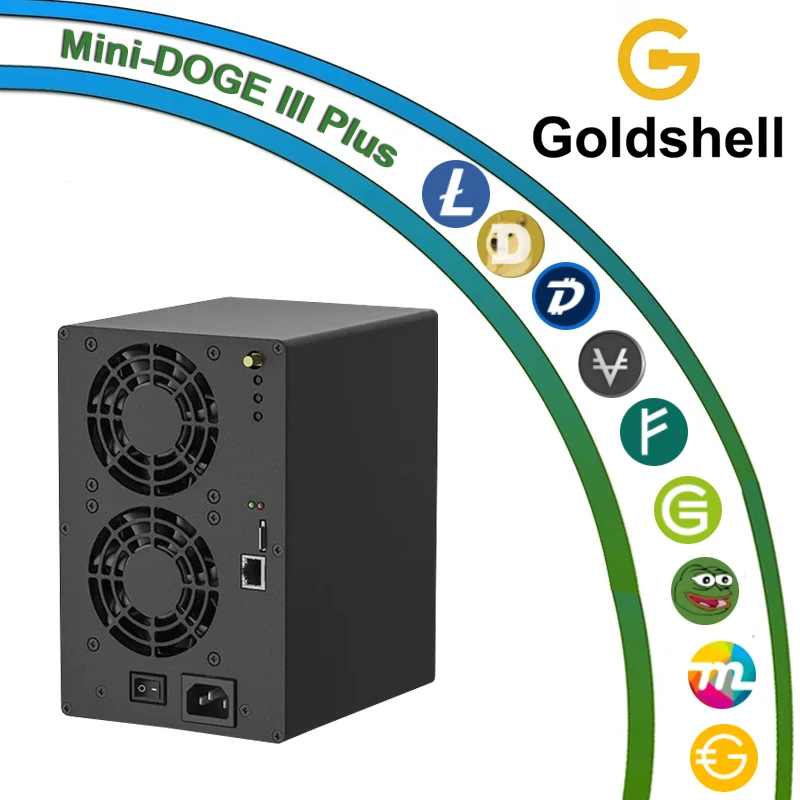
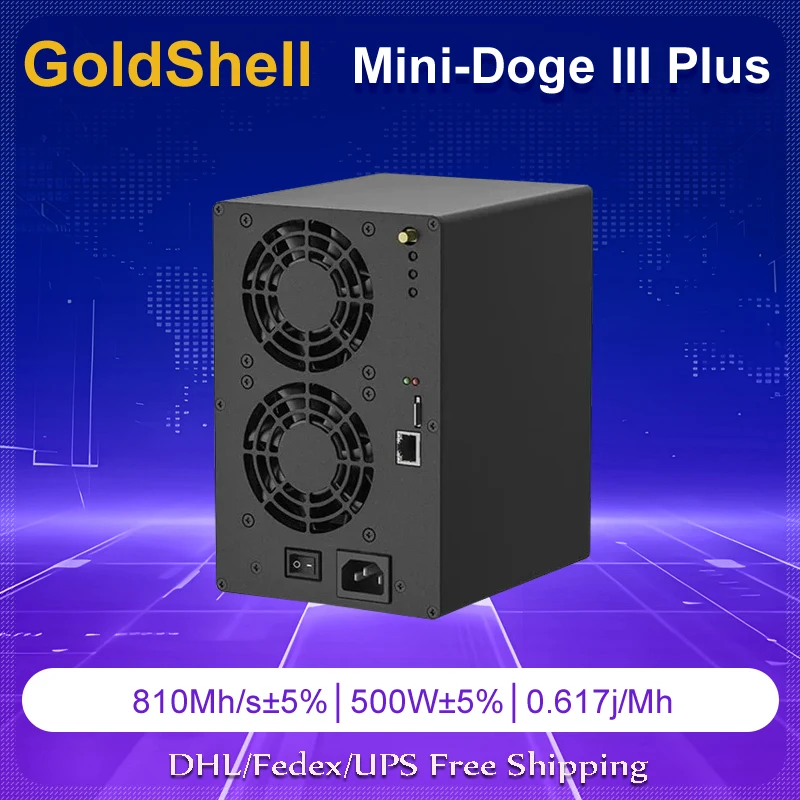
The MINI DOGE III PLUS is designed to mine Scrypt algorithm-based coins, such as Litecoin (LTC), Dogecoin (DOGE), and Bellcoin (BELLS), with impressive hashrates and exceptional energy efficiency. What sets this miner apart is its user-friendly design, reliable performance, and the exceptional support offered by Goldshell, the renowned manufacturer behind it.
In this article, I will guide you through the process of connecting the MINI DOGE III PLUS to a mining pool, which is a crucial step in maximizing your mining rewards and ensuring the smooth operation of your mining rig.
Step 1: Choosing a Mining Pool
The first step in connecting your MINI DOGE III PLUS to a mining pool is to select the right pool for your needs. There are numerous mining pools available, each with its own set of features, fees, and payout structures. It’s important to do your research and choose a pool that aligns with your mining goals and preferences.
Some of the factors to consider when selecting a mining pool include:
– Pool Fees: Look for a pool with reasonable fees that won’t eat into your mining rewards.
– Payout Structures: Different pools offer various payout methods, such as proportional, pay-per-share (PPS), or score-based systems. Choose the one that best suits your needs.
– Pool Hashrate: Opting for a pool with a substantial hashrate can provide more stable and consistent payouts.
– Reputation and Reliability: Choose a pool with a proven track record of reliable service and prompt payouts.
Based on my experience, I recommend considering pools like F2Pool, Antpool, or AntPool for mining with the MINI DOGE III PLUS. These pools have a strong reputation in the industry, offer competitive fees, and provide robust support for Scrypt-based coins.
Step 2: Registering with the Mining Pool
Once you have selected the mining pool, the next step is to register an account with the pool. This is typically a straightforward process that involves providing basic information, such as your email address, password, and preferred payment method.
After creating your account, you will need to set up a worker for your MINI DOGE III PLUS. This worker represents your mining rig and will be used to track your mining activity and payouts. Most mining pools will provide instructions on how to set up a worker, including the necessary configuration details.
Step 3: Configuring the MINI DOGE III PLUS
With your mining pool account set up, it’s time to configure the MINI DOGE III PLUS to connect to the pool. The miner’s user-friendly design and intuitive controls make this process quite simple.
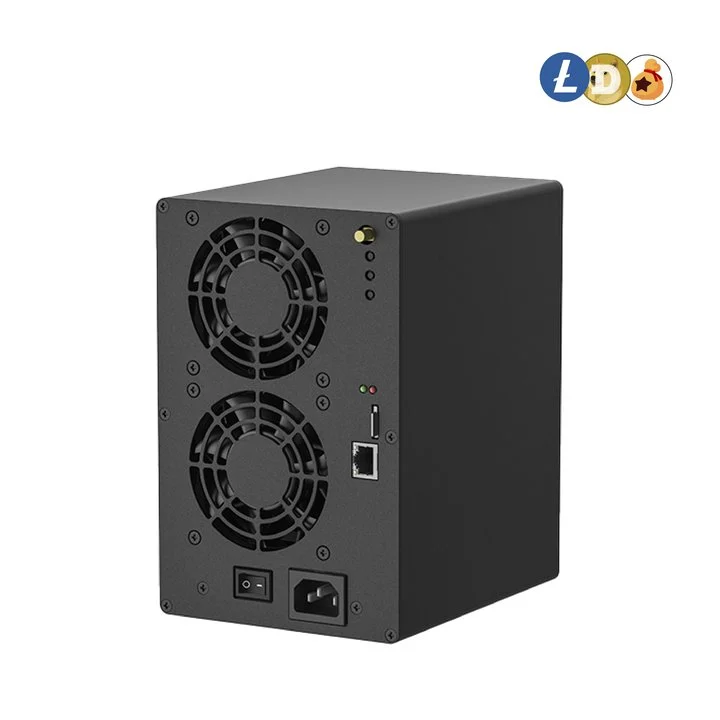
1. Power on the MINI DOGE III PLUS and connect it to your local network using the Ethernet port.
2. Access the miner’s web interface by entering the device’s IP address into your web browser. This information can be found on the sticker attached to the miner.
3. In the web interface, navigate to the “Mining” section and enter the necessary information, such as the pool’s URL, your worker’s name, and the corresponding password.
4. Ensure that the mining algorithm is set to “Scrypt” to match the capabilities of the MINI DOGE III PLUS.
5. Save the changes and wait for the miner to connect to the pool.
Once the connection is established, you should see your worker’s hashrate being reported on the mining pool’s dashboard. This indicates that your MINI DOGE III PLUS is now actively contributing to the pool’s overall hashrate and earning you mining rewards.
Step 4: Monitoring and Adjusting
After successfully connecting the MINI DOGE III PLUS to the mining pool, it’s important to monitor its performance and make any necessary adjustments to optimize your mining operations.
Regular monitoring of your miner’s hashrate, power consumption, and the pool’s payout metrics can help you identify any issues or opportunities for improvement. The Goldshell APP, which is compatible with the MINI DOGE III PLUS, provides a convenient way to remotely monitor and manage your miner’s performance.
If you notice any discrepancies or if you want to switch to a different mining pool, you can easily make the necessary changes in the miner’s web interface. The user-friendly design and the readily available spare parts make it easy to maintain and troubleshoot the MINI DOGE III PLUS, ensuring minimal downtime and maximizing your mining efficiency.
Conclusion
Connecting the Goldshell MINI DOGE III PLUS to a mining pool is a straightforward process that can be easily accomplished with the miner’s intuitive design and the guidance provided in this article. By carefully selecting a reputable mining pool, configuring the miner, and regularly monitoring its performance, you can unlock the full potential of this compact and efficient cryptocurrency mining device.
The MINI DOGE III PLUS’s impressive hashrates, exceptional energy efficiency, and Goldshell’s reliable support make it an excellent choice for both beginner and experienced miners looking to dive into the world of Scrypt-based coin mining. With the right setup and ongoing optimization, you can maximize your mining rewards and contribute to the growth of promising cryptocurrencies like Litecoin, Dogecoin, and Bellcoin.
So, what are you waiting for? Take the first step towards building a profitable and sustainable mining operation with the Goldshell MINI DOGE III PLUS. Happy mining!
|
Please feel free to contact me to assist you in resolving your issues: E-mail: Minerfixessales@gmail.com WhatsApp/WeChat:+86 15928044684
The services we offer include:
a.New and Used Miners b.Miner Accessories c.Miner Repair Courses d.Global Repair Stations e.Overclocking and Underclocking Services |

|