How to Replace Parts in Dash Miner D9?
Cryptocurrency mining is a dynamic and ever-evolving industry, with equipment like the Dash Miner D9 playing a pivotal role in ensuring efficient and profitable operations. However, even the most advanced hardware requires occasional maintenance or part replacements to sustain peak performance. In this guide, we’ll walk you through the process of replacing parts in the Dash Miner D9, highlighting its user-friendly design and practical advantages.
Why Maintenance Matters for the Dash Miner D9
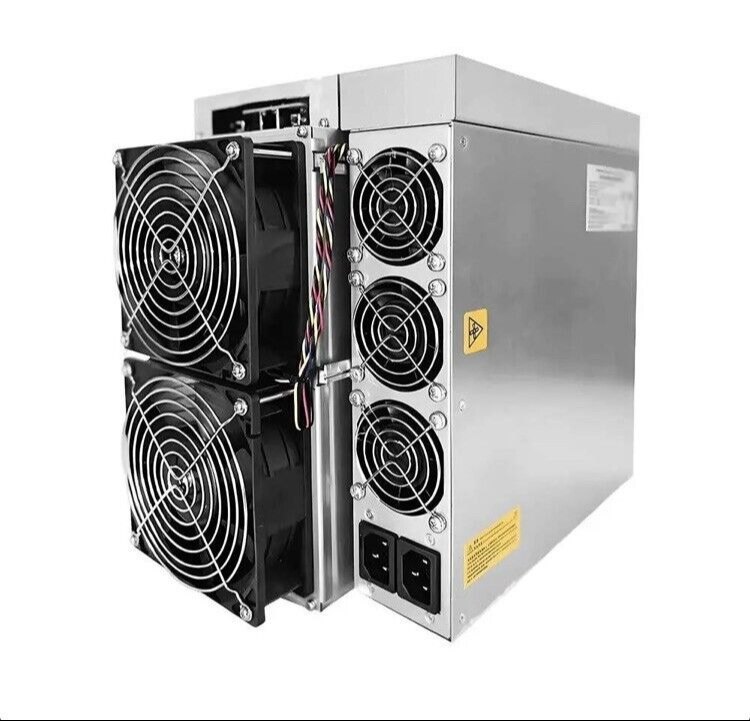
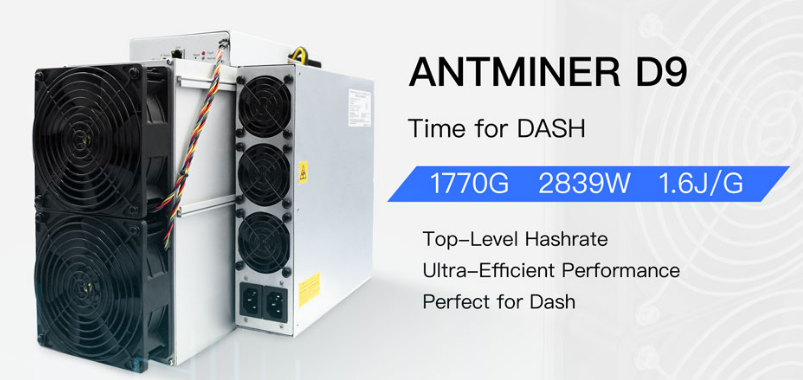
The Dash Miner D9, developed by Antminer, is a high-performance mining solution tailored for the X11 algorithm, making it ideal for mining Dash. Its robust construction and advanced features ensure reliability, but like any mining equipment, it is not immune to wear and tear. Regular maintenance and timely part replacements are essential to:
- Maximize Uptime: Replacing faulty components ensures minimal downtime, keeping your mining operations running smoothly.
- Optimize Performance: Components like fans, hash boards, and power supplies directly impact the miner’s efficiency. Replacing them when needed maintains optimal hashrate and power consumption.
- Extend Lifespan: Proactive maintenance prevents minor issues from escalating into major failures, prolonging the life of your investment.
Understanding how to replace parts in the Dash Miner D9 empowers you to take control of your mining operations, saving time and money while maintaining productivity.
Key Components and Their Replacement Process
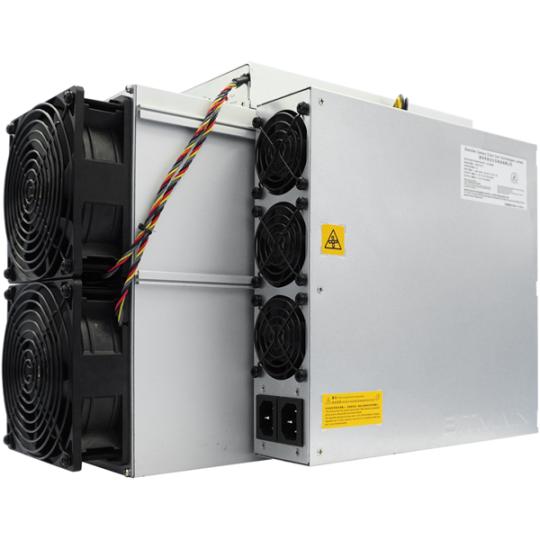
The Dash Miner D9 is designed with modularity in mind, making part replacements straightforward for both novice and experienced miners. Below, we’ll explore the most commonly replaced components and provide step-by-step guidance.
1. Replacing the Fans
Fans are critical for cooling the Dash Miner D9, preventing overheating and ensuring stable performance. Over time, fans may wear out or become less effective, necessitating replacement.
Steps to Replace the Fans:
- Power Down: Turn off the miner and unplug it from the power source to ensure safety.
- Remove the Cover: Unscrew the outer casing to access the internal components.
- Locate the Fans: Identify the faulty fan(s) mounted on the hash boards.
- Disconnect the Fan: Carefully unplug the fan’s power connector from the hash board.
- Unscrew the Fan: Use a screwdriver to remove the mounting screws holding the fan in place.
- Install the New Fan: Position the new fan in the same location, secure it with screws, and reconnect the power connector.
- Reassemble: Replace the outer casing and power up the miner to test the new fan.
Pro Tip: Always use compatible replacement fans to maintain optimal airflow and cooling efficiency.
2. Replacing the Hash Boards
Hash boards are the heart of the Dash Miner D9, responsible for performing the complex calculations required for mining. If a hash board fails, it can significantly reduce the miner’s overall performance.
Steps to Replace a Hash Board:
- Power Down: Ensure the miner is turned off and disconnected from the power supply.
- Open the Casing: Remove the outer cover to access the internal components.
- Identify the Faulty Hash Board: Use the miner’s interface or diagnostic tools to pinpoint the problematic board.
- Disconnect Cables: Carefully unplug all cables connected to the hash board, including power and data connectors.
- Remove the Hash Board: Unscrew the mounting brackets holding the hash board in place.
- Install the New Hash Board: Position the replacement board, secure it with screws, and reconnect all cables.
- Test the Miner: Power up the miner and verify that the new hash board is functioning correctly.
Pro Tip: Handle hash boards with care, avoiding static discharge or physical damage during replacement.
3. Replacing the Power Supply Unit (PSU)
The PSU is responsible for delivering stable power to the Dash Miner D9. A faulty PSU can cause erratic behavior or complete shutdowns, making timely replacement crucial.
Steps to Replace the PSU:
- Power Down: Disconnect the miner from the power source to ensure safety.
- Access the PSU: Open the outer casing to locate the power supply unit.
- Disconnect Cables: Unplug all power cables connected to the PSU.
- Remove the PSU: Unscrew the mounting brackets securing the PSU in place.
- Install the New PSU: Position the replacement PSU, secure it with screws, and reconnect all power cables.
- Test the Miner: Power up the miner and confirm that the new PSU is functioning correctly.
Pro Tip: Ensure the replacement PSU matches the miner’s voltage and wattage requirements.
4. Replacing the Control Board
The control board acts as the brain of the Dash Miner D9, managing communication between components. While less prone to failure, it may need replacement in rare cases.
Steps to Replace the Control Board:
- Power Down: Turn off the miner and disconnect it from the power source.
- Open the Casing: Remove the outer cover to access the internal components.
- Locate the Control Board: Identify the control board, typically positioned near the hash boards.
- Disconnect Cables: Unplug all cables connected to the control board.
- Remove the Control Board: Unscrew the mounting brackets holding the board in place.
- Install the New Control Board: Position the replacement board, secure it with screws, and reconnect all cables.
- Test the Miner: Power up the miner and verify that the new control board is functioning correctly.
Pro Tip: Document the cable connections before disassembly to ensure correct reinstallation.
5. Replacing Other Accessories
The Dash Miner D9 also features smaller accessories like cables, connectors, and screws that may need replacement over time. While these components are less critical, they contribute to the miner’s overall functionality.
Steps to Replace Accessories:
- Identify the Faulty Component: Determine which accessory needs replacement.
- Source Compatible Parts: Ensure the replacement part matches the original specifications.
- Power Down: Disconnect the miner from the power source.
- Remove the Old Component: Carefully detach the faulty part.
- Install the New Component: Attach the replacement part, ensuring a secure connection.
- Test the Miner: Power up the miner and confirm the new accessory is functioning correctly.
Pro Tip: Keep a stock of commonly used accessories to minimize downtime.
Practical Tips for Successful Part Replacement
- Use Quality Replacement Parts: Always source components from reputable suppliers to ensure compatibility and reliability.
- Follow Safety Precautions: Power down the miner and disconnect it from the power source before starting any repairs.
- Refer to the Manual: Consult the Dash Miner D9 user manual for detailed instructions and diagrams.
- Keep a Toolkit Handy: Invest in a quality toolkit with screwdrivers, pliers, and anti-static equipment for efficient repairs.
- Document the Process: Take photos or notes during disassembly to simplify reassembly.
Leveraging Professional Support
While the Dash Miner D9 is designed for user-friendly maintenance, some repairs may require professional expertise. Antminer’s comprehensive warranty and support network ensure you have access to assistance when needed. Additionally, platforms like Minerfixes offer one-stop services for sourcing replacement parts and providing global logistics support, making it easier to keep your miner operational.
Conclusion: Empowering Your Mining Operations
The Dash Miner D9 is a powerful and reliable mining solution, but its performance depends on proper maintenance and timely part replacements. By mastering the art of replacing components like fans, hash boards, and power supplies, you can maximize uptime, optimize performance, and extend the lifespan of your miner. Whether you’re a seasoned miner or a newcomer to the industry, understanding these processes ensures you’re well-equipped to handle the challenges of cryptocurrency mining.
Invest in the Dash Miner D9, embrace its modular design, and take control of your mining operations with confidence. With the right knowledge and tools, you’ll be ready to tackle any maintenance task and keep your miner running at peak efficiency.