How to Set Up a Dash Miner D9 for Mining Dash?
Cryptocurrency mining has evolved significantly over the years, and the Dash Miner D9 from Antminer is a testament to this progress. Designed specifically for mining Dash using the X11 algorithm, the D9 combines cutting-edge technology with user-friendly features to deliver unmatched performance and reliability. Whether you’re a seasoned mining operator or a newcomer to the crypto space, setting up the Dash Miner D9 is a straightforward process that can yield impressive results. In this guide, we’ll walk you through the steps to get your D9 up and running, while highlighting its key advantages and practical applications.
Introducing the Dash Miner D9
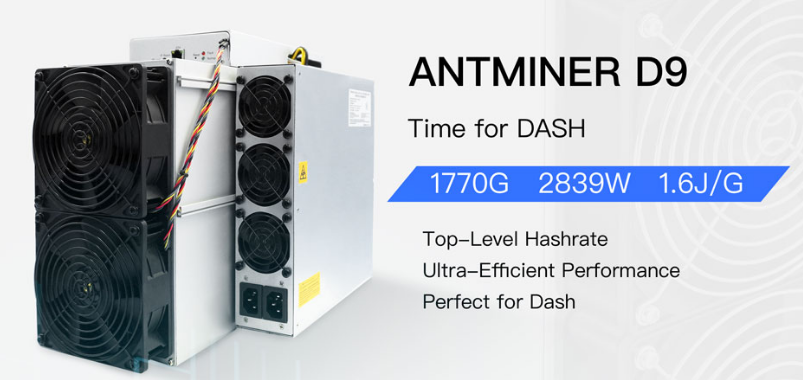
The Dash Miner D9 is a state-of-the-art mining device engineered by Antminer, a trusted name in the cryptocurrency mining industry. Built to mine Dash efficiently, this miner leverages the X11 algorithm, which is known for its energy efficiency and security. With a hashrate of 1770 GH/s and a power efficiency of just 1.60 J/GH, the D9 stands out as one of the most powerful and cost-effective miners in its class.
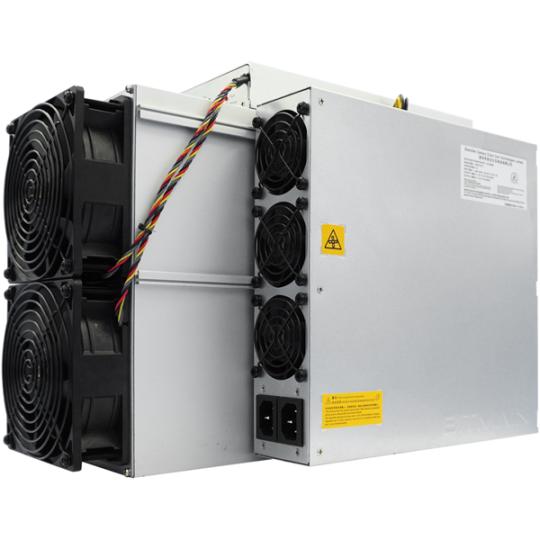
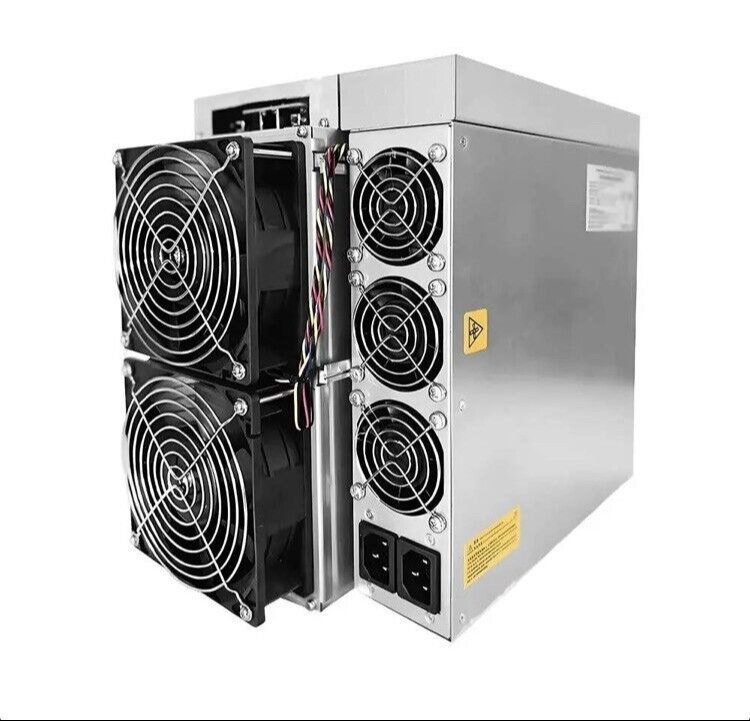
The D9 is equipped with 378 high-performance hash chips distributed across three hash boards, ensuring consistent and reliable operation. Its compact design (400mm x 195.5mm x 290mm) and advanced cooling system make it suitable for both home and commercial setups. Additionally, the miner operates quietly at 70 dBA, minimizing noise pollution in your mining environment.
Advantages of the Dash Miner D9
Before diving into the setup process, it’s worth understanding why the Dash Miner D9 is a top choice for Dash mining:

- Unmatched Performance: With a hashrate of 1770 GH/s, the D9 delivers exceptional computational power, enabling you to mine Dash more efficiently than ever before.
- Energy Efficiency: The miner’s power efficiency of 1.60 J/GH ensures that your electricity costs remain low, maximizing your profitability.
- User-Friendly Design: The intuitive interface and straightforward setup process make the D9 accessible to miners of all experience levels.
- Reliability and Support: Backed by a 180-day warranty and Antminer’s global support network, the D9 offers peace of mind and minimal downtime.
- Adaptability: The miner supports a wide range of AC input voltages (200-240V) and frequencies (50Hz-60Hz), making it compatible with diverse power infrastructures.
Step-by-Step Guide to Setting Up the Dash Miner D9
Step 1: Unboxing and Inspection
When your Dash Miner D9 arrives, carefully unbox it and inspect the contents to ensure everything is in good condition. The package should include the miner itself, a power supply unit (PSU), an Ethernet cable, and any necessary accessories. Check for any visible damage during transit, and contact the supplier immediately if you notice anything amiss.
Step 2: Choosing the Right Location
The D9’s compact design allows for flexible placement, but it’s essential to choose a location that meets the following criteria:
- Ventilation: Ensure adequate airflow to prevent overheating. The miner’s cooling system is efficient, but proper ventilation extends its lifespan.
- Power Supply: Verify that your chosen location has access to a 200-240V AC power source with a capacity of at least 20 amps.
- Noise Consideration: While the D9 operates quietly, placing it in a dedicated space can minimize any potential disturbance.
Step 3: Connecting the Power Supply
The Dash Miner D9 requires a 200-240V AC power supply. Follow these steps to connect it:
- Plug the PSU into a compatible power outlet.
- Connect the PSU to the miner using the provided power cables.
- Double-check all connections to ensure they are secure.
Step 4: Connecting to the Network
To monitor and control your miner, you’ll need to connect it to your local network:
- Use the included Ethernet cable to connect the miner to your router or modem.
- Ensure that your network is active and stable.
Step 5: Configuring the Miner
Once the power and network connections are in place, it’s time to configure the miner:
- Access the Interface: Open a web browser on a computer connected to the same network and enter the miner’s IP address. You can find the IP address using your router’s admin panel or a network scanning tool.
- Log In: Enter the default username and password (usually “root” for both) to access the miner’s dashboard.
- Set Up Mining Parameters: Navigate to the settings menu and enter your Dash wallet address and pool information. If you don’t have a mining pool, consider joining a reputable one like DashMiningPool or AntPool.
- Save and Start Mining: Once the settings are configured, save them and start the mining process. The D9 will begin hashing immediately.
Step 6: Monitoring and Optimization
After the miner is up and running, you can monitor its performance through the dashboard. Key metrics to track include:
- Hashrate: Ensure the miner is operating at or near its advertised hashrate.
- Temperature: Keep an eye on the miner’s temperature to avoid overheating.
- Power Consumption: Verify that the miner is running within its specified power range.
To optimize performance, consider the following tips:
- Overclocking: Some miners allow for slight overclocking to boost hashrate, but this may increase power consumption and heat output.
- Regular Maintenance: Clean the miner’s fans and vents periodically to prevent dust buildup, which can affect cooling efficiency.
Practical Applications and Operational Insights
The Dash Miner D9 is versatile enough to be used in various mining setups, from small-scale home operations to large-scale commercial farms. Here are some real-world applications:
- Home Mining: The D9’s compact size and quiet operation make it ideal for home mining enthusiasts. With proper ventilation and power management, you can run the miner without disrupting your living space.
- Commercial Farms: For larger operations, multiple D9 units can be deployed to maximize hashrate and profitability. The miner’s adaptability to different power infrastructures simplifies scalability.
- Cold Climate Mining: The D9’s efficient cooling system makes it suitable for cold climates, where excess heat can be repurposed for heating purposes.
Conclusion
Setting up the Dash Miner D9 is a straightforward process that unlocks the potential of Dash mining. With its unparalleled performance, energy efficiency, and user-friendly design, the D9 is a valuable addition to any mining operation. Whether you’re mining at home or scaling up to a commercial farm, the D9’s reliability and adaptability ensure a seamless and profitable experience.
By following this guide, you can confidently set up your Dash Miner D9 and start mining Dash with ease. As the cryptocurrency landscape continues to evolve, tools like the D9 empower miners to stay ahead of the curve and capitalize on emerging opportunities. Invest in the Dash Miner D9 today and take your mining operations to the next level.