How to Replace Parts in Dash Miner D9: A Comprehensive Guide for Mining Operators
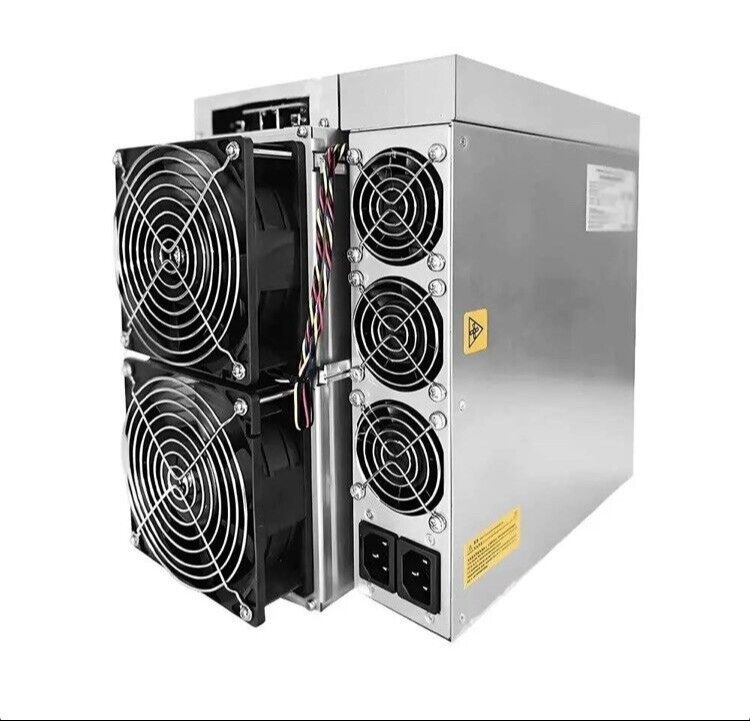
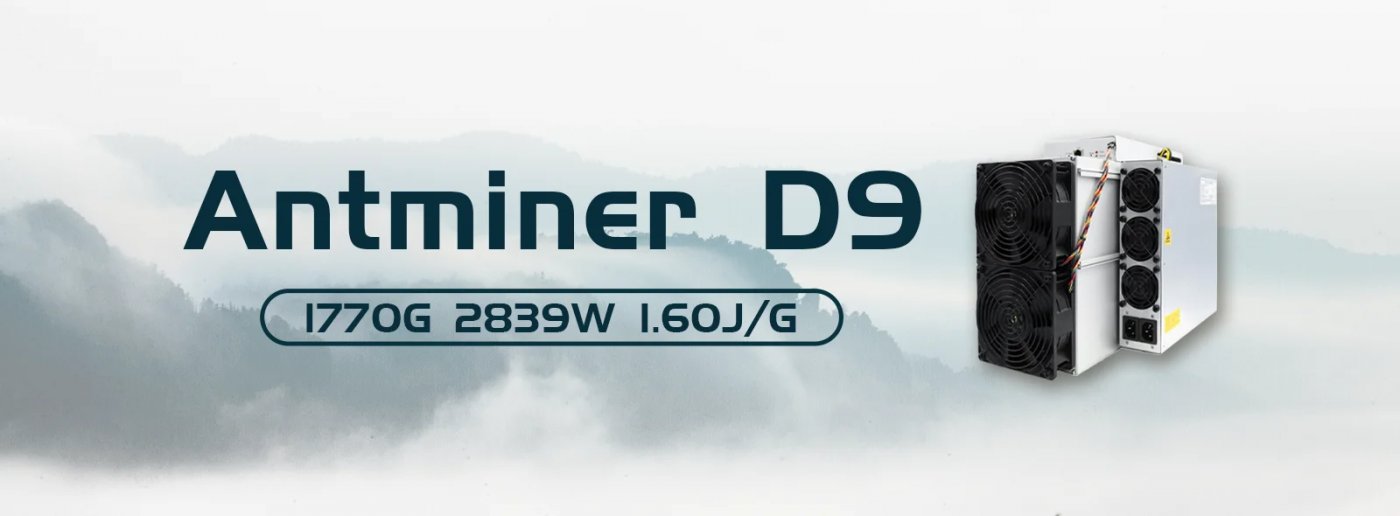
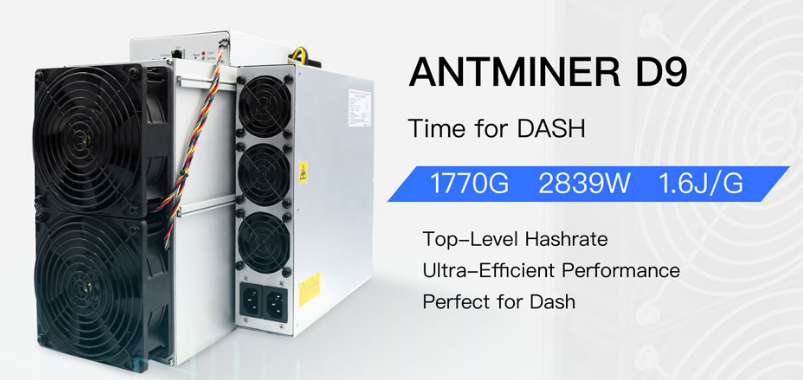
The Dash Miner D9 is a powerhouse in the world of cryptocurrency mining, specifically designed to mine Dash using the X11 algorithm. With its impressive hashrate of 1770 GH/s and energy efficiency of 1.60 J/GH, it’s a top choice for both novice and experienced miners. However, like any high-performance machine, the Dash Miner D9 requires regular maintenance and occasional part replacements to ensure optimal performance and longevity. In this guide, we’ll walk you through the process of replacing parts in your Dash Miner D9, offering practical insights and step-by-step instructions to keep your mining operations running smoothly.
Why Part Replacement is Essential for Your Dash Miner D9
Mining hardware operates under intense conditions, often running 24/7 to maximize profitability. Over time, components such as fans, hash boards, and power supplies can wear out or fail due to heat, dust, or electrical issues. Replacing these parts promptly is crucial to:
- Minimize Downtime: A malfunctioning part can halt your mining operations, leading to lost revenue.
- Maintain Efficiency: Worn-out components can reduce the miner’s performance and increase power consumption.
- Extend Lifespan: Regular maintenance and timely replacements can significantly prolong the life of your Dash Miner D9.
Common Parts That May Need Replacement
Before diving into the replacement process, it’s important to identify which parts are most likely to require attention:
- Fans: The cooling system is critical for maintaining optimal operating temperatures. Fans can wear out over time, leading to overheating.
- Hash Boards: These are the core components responsible for performing the mining calculations. Damage to hash boards can result in reduced hashrate or complete failure.
- Power Supply Unit (PSU): The PSU provides the necessary power to the miner. A faulty PSU can cause instability or shutdowns.
- Control Board: This board manages communication between the miner and your network. Issues here can disrupt monitoring and control.
- Cables and Connectors: Damaged cables or loose connections can lead to power or data transmission issues.
Step-by-Step Guide to Replacing Parts in Dash Miner D9
Tools You’ll Need
- Screwdrivers (Phillips and flathead)
- Anti-static wrist strap
- Replacement parts (fans, hash boards, etc.)
- Compressed air or a soft brush for cleaning
- Thermal paste (if replacing components that require it)
1. Replacing the Fans
Fans are one of the most commonly replaced parts due to their constant operation. Here’s how to replace them:
- Power Down the Miner: Always turn off and unplug the miner before starting any maintenance.
- Remove the Outer Casing: Use a screwdriver to remove the screws securing the casing.
- Disconnect the Fan Cables: Carefully unplug the fan cables from the control board.
- Remove the Old Fans: Unscrew the fans from their mounts and gently remove them.
- Install the New Fans: Secure the new fans in place and reconnect the cables.
- Reassemble the Miner: Put the casing back on and secure it with screws.
*Pro Tip*: Regularly clean the fans and vents to prevent dust buildup, which can reduce their lifespan.
2. Replacing Hash Boards
Hash boards are more complex to replace but are essential for maintaining your miner’s performance.
- Power Down and Open the Miner: As with fan replacement, ensure the miner is off and unplugged.
- Locate the Hash Boards: The Dash Miner D9 has three hash boards, each secured with screws.
- Disconnect the Boards: Carefully unplug the cables connecting the hash boards to the control board.
- Remove the Old Boards: Unscrew and gently remove the damaged hash boards.
- Install the New Boards: Place the new hash boards in the same position, secure them with screws, and reconnect the cables.
- Test the Miner: Power on the miner and check if the new hash boards are functioning correctly.
*Pro Tip*: Handle hash boards with care to avoid static discharge, which can damage the sensitive components.
3. Replacing the Power Supply Unit (PSU)
A faulty PSU can cause significant issues, so it’s important to replace it promptly.
- Power Down and Unplug the Miner: Safety first—always disconnect the miner from the power source.
- Remove the PSU Cover: Unscrew the cover to access the PSU.
- Disconnect the PSU Cables: Carefully unplug all cables connected to the PSU.
- Remove the Old PSU: Unscrew and remove the faulty PSU.
- Install the New PSU: Secure the new PSU in place and reconnect the cables.
- Reassemble and Test: Put the cover back on and power up the miner to ensure the new PSU is working.
*Pro Tip*: Ensure the new PSU matches the voltage and wattage requirements of the Dash Miner D9.
4. Replacing the Control Board
The control board is the brain of the miner, so any issues here can disrupt operations.
- Power Down and Open the Miner: Follow the same safety precautions as above.
- Locate the Control Board: It’s usually positioned near the front of the miner.
- Disconnect Cables: Unplug all cables connected to the control board.
- Remove the Old Board: Unscrew and carefully remove the control board.
- Install the New Board: Place the new control board in position, secure it with screws, and reconnect the cables.
- Test the Miner: Power on the miner and verify that the new control board is functioning.
*Pro Tip*: Keep the control board clean and free of dust to prevent overheating.
Where to Source Replacement Parts
When replacing parts for your Dash Miner D9, it’s crucial to use genuine components to ensure compatibility and reliability. Here are some trusted sources:
- Official Antminer Store: The manufacturer’s store offers authentic parts and accessories.
- Authorized Resellers: Many resellers stock genuine Antminer parts and provide warranties.
- Minerfixes: A reliable platform for sourcing and replacing components, offering global shipping options like DHL and UPS.
Tips for Maintaining Your Dash Miner D9
To minimize the need for frequent part replacements, follow these maintenance tips:
- Regular Cleaning: Dust and debris can clog fans and vents, leading to overheating. Clean your miner every few weeks.
- Monitor Temperatures: Use the miner’s interface to keep an eye on operating temperatures and address any anomalies promptly.
- Check Connections: Periodically inspect cables and connectors for signs of wear or damage.
- Update Firmware: Keep the miner’s firmware up to date to ensure optimal performance and security.
Conclusion
The Dash Miner D9 is a robust and efficient mining solution, but like any piece of hardware, it requires regular maintenance and occasional part replacements. By following this guide, you can confidently replace components such as fans, hash boards, PSUs, and control boards, ensuring your miner operates at peak efficiency. Remember to source genuine parts from trusted suppliers and adhere to safety precautions during the replacement process. With proper care and maintenance, your Dash Miner D9 will continue to be a valuable asset in your cryptocurrency mining journey. Happy mining!