How to Replace the Power Supply on Bitcoin Miner S19k Pro
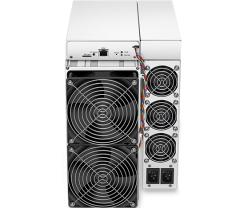
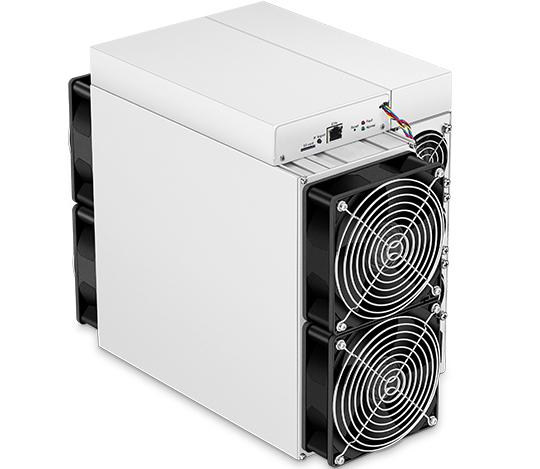
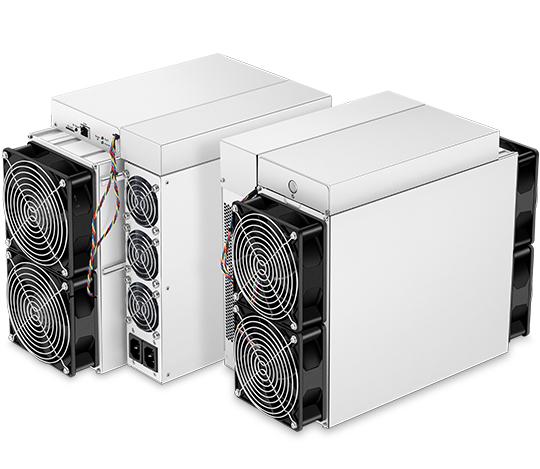
The Bitcoin Miner S19k Pro is a powerhouse in the world of cryptocurrency mining, offering a hashrate of 120 TH/s and power efficiency of 23 J/TH. Designed by Bitmain, this device is a favorite among miners for its reliability, performance, and ease of maintenance. However, like any piece of advanced hardware, the S19k Pro may occasionally require parts replacement to ensure uninterrupted operation. One critical component that miners may need to replace is the power supply unit (PSU).
In this guide, we’ll walk you through the process of replacing the power supply on your S19k Pro, ensuring your mining operations continue running smoothly. Whether you’re a seasoned miner or new to the field, this step-by-step guide will provide practical insights and tips to make the process seamless.
Understanding the Importance of the Power Supply
The power supply is the lifeblood of your mining rig. It converts AC power from your electrical source into DC power, which is essential for the miner’s operation. A faulty or inefficient PSU can lead to reduced performance, overheating, or even complete shutdown of your miner.
The S19k Pro comes with a high-quality PSU designed to handle its demanding power requirements. However, over time, wear and tear or unexpected power surges can cause the PSU to fail. Replacing it promptly is crucial to maintaining your miner’s efficiency and profitability.
Tools and Preparation
Before starting the replacement process, gather the following tools and materials:
- Replacement PSU (ensure it’s compatible with the S19k Pro)
- Screwdriver set (typically Phillips-head)
- Anti-static wrist strap (to prevent damage from static electricity)
- Cleaning cloth or compressed air (to remove dust and debris)
- Work gloves (optional, for safety)
Additionally, ensure you’re working in a clean, well-ventilated area with adequate lighting. Power off and unplug your miner before beginning any maintenance work.
Step-by-Step Guide to Replacing the Power Supply
Step 1: Power Down and Disconnect the Miner
Start by shutting down your S19k Pro completely. Unplug the power cables from both the miner and the electrical outlet. This step is critical to ensure your safety and prevent damage to the miner’s components.
Step 2: Remove the Outer Casing
Using a screwdriver, carefully remove the screws securing the outer casing of the miner. Set the screws aside in a safe place to avoid losing them. Gently lift the casing to expose the internal components.
Step 3: Locate the Power Supply Unit
The PSU is typically located at the back of the miner. It’s connected to the hashboards via cables and secured to the frame with screws. Take note of the cable connections and their positions for easier reassembly later.

Step 4: Disconnect the PSU Cables
Carefully disconnect the cables linking the PSU to the hashboards and other components. Use a gentle but firm grip to avoid damaging the connectors. Labeling the cables can help ensure they’re reconnected correctly.
Step 5: Remove the Old PSU
Unscrew the fasteners securing the PSU to the miner’s frame. Once the screws are removed, gently slide the PSU out of its slot. Be mindful of any remaining cables or connections.
Step 6: Install the New PSU
Position the replacement PSU in the same slot as the old one. Secure it with the screws you removed earlier. Reconnect the cables to their respective ports, ensuring each connection is firm and secure. Double-check the labels if you used them during disassembly.
Step 7: Reassemble the Miner
Once the new PSU is installed and all connections are secure, carefully place the outer casing back onto the miner. Tighten the screws to secure the casing in place.
Step 8: Power Up and Test
Plug the power cables back into the miner and the electrical outlet. Power on the S19k Pro and monitor its startup process. Check the miner’s interface to ensure it’s operating correctly and hashing at the expected rate.
Tips for a Successful Replacement
- Choose a Compatible PSU: Ensure the replacement PSU is specifically designed for the S19k Pro. Using an incompatible unit can damage your miner or void its warranty.
- Handle Components Carefully: The S19k Pro’s internal components are delicate. Avoid applying excessive force when removing or installing parts.
- Clean as You Go: Use compressed air to remove dust and debris from the miner’s interior while the casing is open. This helps maintain optimal airflow and cooling.
- Document the Process: Take photos or notes during disassembly to make reassembly easier. This is especially helpful for first-time replacements.
Why Choose the S19k Pro for Your Mining Operations?
The Bitcoin Miner S19k Pro is a top-tier choice for miners seeking performance, reliability, and ease of maintenance. Its modular design allows for straightforward component replacements, including the power supply, minimizing downtime and maximizing profitability.
With a 365-day warranty from Bitmain and comprehensive support from trusted providers like Minerfixes, the S19k Pro offers peace of mind for miners worldwide. Whether you’re expanding your mining farm or upgrading your existing setup, the S19k Pro is a future-proof investment that delivers consistent returns.
Conclusion
Replacing the power supply on your Bitcoin Miner S19k Pro is a manageable task with the right tools and guidance. By following this step-by-step guide, you can ensure your miner continues to operate at peak efficiency, safeguarding your investment and mining profitability.
For miners looking for a reliable and high-performance solution, the S19k Pro remains a standout choice. Its robust design, user-friendly features, and extensive support network make it an indispensable tool in the competitive world of cryptocurrency mining.
Ready to optimize your mining operations? Invest in the Bitcoin Miner S19k Pro today and experience the benefits of cutting-edge mining technology firsthand.