Dash Miner D9 Installation in a Home Mining Rig: A Comprehensive Guide
The Dash Miner D9, a state-of-the-art mining solution from the Antminer brand, is designed to take your cryptocurrency mining experience to the next level. Tailored specifically for the X11 algorithm, this powerful miner is optimized for Dash mining, offering unparalleled efficiency and reliability. If you’re considering integrating the Dash Miner D9 into your home mining rig, this guide will walk you through the installation process, offering practical insights and tips to maximize your mining potential.
Understanding the Dash Miner D9
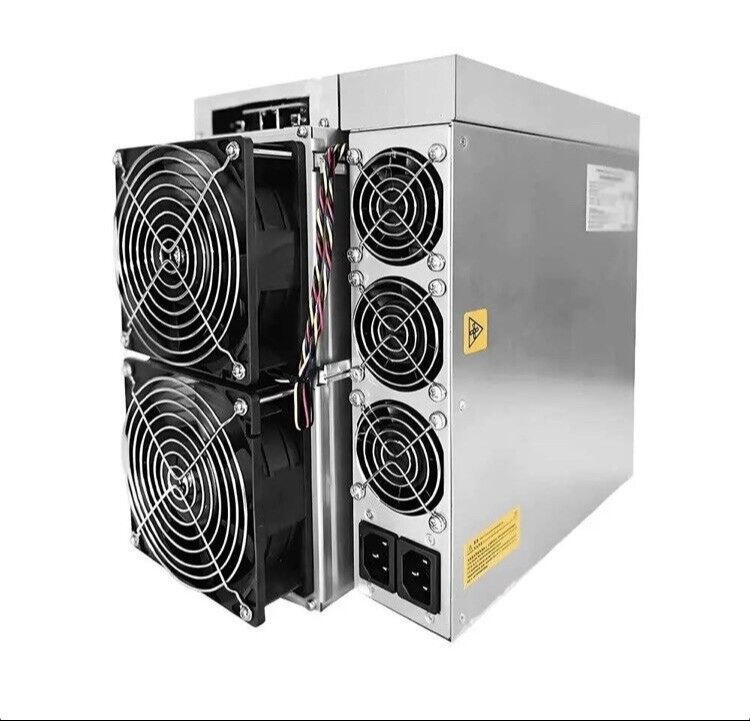
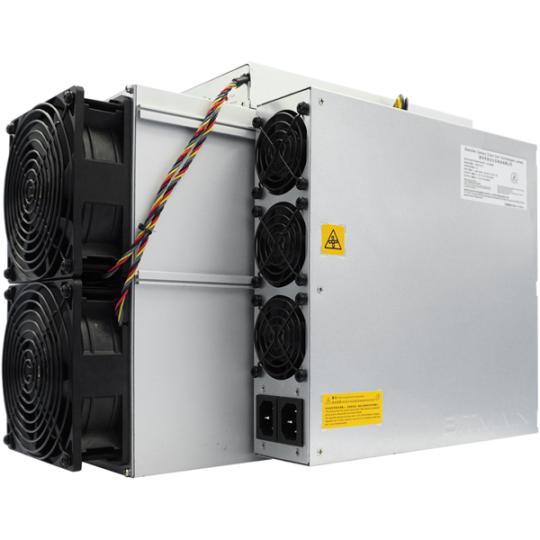
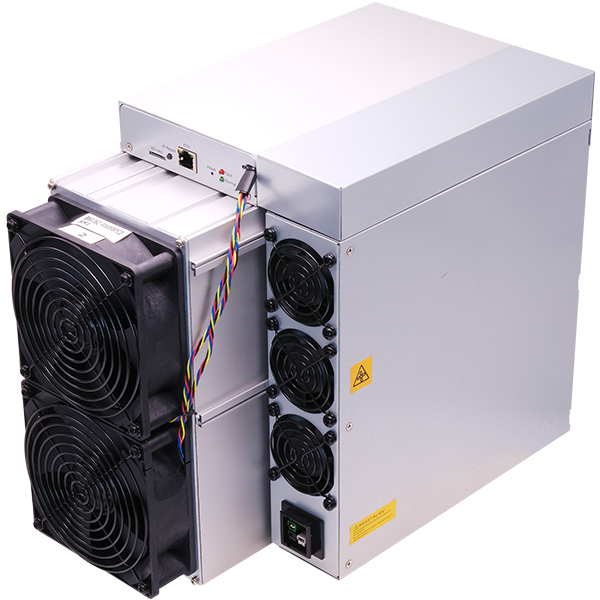
Before diving into the installation process, it’s essential to understand the features and capabilities of the Dash Miner D9. Equipped with 378 high-performance hash chips distributed across three robust hash boards, the D9 boasts an impressive hashrate of 1770 GH/s. This computational power ensures efficient handling of the X11 algorithm, making it a formidable tool for mining Dash.
The miner operates at a power efficiency of 1.60 J/GH on the wall at 25°C, consuming approximately 2839 watts with a 200-240V AC power supply. Its compact dimensions (400mm x 195.5mm x 290mm) and low noise levels (70 dBA at 25°C) make it an ideal choice for home mining setups. Additionally, the D9 is backed by a comprehensive 180-day warranty, offering peace of mind and minimizing downtime.
Preparing Your Home Mining Rig
1. Assessing Power Supply Requirements
The Dash Miner D9 requires a stable 200-240V AC power supply with a current of 20 amps. Before installation, ensure that your home’s electrical system can support these requirements. It’s advisable to consult with a licensed electrician to verify your electrical infrastructure’s capacity and make any necessary upgrades.
2. Choosing the Right Location
Selecting an appropriate location for your Dash Miner D9 is crucial for optimal performance. Consider factors such as:

- Ventilation: Ensure adequate airflow to prevent overheating. The miner operates optimally in temperatures ranging from 0°C to 40°C.
- Noise: While the D9 is relatively quiet, placing it in a less frequented area of your home can minimize noise disruption.
- Accessibility: Choose a location that allows easy access for maintenance and monitoring.
3. Setting Up Cooling Solutions
Effective cooling is essential to maintain the Dash Miner D9’s performance and longevity. While the miner’s built-in cooling system is efficient, additional cooling solutions may be necessary, especially in warmer climates. Consider using external fans or air conditioning to maintain a stable operating temperature.
Installing the Dash Miner D9
1. Unpacking and Inspecting the Miner
Upon receiving your Dash Miner D9, carefully unpack and inspect the unit for any shipping damage. Ensure that all components, including the power supply unit (PSU), Ethernet cable, and user manual, are present and in good condition.
2. Connecting the Power Supply
Follow these steps to connect the Dash Miner D9 to the power supply:
- Power Off: Ensure that the power supply is turned off before making any connections.
- Connect PSU: Attach the PSU to the miner using the provided cables. Ensure a secure and snug connection.
- Power On: Turn on the power supply and verify that the miner’s power indicator lights are functioning.
3. Networking and Configuration
The Dash Miner D9 features an RJ45 Ethernet port for network connectivity. Follow these steps to connect and configure the miner:
- Connect Ethernet: Plug one end of the Ethernet cable into the miner and the other end into your router or switch.
- Access Miner Interface: Open a web browser and enter the miner’s IP address. Use the credentials provided in the user manual to log in.
- Configure Mining Pool: Navigate to the mining pool settings and enter the details of your chosen Dash mining pool. Save the settings to apply the changes.
4. Monitoring and Maintenance
Once the Dash Miner D9 is operational, regular monitoring and maintenance are essential to ensure consistent performance. Utilize the miner’s intuitive user interface to monitor key metrics such as hashrate, temperature, and power consumption. Perform routine maintenance tasks, including cleaning the miner’s cooling fans and inspecting connections for wear and tear.
Maximizing Your Mining Potential
1. Optimizing Power Efficiency
To maximize profitability, focus on optimizing power efficiency. Ensure that your Dash Miner D9 operates within the recommended temperature range and consider using energy-efficient cooling solutions to reduce overall power consumption.
2. Joining a Reputable Mining Pool
Joining a reputable Dash mining pool can enhance your mining efficiency and profitability. Research and select a pool with a strong track record, low fees, and reliable payouts.
3. Staying Informed
The cryptocurrency mining landscape is constantly evolving. Stay informed about industry trends, technological advancements, and regulatory developments to make informed decisions and adapt your mining strategy accordingly.
Conclusion
The Dash Miner D9 is a powerful and reliable mining solution that offers exceptional performance and efficiency. By following this comprehensive installation guide, you can seamlessly integrate the D9 into your home mining rig and unlock the full potential of Dash mining. With its unmatched reliability, adaptability, and support from the Antminer brand, the Dash Miner D9 is your gateway to profitable and sustainable cryptocurrency mining. Embark on your Dash mining journey today and position yourself at the forefront of the cryptocurrency revolution.