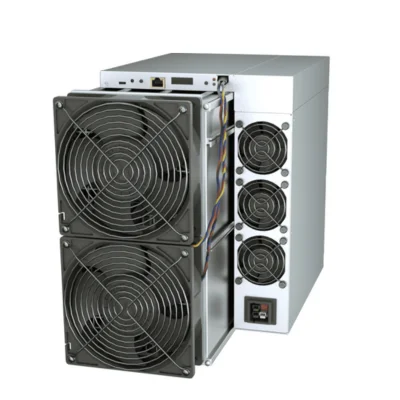
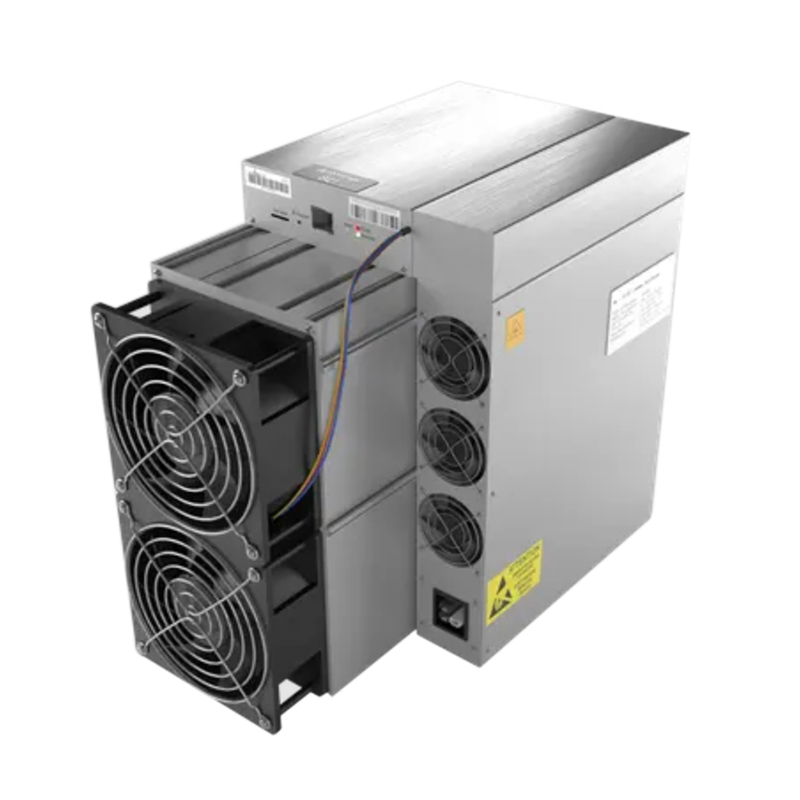
Antminer S21+ control board replacement guide
As a seasoned professional in the cryptocurrency mining industry, I’ve had the privilege of working extensively with the latest advancements in mining hardware. Today, I’m excited to share my insights on a critical component of the Antminer S21+ – the control board replacement.
The Antminer S21+ is a true powerhouse in the world of Bitcoin mining, boasting an impressive hashrate of 216 TH/s. Bitmain, the renowned manufacturer behind this miner, has once again pushed the boundaries of efficiency and reliability with this flagship model. What sets the S21+ apart is its unwavering commitment to quality, as evidenced by the comprehensive 365-day warranty coverage that accompanies each unit.
However, as with any complex mining rig, occasional maintenance and component replacement may be necessary to ensure optimal performance and prolonged longevity. One such critical component is the control board, which serves as the heart and brain of the Antminer S21+. In this guide, I’ll walk you through the step-by-step process of replacing the control board, equipping you with the knowledge and confidence to tackle this task with precision.
Understanding the Control Board’s Role
The control board is the central nervous system of the Antminer S21+, responsible for managing a multitude of crucial functions. It coordinates the operation of the ASIC chips, regulates power distribution, monitors temperature, and facilitates communication with the mining software or pool. Essentially, the control board is the pivotal link between the physical hardware and the digital realm of cryptocurrency mining.
When to Consider a Control Board Replacement
There are several scenarios in which you may need to replace the control board of your Antminer S21+:
1. Malfunction or failure: If the control board experiences a hardware-related issue, such as a blown component or a communication breakdown, it will require replacement to restore the miner’s full functionality.
2. Firmware updates: Bitmain periodically releases firmware updates to optimize the Antminer S21+’s performance, improve efficiency, or address known issues. In some cases, these firmware updates may necessitate a control board replacement to ensure compatibility.
3. Preventative maintenance: As part of a proactive maintenance routine, you may choose to replace the control board preemptively to minimize the risk of unexpected downtime and maximize the miner’s operational lifespan.
Preparing for the Control Board Replacement
Before we dive into the step-by-step process, it’s essential to ensure that you have all the necessary tools and components ready. Here’s what you’ll need:
1. Replacement control board: Obtain a genuine Antminer S21+ control board from a trusted source, such as an authorized Bitmain distributor or service partner like Minerfixes. Ensure that the replacement board is compatible with your specific Antminer S21+ model.
2. Antistatic work surface: Set up a clean, well-lit workspace with an antistatic mat or surface to prevent any static electricity discharge that could potentially damage the electronic components.
3. Precision screwdriver set: You’ll need a complete set of small, high-quality screwdrivers to carefully disassemble and reassemble the Antminer S21+.
4. Compressed air: Keep a can of compressed air on hand to gently clean the internal components before and after the replacement procedure.
5. Thermal paste: If required, have a small amount of high-quality thermal paste ready to reapply between the ASIC chips and the heatsinks.
6. Documentation: Refer to the Antminer S21+ user manual or installation guide for detailed instructions and diagrams to ensure a smooth replacement process.
Step-by-Step Control Board Replacement
With all the necessary preparations in place, let’s dive into the control board replacement procedure:
1. Power down and unplug the Antminer S21+: Ensure that the miner is completely powered off and disconnected from the power source. This is a critical safety step to prevent any risk of electrical shock or damage to the components.
2. Remove the top and side covers: Carefully remove the top and side covers of the Antminer S21+ to gain access to the internal components. This will typically involve unscrewing a few fasteners.
3. Disconnect the control board: Locate the control board within the miner’s chassis and carefully disconnect the data and power cables that are attached to it. Make note of the cable connections for reference during the reassembly process.
4. Remove the control board: Using the appropriate screwdrivers, gently remove the control board from its mounting points. Pay close attention to any remaining connections or components that may need to be detached.
5. Install the replacement control board: Carefully align the new control board with the mounting points and secure it in place using the same screws. Reconnect the data and power cables, ensuring a secure and proper connection.
6. Inspect and clean the internal components: With the control board replaced, take this opportunity to inspect the other internal components of the Antminer S21+. Use the compressed air to gently clean any dust or debris that may have accumulated. If necessary, reapply a small amount of thermal paste between the ASIC chips and the heatsinks.
7. Reassemble the Antminer S21+: Carefully replace the top and side covers, securing them with the fasteners. Double-check that all connections are secure and that the miner is ready for power-up.
8. Power on and verify functionality: Connect the Antminer S21+ to the power source and turn it on. Monitor the miner’s startup sequence and check for any error messages or abnormal behavior. Ensure that the control board replacement was successful and that the miner is operating as expected.
9. Update the firmware (if applicable): If the control board replacement was performed to facilitate a firmware update, follow the necessary steps to download and install the latest firmware version, as recommended by Bitmain.
10. Monitor and optimize performance: Once the Antminer S21+ is up and running with the new control board, closely monitor its performance, power efficiency, and temperature metrics. Make any necessary adjustments to the miner’s configuration or cooling system to ensure optimal performance.
Ensuring Seamless Miner Operation
Replacing the control board on your Antminer S21+ is a critical maintenance task that requires attention to detail and a thorough understanding of the miner’s inner workings. By following this comprehensive guide, you’ll be well-equipped to tackle this procedure with confidence, minimizing the risk of downtime and ensuring the continued high-performance operation of your mining rig.
Remember, the Antminer S21+ is a testament to Bitmain’s engineering excellence, and the control board is a vital component that underpins its exceptional capabilities. By investing the time and effort into properly maintaining and servicing this miner, you’ll be able to maximize its return on investment and capitalize on the growing opportunities in the world of cryptocurrency mining.
If you encounter any challenges or require further assistance, don’t hesitate to reach out to authorized Bitmain service partners, such as Minerfixes, who can provide expert guidance and support throughout the control board replacement process and beyond.
Happy mining, and may your Antminer S21+ continue to deliver industry-leading performance for years to come!
|
Please feel free to contact me to assist you in resolving your issues: E-mail: linda.xinxinsmile@gmail.com WhatsApp/WeChat:+86 15928044684
The services we offer include:
a.New and Used Miners b.Miner Accessories c.Miner Repair Courses d.Global Repair Stations e.Overclocking and Underclocking Services |

|