Bitcoin Miner S19k Pro Repair Guides for Broken Components
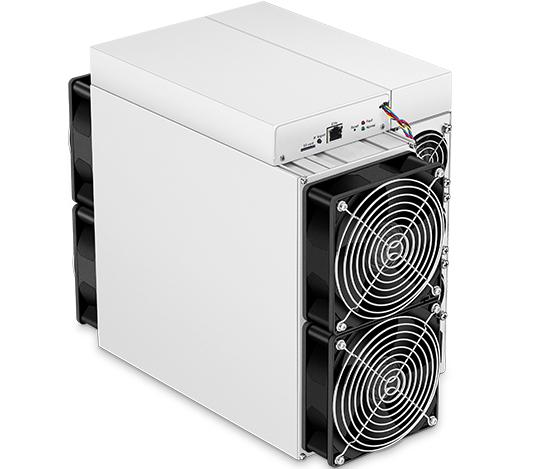
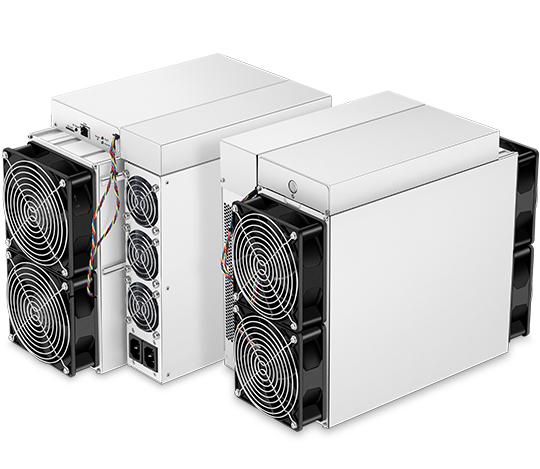
The Bitcoin Miner S19k Pro is a flagship mining device from Bitmain, renowned for its exceptional performance and reliability in the cryptocurrency mining industry. With a hashrate of 120 TH/s and power efficiency of 23 J/TH, the S19k Pro is a powerhouse designed to maximize profitability for miners. However, like any high-performance machinery, it is not immune to wear and tear. This article provides practical, step-by-step repair guides for common broken components of the S19k Pro, ensuring minimal downtime and continuous mining operations.
Understanding the S19k Pro’s Modular Design
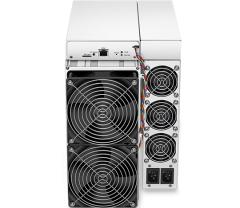
Before diving into repairs, it’s essential to understand the modular design of the S19k Pro. This design allows for easy replacement of individual components, making maintenance straightforward and cost-effective. Key components include the hash boards, control board, power supply unit (PSU), cooling fans, and cables. Each of these components plays a critical role in the miner’s performance, and knowing how to troubleshoot and replace them is crucial for maintaining optimal operation.
Tools and Safety Precautions
To perform repairs on the S19k Pro, you’ll need a set of basic tools, including:
- Precision screwdrivers
- Anti-static wrist strap
- Multimeter
- Thermal paste
- Spare components (hash boards, control board, PSU, fans, etc.)
Safety is paramount when working with electronic devices. Always disconnect the miner from the power source before starting any repair work. Use an anti-static wrist strap to prevent electrostatic discharge, which can damage sensitive components.
Common Component Failures and Repair Guides
#### 1. Hash Board Failure
Symptoms:
- Reduced hashrate
- Overheating
- Error messages related to hash boards
Repair Steps:

- Power Down: Turn off the miner and unplug it from the power source.
- Remove Cover: Use a screwdriver to remove the screws securing the miner’s cover. Carefully lift the cover to expose the internal components.
- Identify Faulty Hash Board: Inspect the hash boards for visible damage, such as burnt components or loose connections.
- Disconnect Cables: Gently disconnect the cables attached to the faulty hash board.
- Replace Hash Board: Remove the screws securing the hash board and carefully take it out. Insert the new hash board and secure it with screws.
- Reconnect Cables: Attach the cables to the new hash board, ensuring a secure connection.
- Apply Thermal Paste: Apply a thin layer of thermal paste to the heat sink on the new hash board to ensure efficient heat dissipation.
- Reassemble: Put the cover back on and secure it with screws.
- Test: Power on the miner and monitor its performance to ensure the issue is resolved.
#### 2. Control Board Failure
Symptoms:
- Miner fails to boot
- Unresponsive interface
- Error messages related to the control board
Repair Steps:
- Power Down: Turn off the miner and unplug it from the power source.
- Remove Cover: Use a screwdriver to remove the screws securing the miner’s cover. Carefully lift the cover to expose the internal components.
- Identify Control Board: Locate the control board, typically positioned near the front of the miner.
- Disconnect Cables: Gently disconnect the cables attached to the control board.
- Replace Control Board: Remove the screws securing the control board and carefully take it out. Insert the new control board and secure it with screws.
- Reconnect Cables: Attach the cables to the new control board, ensuring a secure connection.
- Reassemble: Put the cover back on and secure it with screws.
- Test: Power on the miner and monitor its performance to ensure the issue is resolved.
#### 3. Power Supply Unit (PSU) Failure
Symptoms:
- Miner fails to power on
- Inconsistent power supply
- Overheating PSU
Repair Steps:
- Power Down: Turn off the miner and unplug it from the power source.
- Remove Cover: Use a screwdriver to remove the screws securing the miner’s cover. Carefully lift the cover to expose the internal components.
- Identify PSU: Locate the power supply unit, typically positioned at the rear of the miner.
- Disconnect Cables: Gently disconnect the cables attached to the PSU.
- Replace PSU: Remove the screws securing the PSU and carefully take it out. Insert the new PSU and secure it with screws.
- Reconnect Cables: Attach the cables to the new PSU, ensuring a secure connection.
- Reassemble: Put the cover back on and secure it with screws.
- Test: Power on the miner and monitor its performance to ensure the issue is resolved.
#### 4. Cooling Fan Failure
Symptoms:
- Overheating
- Loud or unusual fan noises
- Reduced cooling efficiency
Repair Steps:
- Power Down: Turn off the miner and unplug it from the power source.
- Remove Cover: Use a screwdriver to remove the screws securing the miner’s cover. Carefully lift the cover to expose the internal components.
- Identify Faulty Fan: Locate the cooling fans, typically positioned on the sides or rear of the miner.
- Disconnect Cables: Gently disconnect the cables attached to the faulty fan.
- Replace Fan: Remove the screws securing the fan and carefully take it out. Insert the new fan and secure it with screws.
- Reconnect Cables: Attach the cables to the new fan, ensuring a secure connection.
- Reassemble: Put the cover back on and secure it with screws.
- Test: Power on the miner and monitor its performance to ensure the issue is resolved.
Preventative Maintenance Tips
To minimize the need for repairs and extend the lifespan of your S19k Pro, consider the following preventative maintenance tips:
- Regular Cleaning: Dust and debris can accumulate inside the miner, leading to overheating and component failure. Regularly clean the interior using compressed air.
- Monitor Temperature: Ensure the miner operates within the optimal temperature range (0°C to 40°C). Use additional cooling solutions if necessary.
- Inspect Cables: Periodically check all cables for wear and tear. Replace any damaged cables promptly.
- Update Firmware: Keep the miner’s firmware up to date to benefit from performance improvements and bug fixes.
- Use Quality Components: When replacing components, use genuine or high-quality aftermarket parts to ensure reliability and compatibility.
Conclusion
The Bitcoin Miner S19k Pro is a robust and efficient mining device, but regular maintenance and timely repairs are essential to keep it running at peak performance. By understanding the miner’s modular design and following the repair guides provided, you can address common component failures quickly and effectively. Remember to prioritize safety, use the right tools, and perform preventative maintenance to minimize downtime and maximize profitability. With these practices, your S19k Pro will continue to be a valuable asset in your cryptocurrency mining operations.