Dash Miner D9 Firmware Updates and Installation Steps
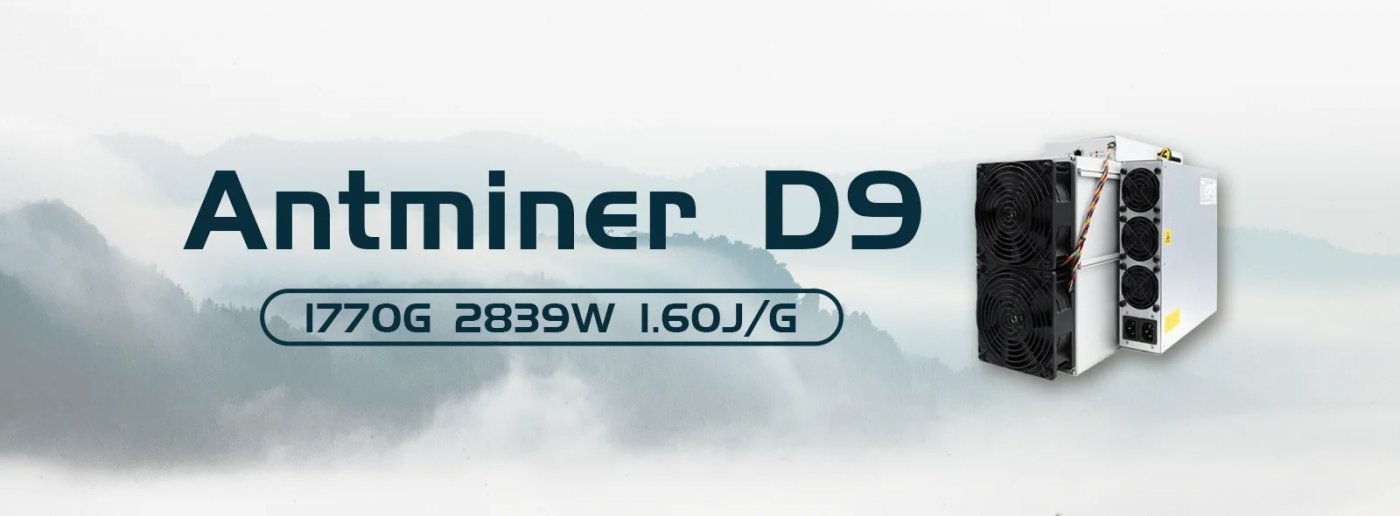
The Dash Miner D9 is a state-of-the-art mining device from the Antminer brand, specifically designed to mine Dash using the X11 algorithm. With its exceptional hashrate of 1770 GH/s and energy efficiency of 1.60 J/GH, the D9 is a powerhouse for cryptocurrency mining. However, to maximize its performance and longevity, it’s crucial to keep its firmware up to date and understand the installation process. This article provides a comprehensive guide to Dash Miner D9 firmware updates and installation steps, ensuring you get the most out of this cutting-edge mining equipment.
Why Firmware Updates Matter
Firmware updates are essential for maintaining optimal performance, enhancing security, and adding new features to your Dash Miner D9. Antminer regularly releases firmware updates to address bugs, improve stability, and optimize efficiency. By staying up to date, you ensure your miner operates at peak performance, reducing downtime and maximizing profitability.
Key benefits of firmware updates include:
- Improved Hashrate: Updates often include optimizations that boost computational power.
- Enhanced Security: Patching vulnerabilities protects your miner from potential threats.
- Energy Efficiency: Firmware tweaks can reduce power consumption, lowering operational costs.
- New Features: Updates may introduce functionalities like advanced monitoring tools or improved cooling controls.
Preparing for Firmware Updates
Before proceeding with the update, ensure you have the following:
- Stable Internet Connection: A reliable connection is critical for downloading the firmware.
- Latest Firmware File: Download the official firmware for the Dash Miner D9 from the Antminer website or trusted sources.
- Computer or Mobile Device: You’ll need a device to access the miner’s interface.
- Power Supply: Ensure the miner is connected to a stable power source during the update.
Step-by-Step Firmware Update Guide
Step 1: Access the Miner’s Web Interface
- Connect your Dash Miner D9 to your local network using the RJ45 Ethernet port.
- Open a web browser on your computer or mobile device.
- Enter the miner’s IP address in the browser’s address bar. You can find the IP address using tools like Angry IP Scanner or by checking your router’s connected devices list.
- Log in using the default credentials (usually “root” for both username and password).
Step 2: Backup Current Settings
Before updating, it’s wise to backup your current settings:
- Navigate to the System tab in the web interface.
- Click on Backup/Restore and download the configuration file to your device.
Step 3: Upload the New Firmware
- In the web interface, go to the Upgrade tab.
- Click on Browse and select the downloaded firmware file.
- Click Upgrade to begin the process. The miner will reboot automatically once the update is complete.
Step 4: Verify the Update
- After the reboot, log back into the web interface.
- Check the firmware version under the System tab to confirm the update was successful.
Installation Steps for the Dash Miner D9
If you’re setting up a new Dash Miner D9, follow these steps to ensure a smooth installation:
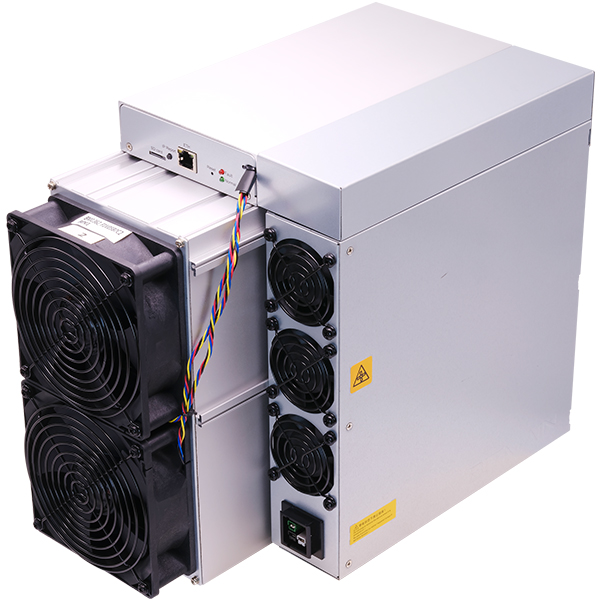
Step 1: Unbox and Inspect
Carefully unbox the miner and inspect it for any damage during transit. Ensure all components, including the power supply unit (PSU), are present.
Step 2: Connect the Power Supply
- Connect the PSU to the miner using the provided cables.
- Plug the PSU into a 200-240V AC power outlet. Ensure the voltage matches your local power specifications.
Step 3: Network Configuration
- Connect the miner to your router or switch using an Ethernet cable.
- Power on the miner and wait for it to initialize.
Step 4: Access the Web Interface
- Use a computer or mobile device to access the miner’s web interface (as described in the firmware update section).
- Log in and configure your mining pool details under the Miner Configuration tab.
Step 5: Optimize Settings
Adjust fan speed, temperature thresholds, and other parameters to suit your environment. This ensures efficient operation and prolongs the miner’s lifespan.

Tips for Maintaining Your Dash Miner D9
- Regular Cleaning: Dust accumulation can affect cooling efficiency. Clean the miner and its surroundings periodically.
- Monitor Temperature: Keep the operating temperature within the recommended range (0°C to 40°C) to prevent overheating.
- Stay Updated: Check for firmware updates every few months to keep your miner optimized.
- Use Reliable Pools: Choose reputable mining pools with low fees and high uptime.
- Invest in Cooling: If mining in a hot climate, consider additional cooling solutions like fans or air conditioning.
Troubleshooting Common Issues
Miner Not Powering On
- Check the power supply connections.
- Ensure the voltage matches your local specifications.
Low Hashrate
- Verify the firmware is up to date.
- Check for overheating or dust buildup.
- Ensure the miner is connected to a stable power source.
Network Connectivity Issues
- Restart your router and miner.
- Check Ethernet cable connections.
Conclusion
The Dash Miner D9 is a robust and efficient solution for mining Dash, offering unmatched reliability and performance. By keeping its firmware updated and following proper installation and maintenance procedures, you can maximize its potential and ensure long-term profitability. Whether you’re a seasoned miner or a newcomer to the cryptocurrency space, the D9’s user-friendly design and advanced features make it an excellent choice for your mining operations.

Invest in the Dash Miner D9 today and unlock the full potential of X11 mining. With its exceptional efficiency, adaptability, and support from the Antminer brand, the D9 is your gateway to profitable and sustainable cryptocurrency mining.