Dash Miner D9 Installation in a Home Mining Rig: A Complete Guide
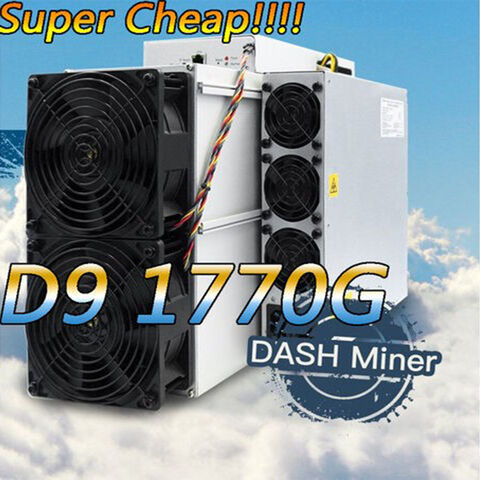
Cryptocurrency mining has evolved significantly, and home mining rigs are becoming increasingly popular due to advancements in mining hardware efficiency. The Dash Miner D9 from Antminer is a powerful and energy-efficient ASIC miner designed specifically for X11 algorithm-based coins like Dash.
If you’re considering setting up a Dash Miner D9 in your home mining operation, this guide will walk you through the installation process, key considerations, and best practices to maximize efficiency and profitability.
Why Choose the Dash Miner D9 for Home Mining?
Before diving into installation, it’s essential to understand why the Dash Miner D9 is an excellent choice for home miners:
1. High Hashrate with Low Power Consumption
- 1770 GH/s hashrate ensures competitive mining performance.
- Power efficiency of 1.60 J/GH, making it one of the most efficient X11 miners available.
- 2839W power consumption (at 25°C), which is manageable for home setups with proper electrical planning.
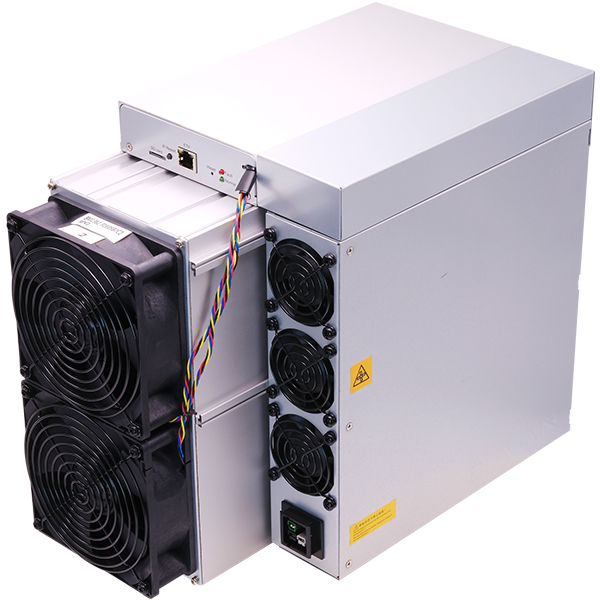
2. Compact & Quiet Operation
- Dimensions: 400mm x 195.5mm x 290mm (fits well in home environments).
- Noise level: 70 dB, quieter than many industrial miners, making it suitable for home use.
3. Plug-and-Play Setup
- RJ45 Ethernet connectivity for easy network integration.
- User-friendly interface for monitoring and configuration.
4. Reliable Warranty & Support
- 180-day warranty with shipping coverage for replacements.
- Global logistics support from trusted suppliers like Minerfixes.
Now, let’s move on to the installation process.
Step-by-Step Dash Miner D9 Installation Guide
1. Pre-Installation Checklist
Before powering up your Dash Miner D9, ensure you have:
✅ Stable Power Supply
- Requires 200-240V AC (standard home voltage in most regions).
- 20A circuit recommended to handle the load safely.
- A dedicated PDU (Power Distribution Unit) or high-quality surge protector.
✅ Proper Cooling & Ventilation
- The miner operates best in 0°C to 40°C environments.
- Ensure adequate airflow (use fans or an open space to prevent overheating).
✅ Network Connection
- Ethernet cable for stable connectivity (Wi-Fi adapters are not recommended).
✅ Mining Pool & Wallet Setup
- Choose a Dash mining pool (e.g., F2Pool, ViaBTC, or Antpool).
- Set up a Dash wallet (Dash Core Wallet, Exodus, or hardware wallets like Ledger).
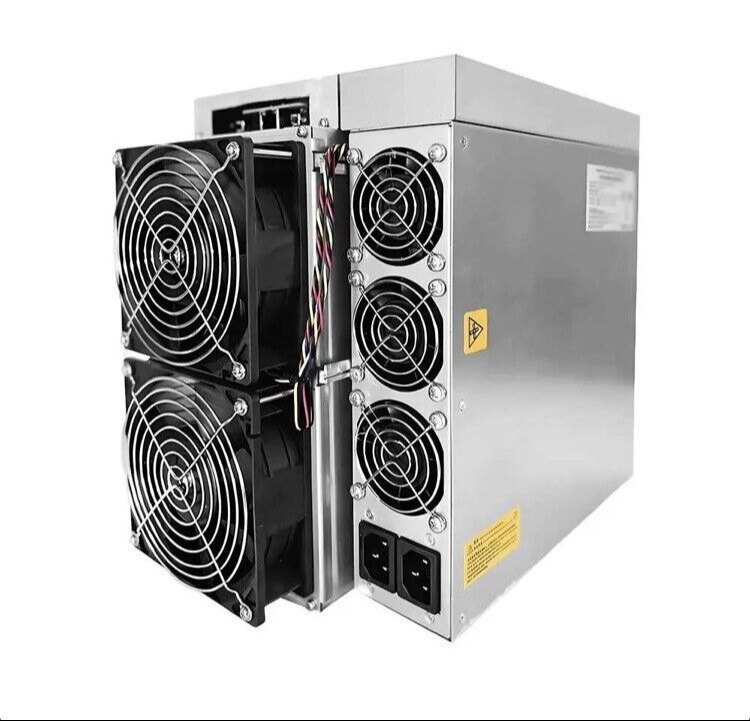
2. Physical Setup & Power Connection
#### Step 1: Unboxing & Placement
- Remove the miner from its packaging and place it on a flat, stable surface.
- Ensure at least 1 foot of clearance on all sides for airflow.
#### Step 2: Power Supply Connection
- The D9 does not include a PSU—you’ll need a compatible 200-240V power supply.
- Connect the power cables securely to the miner’s power inputs.
- Plug into a 20A-rated outlet (avoid extension cords if possible).
#### Step 3: Network Connection
- Connect an Ethernet cable from your router to the miner.
3. Initial Configuration & Mining Setup
#### Step 1: Access the Miner’s Interface
- Find the miner’s IP address using your router’s admin panel or an IP scanner tool.
- Enter the IP into a web browser to access the Antminer dashboard.
#### Step 2: Configure Mining Pool & Worker
- Navigate to Miner Configuration.
- Enter:
- Pool URL (e.g.,
stratum+tcp://dash.f2pool.com:3636) - Worker Name (e.g.,
YourWalletAddress.Worker1) - Password (can be left as “x”)
- Save settings and restart the miner.
#### Step 3: Monitor Performance
- Check the dashboard for real-time stats:
- Hashrate (should stabilize near 1770 GH/s).
- Temperature (keep below 70°C for optimal lifespan).
- Fan speed (adjust if necessary for cooling efficiency).
Optimizing Your Dash Miner D9 for Home Use
1. Noise Reduction Tips
- Place the miner in a soundproof enclosure or a well-ventilated basement.
- Use acoustic foam to dampen vibrations.
2. Power Efficiency Tweaks
- Ensure stable voltage to avoid fluctuations.
- Consider solar or off-grid setups if electricity costs are high.
3. Maintenance & Troubleshooting
- Clean dust filters monthly to prevent overheating.
- Check for firmware updates from Antminer’s official site.
- If the miner crashes, reboot and check pool settings.
Profitability & ROI Considerations
1. Calculating Earnings
- Use mining calculators (e.g., WhatToMine) to estimate daily profits based on:
- Current Dash price
- Electricity cost per kWh
- Pool fees
2. Long-Term Mining Strategy
- HODL vs. Sell: Decide whether to accumulate Dash or sell for immediate profit.
- Join a mining community for tips on maximizing efficiency.
Final Thoughts: Is the Dash Miner D9 Worth It?
The Dash Miner D9 is an excellent choice for home miners due to its high efficiency, manageable noise levels, and strong warranty support. By following this installation guide, you can set up your miner quickly and safely, ensuring optimal performance.

Whether you’re a beginner or an experienced miner, the D9 offers a reliable way to mine Dash profitably from home. With proper setup and maintenance, it can be a long-term asset in your crypto mining journey.
Ready to Start Mining Dash at Home?
If you’re looking to purchase a Dash Miner D9, ensure you buy from trusted suppliers like Minerfixes for authentic hardware, warranty coverage, and global shipping support.
Happy mining!