Dash Miner D9 Installation Step-by-Step Guide
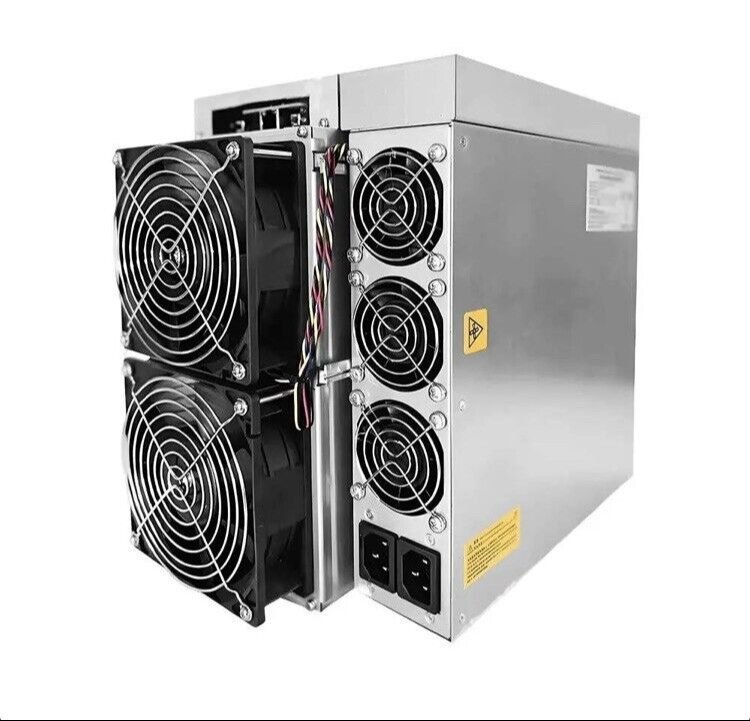
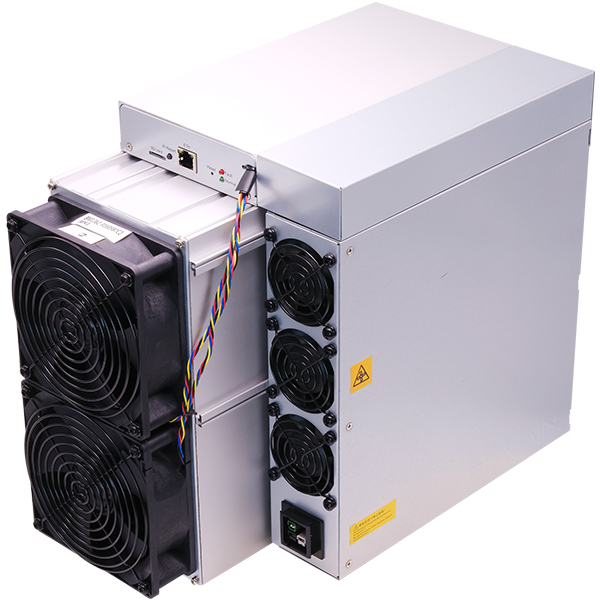
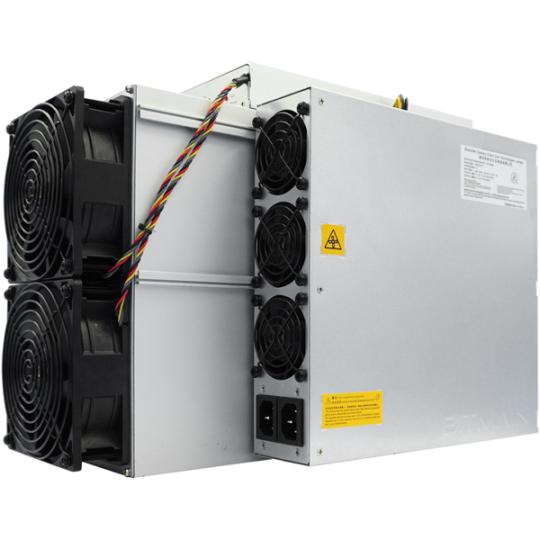
The Dash Miner D9 is a powerful and efficient mining solution designed to unlock the potential of Dash cryptocurrency through the X11 algorithm. As a product of the renowned Antminer brand, it combines cutting-edge technology with user-friendly features, making it an ideal choice for both novice and experienced miners.
This step-by-step guide will walk you through the installation process of the Dash Miner D9, ensuring a smooth setup and optimal performance. Whether you’re setting up your first mining rig or expanding your operations, this guide will provide practical insights and expert tips to help you get started.
1. Unboxing and Initial Inspection
Before diving into the installation, it’s essential to inspect your Dash Miner D9 and ensure all components are present and undamaged. Here’s what you should find in the box:
- The Dash Miner D9 unit
- A power supply unit (PSU)
- An Ethernet cable
- A user manual
Pro Tip: Check for any visible damage during shipping. If you notice any issues, contact your supplier immediately.
2. Setting Up Your Mining Environment
The Dash Miner D9 is designed for both residential and commercial use, but proper environmental setup is crucial for optimal performance.
Temperature and Ventilation
- Operating Temperature: 0°C to 40°C
- Humidity: 10% to 90% (non-condensing)
Ensure your mining space is well-ventilated to prevent overheating. Consider using fans or air conditioning to maintain a stable temperature.
Power Supply Requirements
- Voltage: 200-240V AC
- Frequency: 50Hz-60Hz
- Power Consumption: ~2839W
Use a dedicated power outlet to avoid overloading your electrical circuit. Ensure your power supply can handle the miner’s energy demands.
Pro Tip: Install a surge protector to safeguard your equipment from power fluctuations.
3. Connecting the Power Supply
- Position the Miner: Place the Dash Miner D9 on a flat, stable surface with enough space for airflow.
- Connect the PSU: Attach the power supply unit to the miner using the provided cables. Ensure all connections are secure.
- Plug into Power: Connect the PSU to a power outlet.
Pro Tip: Double-check the voltage compatibility to avoid damage to the unit.
4. Networking Your Dash Miner D9
- Ethernet Connection: Use the provided Ethernet cable to connect the miner to your router or network switch.
- Assign an IP Address: Access your router’s admin panel to assign a static IP address to the miner. This ensures consistent connectivity.
Pro Tip: Use a wired connection for stability, as Wi-Fi can lead to latency issues.
5. Accessing the Miner’s Interface
- Find the IP Address: Use your router’s connected devices list to locate the miner’s IP address.
- Log In: Open a web browser and enter the IP address. Use the default credentials (usually “root” for both username and password) to access# Team Profile Generator
Description
This command line application takes user input and uses the responses to generate an html page with Team Member cards.
Table of Contents
Installation
Run the command “npm install” in the root directory of this project to download the dependencies.

Usage
After installing the dependencies, run the command “node index.js” in the root directory of this project to start the application. Answer the questions as they appear to generate your team profile html page.
Screenshot:
!Team Profile Generator Screenshot
Licenses
MIT License
Contributing
Contact me via email or GitHub.
Tests
Run the command “npm test” in the root directory of this project to run the test suites.
Questions
Please feel free to contact me at my GitHub or email with any questions!
- GitHub User Name: DeviantSchemist
- E-mail Address: deviantschemist@gmail.com