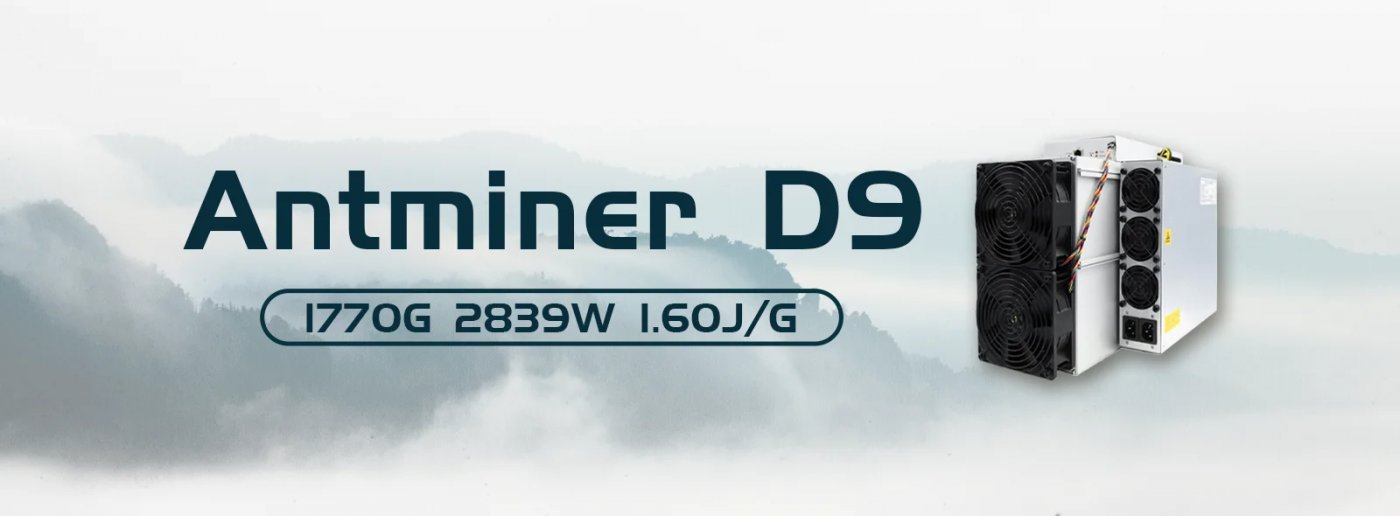
Dash Miner D9 Installation Step-by-Step Guide
The Dash Miner D9 is a state-of-the-art mining solution from the trusted Antminer brand, designed to maximize your cryptocurrency mining efficiency. Specifically engineered for the X11 algorithm, this miner is perfect for those looking to mine Dash, a digital currency with significant growth potential. Whether you’re a seasoned mining operator or a beginner, this step-by-step guide will walk you through the installation process, ensuring you get your Dash Miner D9 up and running smoothly.
Why Choose the Dash Miner D9?
Before diving into the installation, let’s briefly highlight why the Dash Miner D9 stands out:
- Unmatched Performance: With a hashrate of 1770 GH/s and power efficiency of 1.60 J/GH, the D9 delivers exceptional computational power while keeping energy costs low.
- Reliability: Built by Antminer, a leader in mining hardware, the D9 is designed for long-term, stable operation.
- User-Friendly Design: The intuitive interface and efficient cooling system make it accessible for both beginners and experts.
- Global Support: Backed by a 180-day warranty and comprehensive logistics services, the D9 ensures peace of mind and minimal downtime.
Now, let’s get started with the installation.
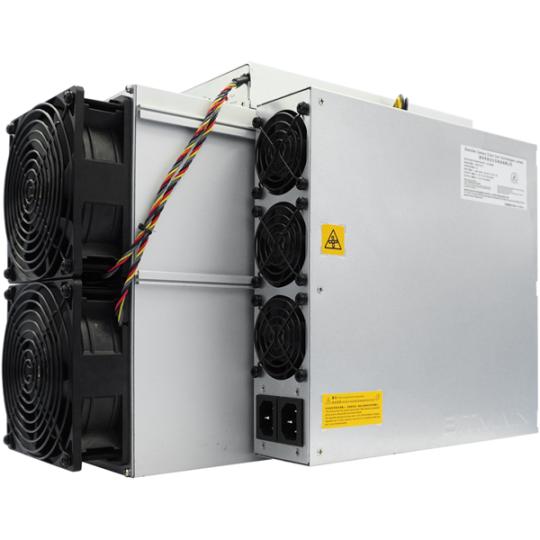
Step 1: Unboxing and Inspection
Before setting up your Dash Miner D9, carefully unbox the unit and inspect its components. Here’s what you should find inside:

- The Dash Miner D9 unit
- A power supply cable (if included)
- An Ethernet cable
- User manual and documentation
Check for any visible damage during shipping. If you notice any issues, contact the seller or support team immediately.
Step 2: Setting Up the Power Supply
The Dash Miner D9 operates on an AC input voltage of 200-240V and requires a stable power supply. Follow these steps to ensure proper power setup:
- Choose a Suitable Power Source: Ensure your electrical circuit can handle the miner’s power consumption of approximately 2839 watts. Use a dedicated circuit to avoid overloading.
- Connect the Power Cable: Plug the power supply cable into the miner’s power port and connect it to the power source. Double-check that the voltage matches the miner’s requirements.
- Power On the Miner: Turn on the power supply and verify that the miner’s indicator lights are active.
Step 3: Connecting to the Network
The Dash Miner D9 uses an Ethernet connection to communicate with your mining pool. Here’s how to set it up:
- Connect the Ethernet Cable: Plug one end of the Ethernet cable into the miner’s RJ45 port and the other end into your router or network switch.
- Assign an IP Address: The miner should automatically obtain an IP address via DHCP. If it doesn’t, you may need to manually assign one through your router settings.
- Verify Connectivity: Ensure the miner is connected to the network by checking the indicator lights on the Ethernet port.
Step 4: Accessing the Miner’s Interface
To configure and monitor your Dash Miner D9, you’ll need to access its web interface:
- Find the Miner’s IP Address: Use your router’s admin panel or a network scanning tool to locate the miner’s IP address.
- Log In: Open a web browser and enter the miner’s IP address into the address bar. Use the default login credentials (usually “root” for both username and password) to access the interface.
- Change the Password: For security, change the default password once you’ve logged in.
Step 5: Configuring Mining Settings
Now that you’ve accessed the interface, it’s time to configure the miner for Dash mining:
- Select the Mining Pool: Navigate to the “Miner Configuration” section and enter the details of your preferred Dash mining pool. This includes the pool’s URL, port number, and your worker credentials.
- Save Settings: Apply the changes and restart the miner to begin mining.
- Monitor Performance: Use the dashboard to track your miner’s hashrate, temperature, and other performance metrics.
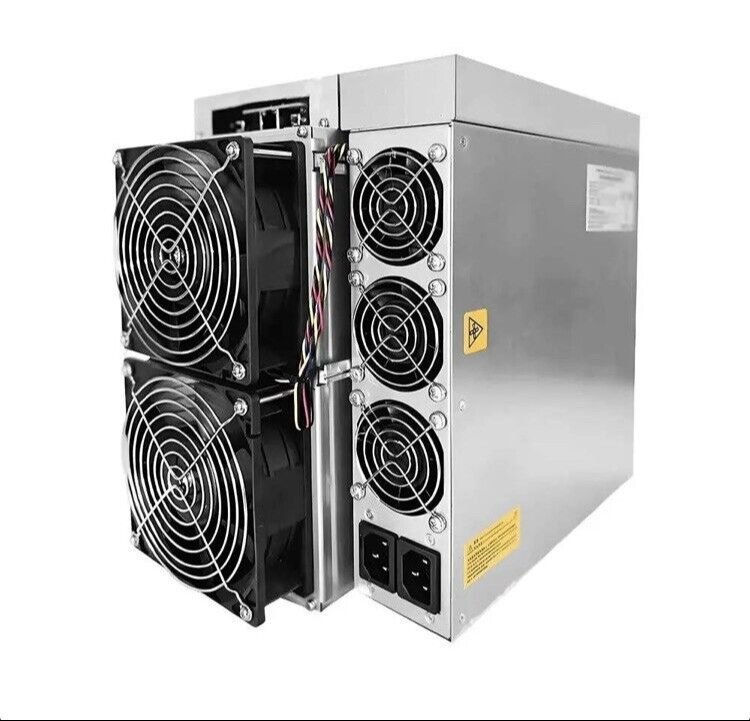
Step 6: Optimizing Cooling and Environment
The Dash Miner D9 features an efficient cooling system, but proper environmental conditions are crucial for optimal performance:
- Ensure Adequate Ventilation: Place the miner in a well-ventilated area to prevent overheating.
- Maintain Temperature and Humidity: Operate the miner within the recommended temperature range of 0°C to 40°C and humidity levels of 10% to 90% (non-condensing).
- Minimize Noise: With noise levels at 70 dBA, the D9 is relatively quiet, but consider soundproofing measures if operating in a residential setting.
Step 7: Troubleshooting and Maintenance
Even with its reliable design, occasional troubleshooting may be necessary:
- Check Connections: If the miner isn’t functioning, verify all power and network connections.
- Update Firmware: Regularly check for firmware updates to ensure optimal performance and security.
- Clean the Miner: Dust buildup can affect cooling efficiency. Periodically clean the miner’s exterior and fans.
- Contact Support: If issues persist, reach out to Antminer’s support team or consult the user manual.
Maximizing Your Mining ROI
To get the most out of your Dash Miner D9, consider these tips:
- Join a Reputable Mining Pool: Partner with a reliable pool to maximize your earnings.
- Monitor Energy Costs: Optimize your electricity usage to reduce operational expenses.
- Stay Updated: Keep an eye on Dash’s market trends and adjust your strategy accordingly.
Final Thoughts
The Dash Miner D9 is a powerful and efficient mining solution that combines cutting-edge technology with user-friendly design. By following this step-by-step guide, you can set up your miner with confidence and start earning Dash rewards in no time. With its unmatched reliability, adaptability, and global support, the D9 is your gateway to profitable and sustainable cryptocurrency mining.
Invest in the Dash Miner D9 today and take your mining operations to the next level!