Dash Miner D9 Space Requirements and Setup Tips
Cryptocurrency mining has evolved significantly over the years, and the Dash Miner D9 is a testament to this progress. Designed specifically for mining Dash using the X11 algorithm, this Antminer product combines high performance, energy efficiency, and user-friendly features. However, to maximize its potential, it’s crucial to understand its space requirements and setup process. In this article, we’ll delve into the practical aspects of deploying the Dash Miner D9, offering valuable insights for both seasoned mining operators and newcomers.
Product Introduction: What Makes the Dash Miner D9 Stand Out?
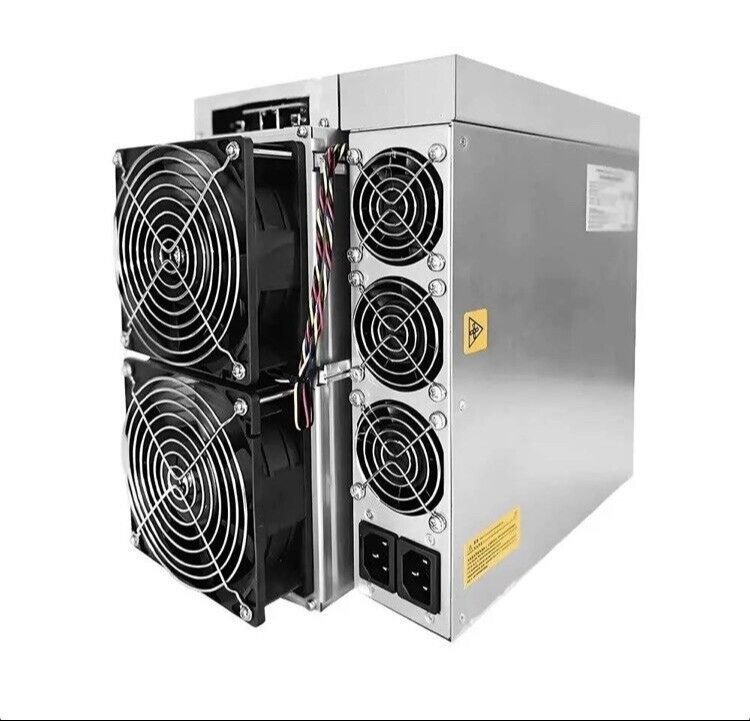
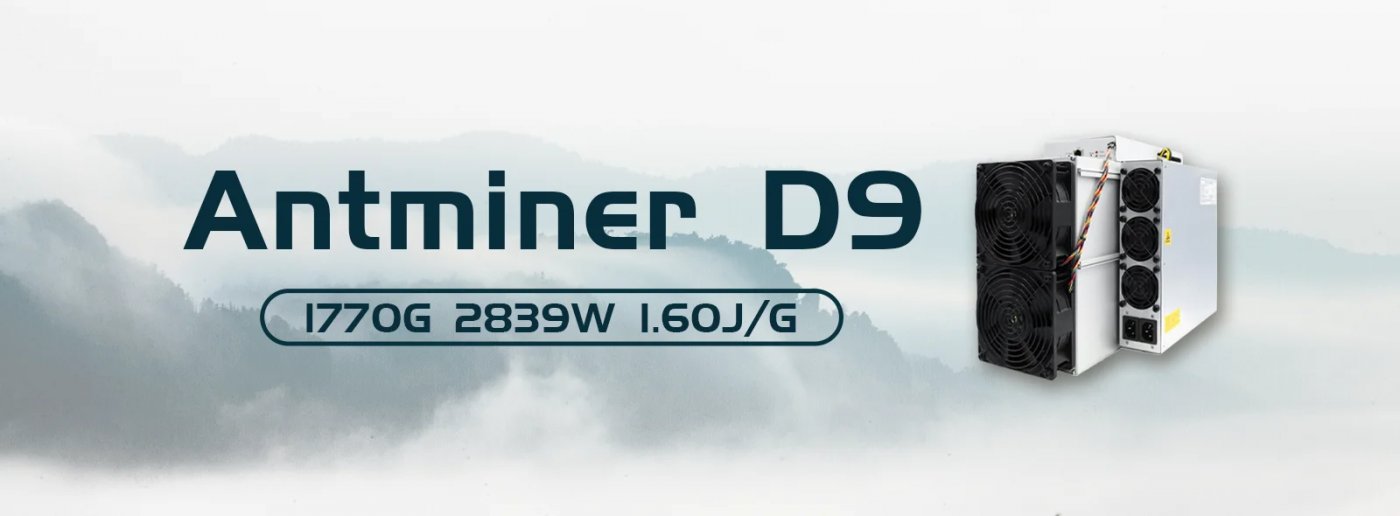
The Dash Miner D9 is a state-of-the-art mining device engineered by Antminer, a leader in the cryptocurrency mining industry. With a hashrate of 1770 GH/s and a power efficiency of 1.60 J/GH, it’s built to deliver exceptional performance while keeping energy consumption low. Its compact design, measuring 400mm x 195.5mm x 290mm, makes it suitable for various mining setups, from small-scale home operations to large commercial facilities.
One of its standout features is its compatibility with a wide range of power infrastructures. The miner operates efficiently on AC input voltages between 200V and 240V, making it adaptable to diverse environments. Additionally, its advanced cooling system ensures optimal performance even in challenging conditions, while keeping noise levels at a manageable 70 dBA.
Product Advantages: Why Choose the Dash Miner D9?
Before diving into the setup process, let’s highlight the key advantages of the Dash Miner D9:

- High Performance: With 378 high-performance hash chips and a hashrate of 1770 GH/s, the D9 is a powerhouse for Dash mining.
- Energy Efficiency: Its power efficiency of 1.60 J/GH ensures cost-effective operations, reducing your electricity expenses.
- Compact Design: The miner’s small footprint allows for flexible placement in various mining setups.
- User-Friendly Interface: The intuitive interface simplifies monitoring and control, making it accessible even for beginners.
- Reliability and Support: Backed by a 180-day warranty and Antminer’s trusted reputation, the D9 offers peace of mind for long-term operations.
Space Requirements: Planning Your Mining Setup
One of the first steps in deploying the Dash Miner D9 is assessing your space requirements. While the miner itself is compact, you’ll need to account for additional factors to ensure smooth operations.

1. Physical Dimensions and Placement
The Dash Miner D9 measures 400mm x 195.5mm x 290mm, making it relatively small compared to other mining devices. However, it’s essential to allocate sufficient space for proper ventilation. Ideally, the miner should be placed in a well-ventilated area with at least 12 inches of clearance on all sides. This ensures that the cooling system can effectively dissipate heat, preventing overheating and maintaining performance.
For larger mining farms, consider using shelving units or racks to organize multiple miners efficiently. This not only saves space but also simplifies maintenance and monitoring.
2. Power Supply and Electrical Setup
The Dash Miner D9 operates on an AC input voltage of 200-240V and consumes approximately 2839 watts. To avoid power-related issues, ensure that your electrical infrastructure can handle the miner’s power requirements.
Here are some tips for setting up your power supply:
- Use dedicated circuits to prevent overloading your electrical system.
- Invest in high-quality power cables and connectors to minimize the risk of electrical failures.
- Consider using surge protectors or uninterruptible power supplies (UPS) to safeguard your miner against power fluctuations.
3. Cooling and Ventilation
Effective cooling is critical for maintaining the Dash Miner D9’s performance and longevity. The miner’s built-in cooling system is designed to handle heat dissipation, but you can enhance its efficiency by implementing additional cooling measures.
- Airflow Management: Position the miner in a location with good airflow to prevent heat buildup. Use fans or ventilation systems to circulate air effectively.
- Temperature Control: Maintain an ambient temperature between 0°C and 40°C for optimal performance. Avoid placing the miner in areas exposed to direct sunlight or extreme heat.
- Humidity Levels: Keep humidity levels between 10% and 90% (non-condensing) to prevent moisture-related issues.
Setup Tips: Getting Started with the Dash Miner D9
Once you’ve addressed the space requirements, it’s time to set up your Dash Miner D9. Here’s a step-by-step guide to help you get started:
1. Unboxing and Inspection
Carefully unbox the miner and inspect it for any visible damage during shipping. Ensure that all components, including the power cables and Ethernet cables, are included.
2. Connecting the Miner
- Power Connection: Plug the power cable into the miner’s power input and connect it to your power source. Double-check that the voltage matches the miner’s requirements (200-240V).
- Network Connection: Use an Ethernet cable to connect the miner to your router or switch. This enables remote monitoring and control via the miner’s web interface.
3. Configuring the Miner
- Access the miner’s web interface by entering its IP address in your browser.
- Log in using the default credentials (usually “root” for both username and password).
- Configure the mining pool settings by entering the pool’s URL, port number, and your wallet address.
- Save the settings and restart the miner to begin mining.
4. Monitoring and Maintenance
Regularly monitor the miner’s performance using the web interface. Keep an eye on metrics such as hashrate, temperature, and fan speed to ensure smooth operations. Additionally, perform routine maintenance, such as cleaning the miner’s exterior and checking for dust buildup in the cooling system.
Real-World Applications: Maximizing ROI with the Dash Miner D9
The Dash Miner D9 is versatile and can be deployed in various mining setups. Here are some practical examples:
- Home Mining: Its compact size and low noise levels make the D9 ideal for home-based mining operations. With proper ventilation and cooling, you can run the miner in a spare room or garage.
- Commercial Mining Farms: For large-scale operations, the D9’s efficiency and reliability make it a cost-effective choice. Organize multiple miners in racks and implement advanced cooling solutions to maximize output.
- Remote Mining Sites: The miner’s adaptability to different power infrastructures allows for deployment in remote locations with access to affordable electricity.
Conclusion: Unlocking the Potential of the Dash Miner D9
The Dash Miner D9 is a powerful and efficient mining solution designed to deliver exceptional results for Dash enthusiasts. By understanding its space requirements and following the setup tips outlined in this article, you can optimize its performance and maximize your return on investment.
Whether you’re a seasoned mining operator or a newcomer to the cryptocurrency world, the Dash Miner D9 offers a reliable and user-friendly path to profitable mining. With its advanced features, compact design, and robust support, it’s a valuable addition to any mining setup. So, take the plunge and harness the power of the Dash Miner D9 to stay ahead in the ever-evolving world of cryptocurrency mining.