Dragonball Miner A40 Networking Setup via Ethernet: A Comprehensive Guide
Introduction
The Dragonball Miner A40 represents a significant leap forward in cryptocurrency mining technology, specifically optimized for the ALPH ecosystem using the Blake3 algorithm. Designed for both seasoned mining professionals and newcomers, the A40 combines robust engineering with practical functionality. One of its standout features is its Ethernet connectivity, which ensures seamless integration into existing mining setups. This article will guide you through the process of setting up the Dragonball Miner A40 using Ethernet, highlighting its advantages and practical applications in real-world mining operations.
Product Introduction
The Dragonball Miner A40 is engineered to deliver exceptional mining performance with a computing power of 3.3T±5%, optimized for the Blake3 algorithm. This makes it a formidable contender in the ALPH mining landscape. The miner operates within a power envelope of 1600W±10%, striking a balance between high performance and energy efficiency. Its operational flexibility is further enhanced by a wide input voltage range (165V to 300V AC) and a broad temperature tolerance (0-40°C), making it suitable for various global environments.
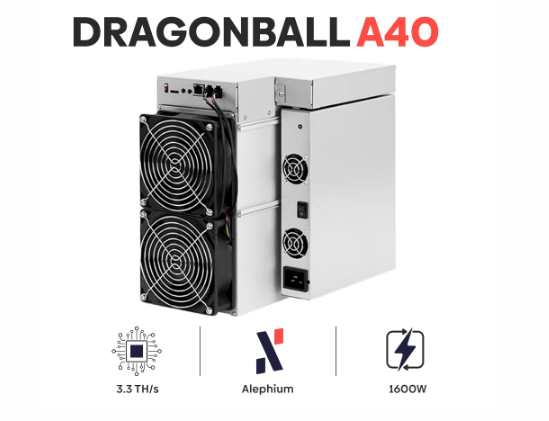
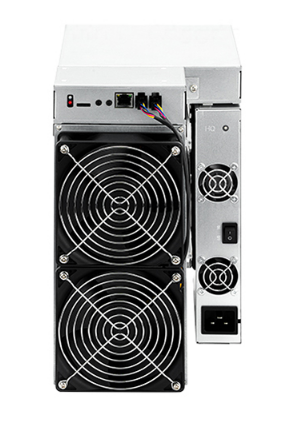
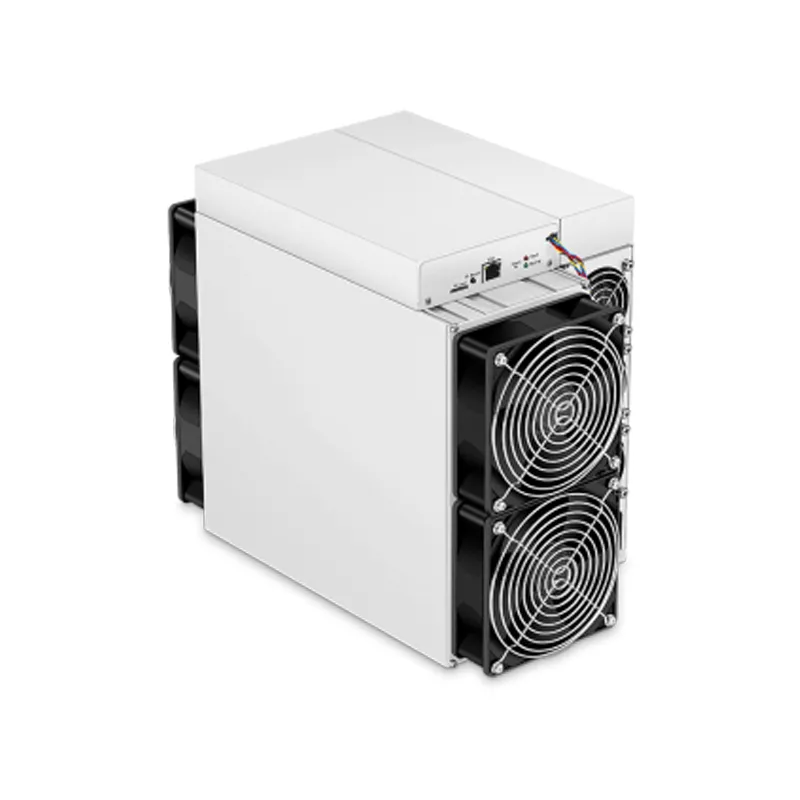
The A40’s compact design (360×185×290mm) ensures it fits well in mining rigs while maintaining excellent airflow and cooling. With a net weight of 14.5kg, it offers a blend of robustness and manageability. The inclusion of RJ45 Ethernet connectivity supporting 10/100M networks allows for real-time monitoring and management, which is crucial for optimizing mining performance.

Product Advantages
- Trusted Brand Excellence: Dragonball is a leading manufacturer in the mining hardware industry, ensuring reliability and confidence in your mining operations.
- Strategic Currency Focus: Optimized for ALPH mining through the Blake3 algorithm, positioning miners to capitalize on the growing Alephium ecosystem.
- Comprehensive Warranty Protection: Industry-leading 180-day warranty from shipment date, providing peace of mind.
- Superior Serviceability: Modular design and readily available replacement components ensure quick repairs and minimal downtime.
- Global Accessibility: Extensive shipping options including DHL, UPS, and DDP ensure reliable worldwide delivery.
- Thermal Efficiency: Advanced cooling system design and broad temperature tolerance ensure optimal performance across various environments.
- Power Optimization: Sophisticated power management system with a wide input voltage range enables stable operation across different power infrastructures.
Setting Up Dragonball Miner A40 via Ethernet
Step 1: Unboxing and Initial Setup
Upon receiving your Dragonball Miner A40, carefully unbox and inspect the unit for any shipping damage. Ensure all components, including the power supply unit (PSU) and Ethernet cable, are present. Place the miner in a well-ventilated area with adequate airflow to facilitate cooling.
Step 2: Connecting the Power Supply
Connect the A40 to a compatible PSU, ensuring the input voltage falls within the specified range (165V to 300V AC). Proper power connection is crucial for stable operation and preventing potential damage.
Step 3: Ethernet Connection
Locate the RJ45 Ethernet port on the miner. Connect one end of the Ethernet cable to this port and the other end to your router or switch. Ensure the network supports 10/100M speeds for optimal connectivity.
Step 4: Powering On the Miner
Once the power and Ethernet connections are secure, power on the Dragonball Miner A40. The miner will initialize and attempt to establish a network connection. Indicators on the miner will provide status updates.
Step 5: Accessing the Miner’s Interface
Most mining hardware comes with a web interface for configuration and monitoring. Open a web browser on a device connected to the same network and enter the miner’s default IP address. You may need to refer to the user manual for the specific IP address and login credentials.
Step 6: Configuring Network Settings
Navigate to the network settings section within the miner’s interface. Ensure the Ethernet connection is active and properly configured. You may need to set a static IP address or configure DHCP, depending on your network setup.
Step 7: Pool Configuration
To start mining, configure the miner to connect to your preferred mining pool. Enter the pool’s address, your wallet address, and any required credentials. Save the settings and start the mining process.
Step 8: Monitoring and Optimization
Once mining begins, use the miner’s interface to monitor performance metrics such as hash rate, temperature, and power consumption. Adjust settings as necessary to optimize performance and ensure stable operation.
Practical Applications and Benefits
Real-Time Monitoring
Ethernet connectivity allows for real-time monitoring of the Dragonball Miner A40, enabling miners to quickly respond to any issues or changes in market conditions. This ensures maximum uptime and profitability.
Remote Management
With Ethernet setup, miners can manage their operations remotely, accessing the miner’s interface from any device connected to the same network. This is particularly beneficial for large-scale mining operations with multiple units.
Enhanced Security
Ethernet connections are generally more secure than wireless connections, reducing the risk of unauthorized access or interference. This is crucial for protecting your mining operations and ensuring data integrity.
Scalability
Ethernet connectivity facilitates the integration of multiple miners into a single network, allowing for scalable and efficient mining operations. This is essential for expanding your mining setup as your operation grows.
Conclusion
Setting up the Dragonball Miner A40 via Ethernet is a straightforward process that offers numerous advantages for cryptocurrency mining operations. Its robust design, optimized performance for the Blake3 algorithm, and seamless Ethernet integration make it a top choice for miners looking to maximize their ALPH mining potential. By following the steps outlined in this guide, you can ensure a smooth and efficient setup, allowing you to focus on optimizing your mining performance and achieving your financial goals.
In conclusion, the Dragonball Miner A40, with its advanced features and practical applications, stands out as a reliable and efficient mining solution. Whether you are a seasoned miner or just starting, the A40’s Ethernet setup ensures you can harness its full potential with ease and confidence.