How to Replace Fans on JASMINER X16-QE: A Practical Guide for Mining Operators
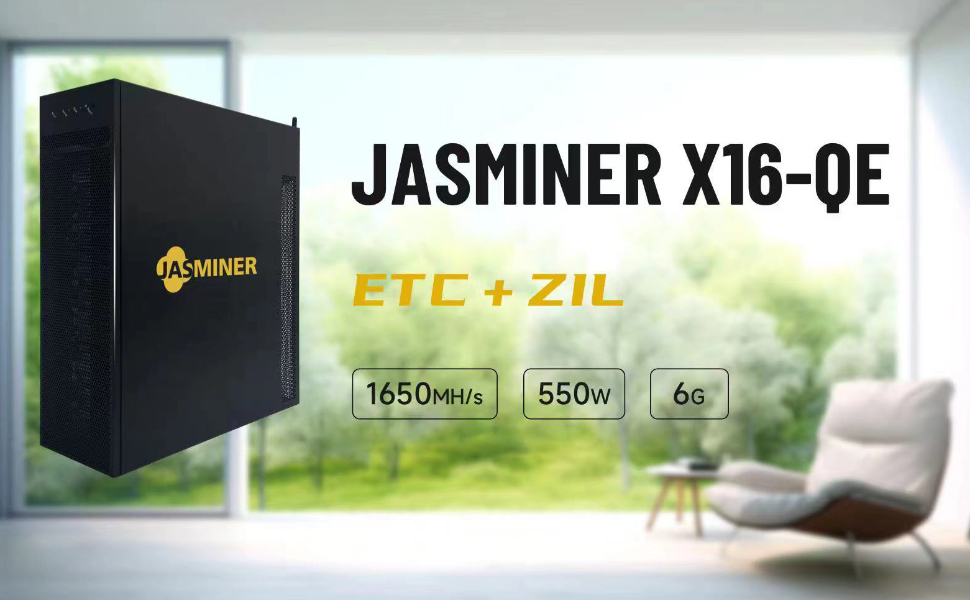
The JASMINER X16-QE has established itself as a powerhouse in cryptocurrency mining, particularly for ETCHASH and ETHASH algorithms. Its exceptional hash rate of up to 1750MH/s (±10%) and industry-leading energy efficiency of 0.33J/MH make it a go-to choice for both institutional miners and serious enthusiasts. However, like any high-performance mining equipment, maintaining optimal functionality is crucial to ensure long-term profitability and operational stability. One of the most critical maintenance tasks is fan replacement, as cooling systems are integral to preventing overheating and ensuring consistent performance.
In this article, we’ll walk you through the process of replacing fans on the JASMINER X16-QE, offering practical insights and step-by-step guidance. Whether you’re a seasoned mining operator or new to the field, this guide will help you keep your mining rig running smoothly and efficiently.
Why Fan Maintenance Matters on the JASMINER X16-QE
The JASMINER X16-QE is equipped with a triple-fan cooling system, a key feature that supports its advanced thermal management capabilities. These fans are designed to maintain stable operation across a wide temperature range (0-40°C) while keeping noise levels below 40dB. Over time, however, fans can wear out due to continuous operation, dust accumulation, or mechanical stress. Faulty fans can lead to inadequate cooling, increased hardware temperatures, and even potential damage to the mining chips.
Regularly inspecting and replacing fans ensures that your JASMINER X16-QE continues to operate at peak efficiency, minimizing downtime and maximizing ROI.
Tools and Preparation
Before starting the fan replacement process, gather the following tools:
- Screwdrivers (Phillips and flathead)
- Compressed air or a soft brush (for cleaning dust)
- Replacement fans (ensure they are compatible with the JASMINER X16-QE)
- Anti-static wrist strap (to prevent static discharge damage)
- Work gloves (for handling components safely)
Additionally, ensure your workspace is clean, well-lit, and free from static-prone materials.
Step-by-Step Fan Replacement Guide
#### 1. Power Down and Disconnect the Unit Safety is paramount when working with mining equipment. Begin by powering down the JASMINER X16-QE and disconnecting it from the power source. Allow the unit to cool completely before proceeding.
#### 2. Access the Internal Components The JASMINER X16-QE features a modular design that facilitates easy access to internal components. Carefully remove the outer casing by unscrewing the designated screws. Keep track of all screws and components to avoid misplacement during reassembly.

#### 3. Locate the Fans Once the casing is removed, locate the three fans positioned strategically within the unit. These fans are responsible for maintaining optimal airflow and dissipating heat generated by the mining chips.
#### 4. Remove the Old Fans Disconnect the power cables connected to each fan. Using a screwdriver, carefully unscrew the mounting brackets securing the fans to the chassis. Gently remove the old fans, taking care not to damage surrounding components.
#### 5. Clean the Interior Before installing the new fans, take this opportunity to clean the interior of the unit. Use compressed air or a soft brush to remove dust and debris from the heatsinks, circuit boards, and other components. A clean interior ensures better airflow and cooling efficiency.
#### 6. Install the New Fans Position the new fans in the same orientation as the old ones. Secure them with the mounting brackets and reconnect the power cables. Double-check that all connections are secure and that the fans are properly aligned to maximize airflow.
#### 7. Reassemble the Unit Carefully reattach the outer casing, ensuring all screws are tightened securely. Reconnect the power source and power on the unit to verify that the new fans are functioning correctly.

Tips for Maintaining Optimal Cooling Performance
- Regular Inspections
Periodically check the condition of your fans to identify signs of wear or malfunction early. Look for unusual noises, reduced airflow, or visible damage.

- Dust Management
Dust accumulation can impede airflow and reduce cooling efficiency. Clean the interior of your JASMINER X16-QE every 3-6 months, depending on your operating environment.

- Environmental Considerations
Ensure your mining setup is in a well-ventilated area with adequate airflow. Avoid placing the unit in confined spaces or near heat sources.
- Use Quality Replacement Fans
Always opt for high-quality, compatible replacement fans. Inferior fans may fail prematurely or provide inadequate cooling, compromising the performance of your mining rig.
Why the JASMINER X16-QE Stands Out
While fan replacement is a routine maintenance task, the JASMINER X16-QE’s design makes the process straightforward and efficient. Its triple-fan cooling system and optimized airflow structure are testaments to its engineering excellence, ensuring reliable performance even under demanding conditions. Additionally, the unit’s standard 3U server form factor and versatile deployment options make it adaptable to various mining setups, from data centers to home operations.
Conclusion
Replacing fans on your JASMINER X16-QE is a simple yet essential maintenance task that can significantly impact your mining profitability and equipment longevity. By following this guide, you can ensure your mining rig continues to operate at peak efficiency, delivering the exceptional performance and energy efficiency that the JASMINER X16-QE is known for.
Investing time in proper maintenance not only protects your hardware but also maximizes your return on investment, making it a critical aspect of successful cryptocurrency mining operations. Remember, a well-maintained miner is a profitable miner!