How to Replace Parts on Bitcoin Miner S19k Pro?
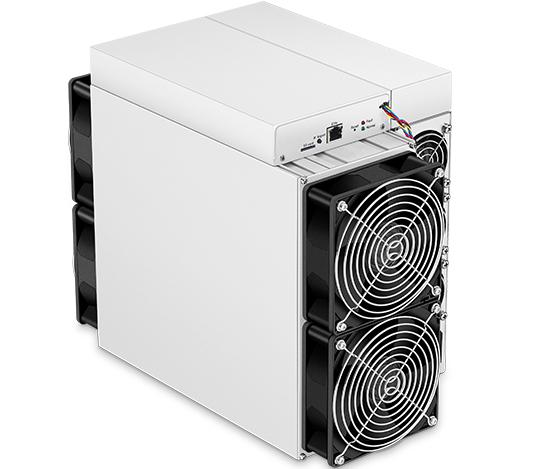
The Bitcoin Miner S19k Pro is a powerhouse in the world of cryptocurrency mining, offering unparalleled performance and reliability. However, like any sophisticated piece of hardware, it requires regular maintenance to ensure it continues to operate at peak efficiency. One critical aspect of maintaining your S19k Pro is knowing how to replace parts when necessary. This guide will walk you through the process, providing practical insights and tips to make part replacement straightforward and hassle-free.

Understanding the S19k Pro’s Modular Design
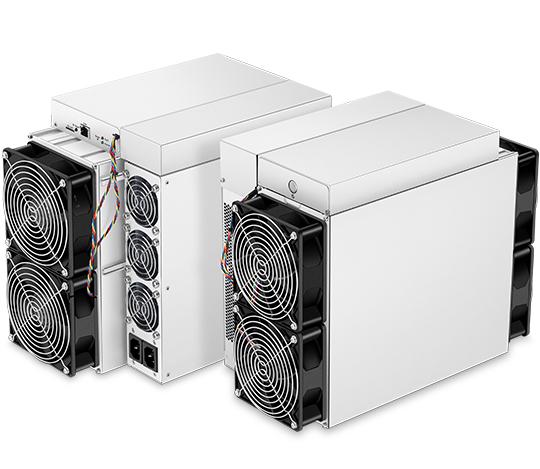
Before diving into the specifics of part replacement, it’s essential to understand the modular design of the S19k Pro. Bitmain has engineered this miner with user-friendly maintenance in mind. Key components such as the hash boards, power supply units (PSUs), and cooling fans are designed for easy access and replacement. This modularity minimizes downtime and allows miners to quickly swap out faulty parts, ensuring continuous operation.
Common Parts That May Need Replacement
- Hash Boards: The heart of the S19k Pro, responsible for performing the cryptographic calculations necessary for mining. Over time, hash boards can fail due to wear and tear or overheating.
- Power Supply Units (PSUs): These convert AC power into the DC power required by the miner. PSUs can fail due to power surges or extended use.
- Cooling Fans: Essential for maintaining optimal operating temperatures. Fans can wear out or become clogged with dust, reducing their effectiveness.
- Control Boards: The brain of the miner, managing communication between components. Control board failures can disrupt mining operations.
Step-by-Step Guide to Replacing Parts on the S19k Pro
Preparing for Replacement
- Safety First: Always disconnect the miner from the power source before attempting any maintenance. Ensure you are working in a static-free environment to avoid damaging sensitive components.
- Gather Tools: You’ll need a Phillips-head screwdriver, an anti-static wrist strap, and any specific tools mentioned in the S19k Pro’s user manual.
- Identify the Faulty Part: Use the miner’s interface to diagnose which component is failing. Most modern miners, including the S19k Pro, provide detailed error logs that can help pinpoint the issue.
Replacing a Hash Board
- Open the Miner: Remove the screws securing the miner’s casing. Carefully lift the top cover to expose the internal components.
- Locate the Faulty Hash Board: The S19k Pro typically has three hash boards. Identify the one causing issues based on the error logs.
- Disconnect Cables: Gently disconnect the cables attached to the faulty hash board. Take note of their positions to ensure correct reconnection.
- Remove the Hash Board: Unscrew the board from its mounting points and carefully lift it out of the miner.
- Install the New Hash Board: Place the new hash board into the slot, secure it with screws, and reconnect the cables.
- Close the Miner: Replace the top cover and secure it with screws. Reconnect the power and monitor the miner to ensure the new hash board is functioning correctly.
Replacing the Power Supply Unit (PSU)
- Open the Miner: Follow the same steps as above to access the internal components.
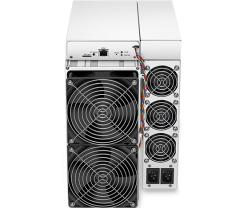
- Locate the PSU: The PSU is usually located at the back of the miner.
- Disconnect Cables: Carefully disconnect all cables attached to the PSU.
- Remove the PSU: Unscrew the PSU from its mounting points and remove it from the miner.
- Install the New PSU: Place the new PSU into position, secure it with screws, and reconnect the cables.
- Close the Miner: Replace the top cover and secure it with screws. Reconnect the power and verify that the new PSU is functioning correctly.
Replacing Cooling Fans
- Open the Miner: Access the internal components by removing the top cover.
- Locate the Faulty Fan: The S19k Pro typically has multiple cooling fans. Identify the one that is not functioning properly.
- Disconnect the Fan: Gently disconnect the fan’s power cable.
- Remove the Fan: Unscrew the fan from its mounting points and remove it from the miner.
- Install the New Fan: Place the new fan into position, secure it with screws, and reconnect the power cable.
- Close the Miner: Replace the top cover and secure it with screws. Reconnect the power and monitor the miner to ensure the new fan is operating correctly.
Replacing the Control Board
- Open the Miner: Access the internal components by removing the top cover.
- Locate the Control Board: The control board is usually centrally located within the miner.
- Disconnect Cables: Carefully disconnect all cables attached to the control board.
- Remove the Control Board: Unscrew the control board from its mounting points and remove it from the miner.
- Install the New Control Board: Place the new control board into position, secure it with screws, and reconnect the cables.
- Close the Miner: Replace the top cover and secure it with screws. Reconnect the power and verify that the new control board is functioning correctly.
Tips for Successful Part Replacement
- Stay Organized: Keep track of all screws and cables during the replacement process. Labeling cables can help ensure they are reconnected correctly.
- Use Anti-Static Precautions: Always use an anti-static wrist strap to prevent static discharge, which can damage sensitive components.
- Refer to the Manual: The S19k Pro’s user manual provides detailed instructions and diagrams that can assist in the replacement process.
- Test After Replacement: After replacing a part, monitor the miner closely to ensure it is functioning correctly and there are no further issues.
- Keep Spare Parts on Hand: Having spare hash boards, PSUs, fans, and control boards can minimize downtime in case of a failure.
Conclusion
Replacing parts on the Bitcoin Miner S19k Pro is a manageable task, thanks to its modular design and user-friendly construction. By following the steps outlined in this guide, you can ensure your miner remains in optimal condition, maximizing its performance and profitability. Regular maintenance and timely part replacement are essential for sustaining long-term mining operations, and with the S19k Pro, these tasks are both practical and efficient. Invest in quality spare parts, stay organized, and always prioritize safety to keep your mining operations running smoothly.