How to Set Up Dash Miner D9 for the First Time?
Cryptocurrency mining has evolved significantly over the years, and the Dash Miner D9 from the Antminer brand represents a pinnacle of innovation and efficiency in the field. Designed specifically for mining Dash using the X11 algorithm, this miner offers unparalleled performance, reliability, and ease of use. If you’re new to mining or upgrading your setup, this guide will walk you through the process of setting up your Dash Miner D9 for the first time, ensuring you get started on the right foot.
Introduction to the Dash Miner D9
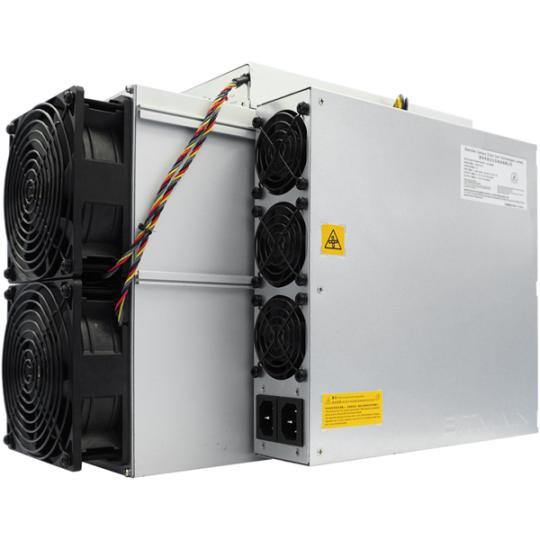
The Dash Miner D9 is a state-of-the-art mining device engineered by Antminer, a globally recognized leader in cryptocurrency mining hardware. Built to mine Dash, a cryptocurrency known for its privacy-focused features and growing adoption, the D9 leverages the X11 algorithm to deliver exceptional results.

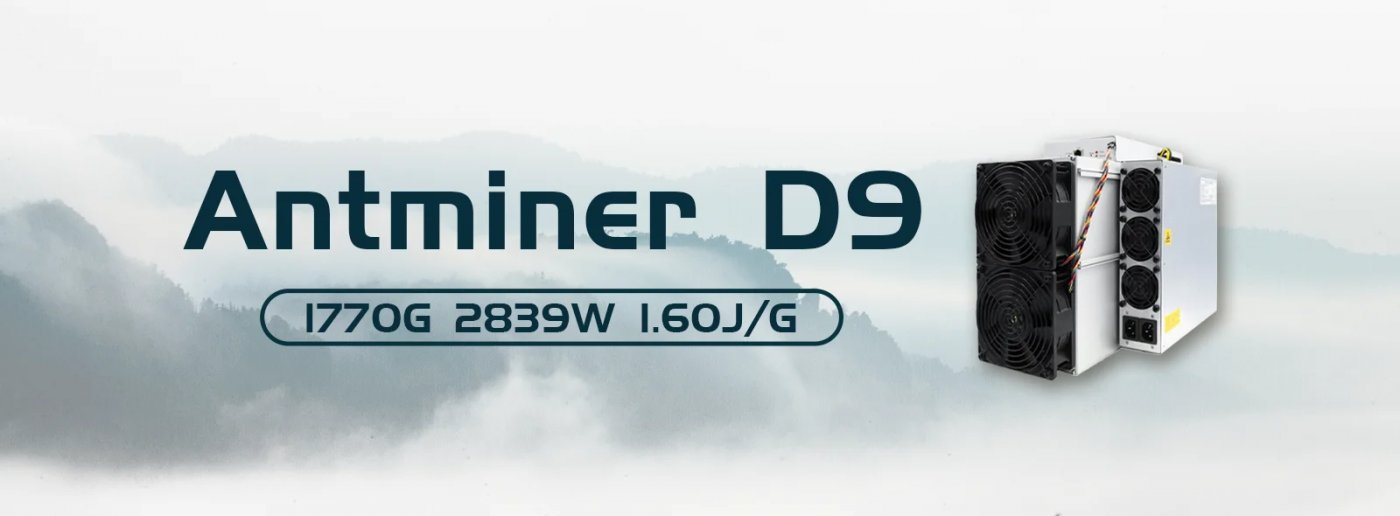
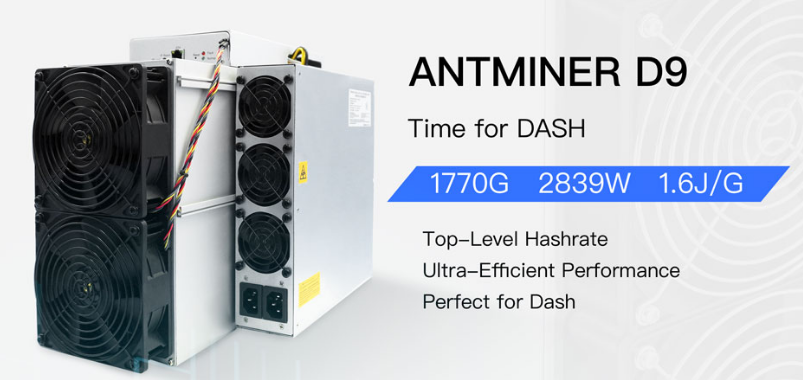
With a hashrate of 1770 GH/s and a power efficiency of 1.60 J/GH, the D9 is designed to maximize profitability while minimizing operational costs. Its robust construction, advanced cooling system, and user-friendly interface make it an ideal choice for both beginners and seasoned miners. Whether you’re setting up a small-scale operation or integrating the D9 into a larger mining farm, this device offers the tools you need to succeed.
Key Advantages of the Dash Miner D9
Before diving into the setup process, it’s important to understand why the Dash Miner D9 stands out in the competitive mining landscape:
- Unmatched Performance: With 378 high-performance hash chips distributed across three hash boards, the D9 delivers a consistent and powerful hashrate of 1770 GH/s.
- Energy Efficiency: Operating at just 1.60 J/GH, the D9 ensures that your mining operations remain cost-effective, even as energy prices fluctuate.
- Compact and Quiet: Measuring only 400mm x 195.5mm x 290mm, the D9’s compact design and quiet operation (70 dBA) make it suitable for various environments, including home setups.
- Reliability and Support: Backed by a 180-day warranty and Antminer’s renowned customer support, the D9 provides peace of mind and minimizes downtime.
- Adaptability: The miner supports a wide range of AC input voltages (200-240V) and frequencies (50-60Hz), making it compatible with diverse power infrastructures.
Step-by-Step Guide to Setting Up Your Dash Miner D9
Setting up your Dash Miner D9 is straightforward, but attention to detail is crucial to ensure optimal performance. Follow these steps to get started:

1. Unbox and Inspect the Miner
Begin by carefully unboxing the Dash Miner D9. Ensure that all components are included and undamaged. The package should contain:
- The Dash Miner D9 unit
- A power supply cord
- An Ethernet cable
- User manual
Inspect the miner for any visible damage during transit, and contact the seller immediately if you notice any issues.
2. Prepare Your Mining Environment
The Dash Miner D9 requires a stable and well-ventilated environment to operate efficiently. Here’s what you’ll need:
- Power Supply: Ensure you have access to a 200-240V AC power source with a minimum capacity of 20 amps.
- Cooling: The miner generates heat during operation, so proper ventilation is essential. Consider placing it in a cool, air-conditioned room or using external fans to maintain optimal temperatures (0°C to 40°C).
- Internet Connection: A stable Ethernet connection is required for configuring and monitoring the miner.
3. Connect the Power Supply
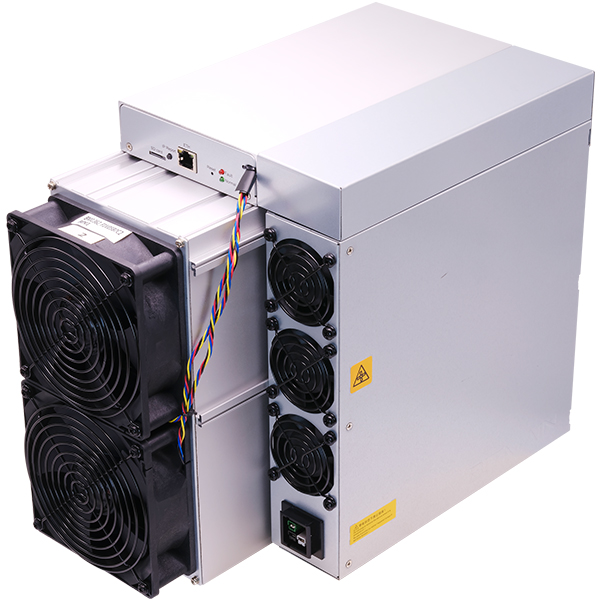
Plug the power supply cord into the back of the Dash Miner D9 and connect it to your power source. Ensure the voltage matches the miner’s requirements (200-240V AC). Double-check all connections to avoid power-related issues.

4. Connect to Your Network
Using the provided Ethernet cable, connect the Dash Miner D9 to your router or network switch. This step is crucial for accessing the miner’s web interface and configuring it for mining.
5. Access the Miner’s Web Interface
Once connected to the network, you’ll need to access the miner’s web interface. Here’s how:
- Open a web browser on a device connected to the same network as the miner.
- Enter the miner’s default IP address (found in the user manual) into the browser’s address bar.
- Log in using the default username and password (also provided in the manual).
6. Configure Mining Settings
After logging in, you’ll be directed to the miner’s dashboard. Here, you’ll need to configure the following settings:

- Pool Configuration: Enter the details of your preferred mining pool, including the pool address, port number, and worker credentials.
- Wallet Address: Input your Dash wallet address to ensure mined rewards are sent to your account.
- Fan Speed and Temperature: Adjust these settings based on your environment to optimize cooling and performance.
7. Start Mining
Once all settings are configured, save the changes and initiate the mining process. The Dash Miner D9 will begin hashing, and you can monitor its performance in real-time through the web interface.
8. Monitor and Optimize
Regularly check the miner’s status, including hashrate, temperature, and fan speed. Use this data to make adjustments and ensure long-term efficiency. For example, if temperatures rise too high, consider improving ventilation or reducing ambient heat.
Tips for Maximizing Your Dash Miner D9’s Performance
To get the most out of your Dash Miner D9, keep these tips in mind:
- Stay Updated: Regularly update the miner’s firmware to benefit from performance improvements and bug fixes.
- Join a Reliable Pool: Choose a mining pool with low fees, high uptime, and a strong reputation to maximize your earnings.
- Maintain Your Equipment: Clean the miner’s fans and vents periodically to prevent dust buildup, which can reduce cooling efficiency.
- Track Energy Costs: Monitor your energy consumption and explore ways to reduce costs, such as using renewable energy sources or optimizing power usage.
Conclusion
The Dash Miner D9 is a powerful and reliable mining solution that empowers you to tap into the potential of Dash and the X11 algorithm. By following this guide, you can set up your miner with confidence and start generating rewards in no time. With its unmatched performance, energy efficiency, and user-friendly design, the D9 is an excellent investment for anyone looking to enter or expand their presence in the cryptocurrency mining industry.
Whether you’re a hobbyist or a professional miner, the Dash Miner D9 offers the tools and support you need to succeed in the ever-evolving world of cryptocurrency. So, take the first step today and unlock the full potential of Dash mining with this cutting-edge device. Happy mining!