How to Set Up Dash Miner D9 for the First Time?
Cryptocurrency mining has evolved significantly over the years, and with the introduction of specialized mining hardware like the Dash Miner D9, miners can now achieve unprecedented efficiency and profitability. If you’ve recently acquired a Dash Miner D9 or are considering adding one to your mining setup, this guide will walk you through the process of setting it up for the first time. Whether you’re a seasoned miner or a beginner, this article will provide you with practical insights and step-by-step instructions to ensure a smooth and successful setup.
Introduction to the Dash Miner D9
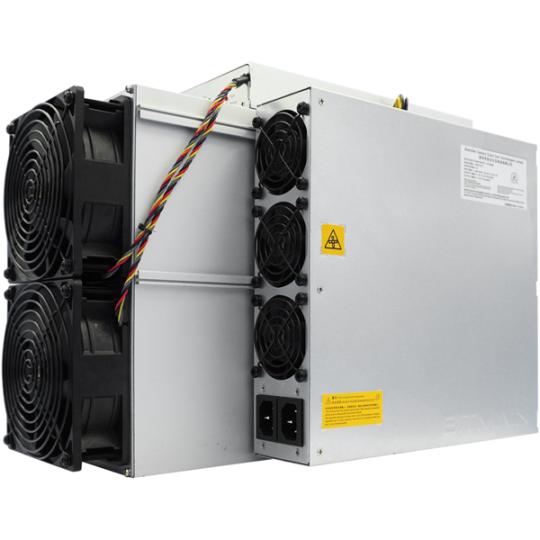
The Dash Miner D9 is a state-of-the-art mining device developed by Antminer, a leader in the cryptocurrency mining industry. Specifically designed for the X11 algorithm, this miner is optimized for mining Dash (DASH), a digital currency known for its privacy features and growing adoption. With a staggering hashrate of 1770 GH/s and a power efficiency of 1.60 J/GH, the D9 is a powerhouse that combines performance and energy efficiency.
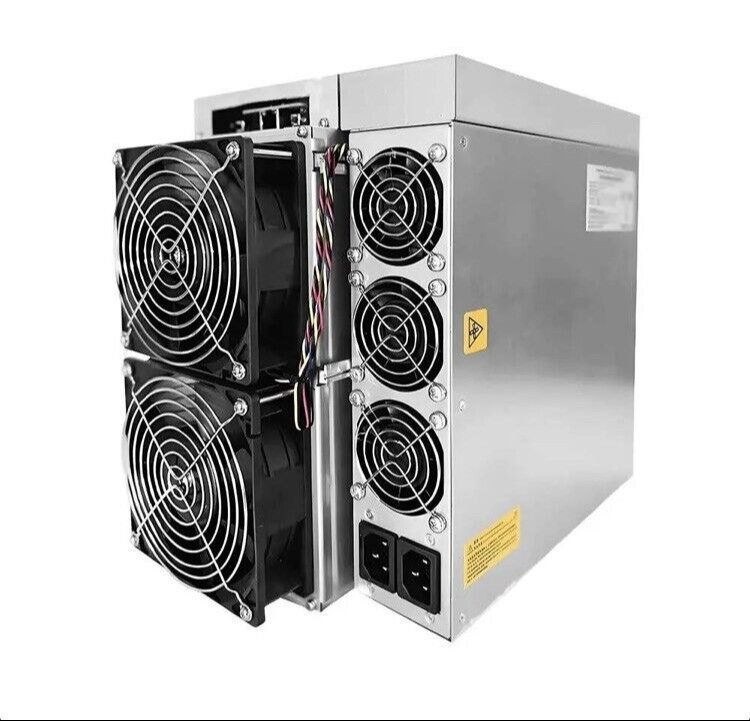
What sets the Dash Miner D9 apart is its robust construction, advanced cooling system, and user-friendly design. It’s built to operate reliably in various environments, making it suitable for both home-based miners and large-scale operations. Additionally, the miner comes with a 180-day warranty and comprehensive support from Antminer, ensuring peace of mind for users.
Now, let’s dive into the step-by-step process of setting up your Dash Miner D9 for the first time.
Step 1: Unboxing and Inspection
When your Dash Miner D9 arrives, the first step is to carefully unbox and inspect the device. Here’s what you should do:
- Check the Packaging: Ensure the packaging is intact and free from damage during transit.
- Inspect the Miner: Examine the miner for any visible physical damage or missing components.
- Verify Contents: The package should include the Dash Miner D9 unit, a power cable, and an Ethernet cable. Confirm that all these items are present.
If everything looks good, you’re ready to proceed to the next step.
Step 2: Prepare Your Mining Environment
Before powering on your Dash Miner D9, it’s essential to set up an appropriate mining environment. Here are some key considerations:

- Ventilation: The D9 generates heat during operation, so ensure the mining space is well-ventilated. Use fans or air conditioning to maintain a stable temperature.
- Power Supply: The miner requires a 200-240V AC power supply with a 20-amp circuit. Avoid using extension cords to prevent power fluctuations.
- Stable Internet Connection: A reliable Ethernet connection is crucial for monitoring and managing the miner.
- Noise Considerations: While the D9 operates at a relatively quiet 70 dBA, it’s still advisable to place it in a location where noise won’t be a disturbance.
Step 3: Connect the Hardware
Once your environment is ready, it’s time to connect the hardware:
- Power Connection: Plug the power cable into the miner and connect it to the power outlet. Ensure the voltage matches the miner’s requirements (200-240V).
- Ethernet Connection: Connect the miner to your router or switch using the provided Ethernet cable.
- Cooling Setup: Although the D9 has an integrated cooling system, you may want to position additional fans nearby to enhance airflow.
Step 4: Configure the Miner
With the hardware connected, the next step is to configure the miner for operation:
- Access the Miner’s Interface:
- Open a web browser on a computer connected to the same network as the miner.
- Enter the miner’s IP address into the browser’s address bar. You can find the IP address using your router’s admin panel or a network scanning tool.
- Log In:
- Use the default username and password (usually “root” for both) to log into the miner’s interface.
- Configure Pool Settings:
- Navigate to the “Miner Configuration” section.
- Enter the details of your mining pool, including the pool URL, port number, and your wallet address. If you don’t have a mining pool account, sign up with a reputable pool like F2Pool, Antpool, or ViaBTC.
- Save and Apply Settings: After entering the pool details, save the configuration and restart the miner to apply the changes.
Step 5: Monitor and Optimize Performance
Once the miner is up and running, you can monitor its performance and make adjustments as needed:
- Dashboard Overview: The miner’s interface provides real-time data on hashrate, temperature, and power consumption. Keep an eye on these metrics to ensure optimal performance.
- Temperature Management: If the miner’s temperature exceeds 40°C, consider improving ventilation or reducing ambient temperature.
- Hashrate Optimization: If the hashrate drops below expected levels, check the pool connection and ensure the miner isn’t overheating.
Step 6: Troubleshooting and Maintenance
Even with its robust design, the Dash Miner D9 may occasionally encounter issues. Here’s how to handle common problems:
- No Power: Check the power cable and outlet. Ensure the voltage matches the miner’s requirements.
- Connection Issues: Verify the Ethernet cable and router settings. Restart the miner if necessary.
- Overheating: Improve airflow or relocate the miner to a cooler environment.
- Component Replacement: If any parts need replacement, contact Minerfixes for genuine spare parts and repair services.
Advantages of the Dash Miner D9
To wrap up, let’s recap the key advantages of the Dash Miner D9 that make it a standout choice for miners:

- High Hashrate: With 1770 GH/s, the D9 delivers exceptional computational power for mining Dash.
- Energy Efficiency: At just 1.60 J/GH, the miner maximizes profitability by minimizing electricity costs.
- Reliability: Built by Antminer, the D9 is backed by a 180-day warranty and global support.
- Compact Design: The miner’s small footprint and quiet operation make it suitable for various setups.
- User-Friendly Interface: The intuitive web interface simplifies configuration and monitoring.
Conclusion
Setting up the Dash Miner D9 for the first time is a straightforward process that can yield significant returns for your mining operations. By following this guide, you’ll be able to harness the full potential of this powerful mining device and position yourself for success in the Dash ecosystem. Whether you’re mining solo or as part of a pool, the D9’s combination of performance, efficiency, and reliability makes it an excellent investment for anyone looking to capitalize on the growing demand for Dash.
Embark on your mining journey today with the Dash Miner D9 and unlock the future of cryptocurrency!