JASMINER X16-Q Pro Dual-Mounting Installation Tips: Maximizing Your Mining Efficiency
Introduction
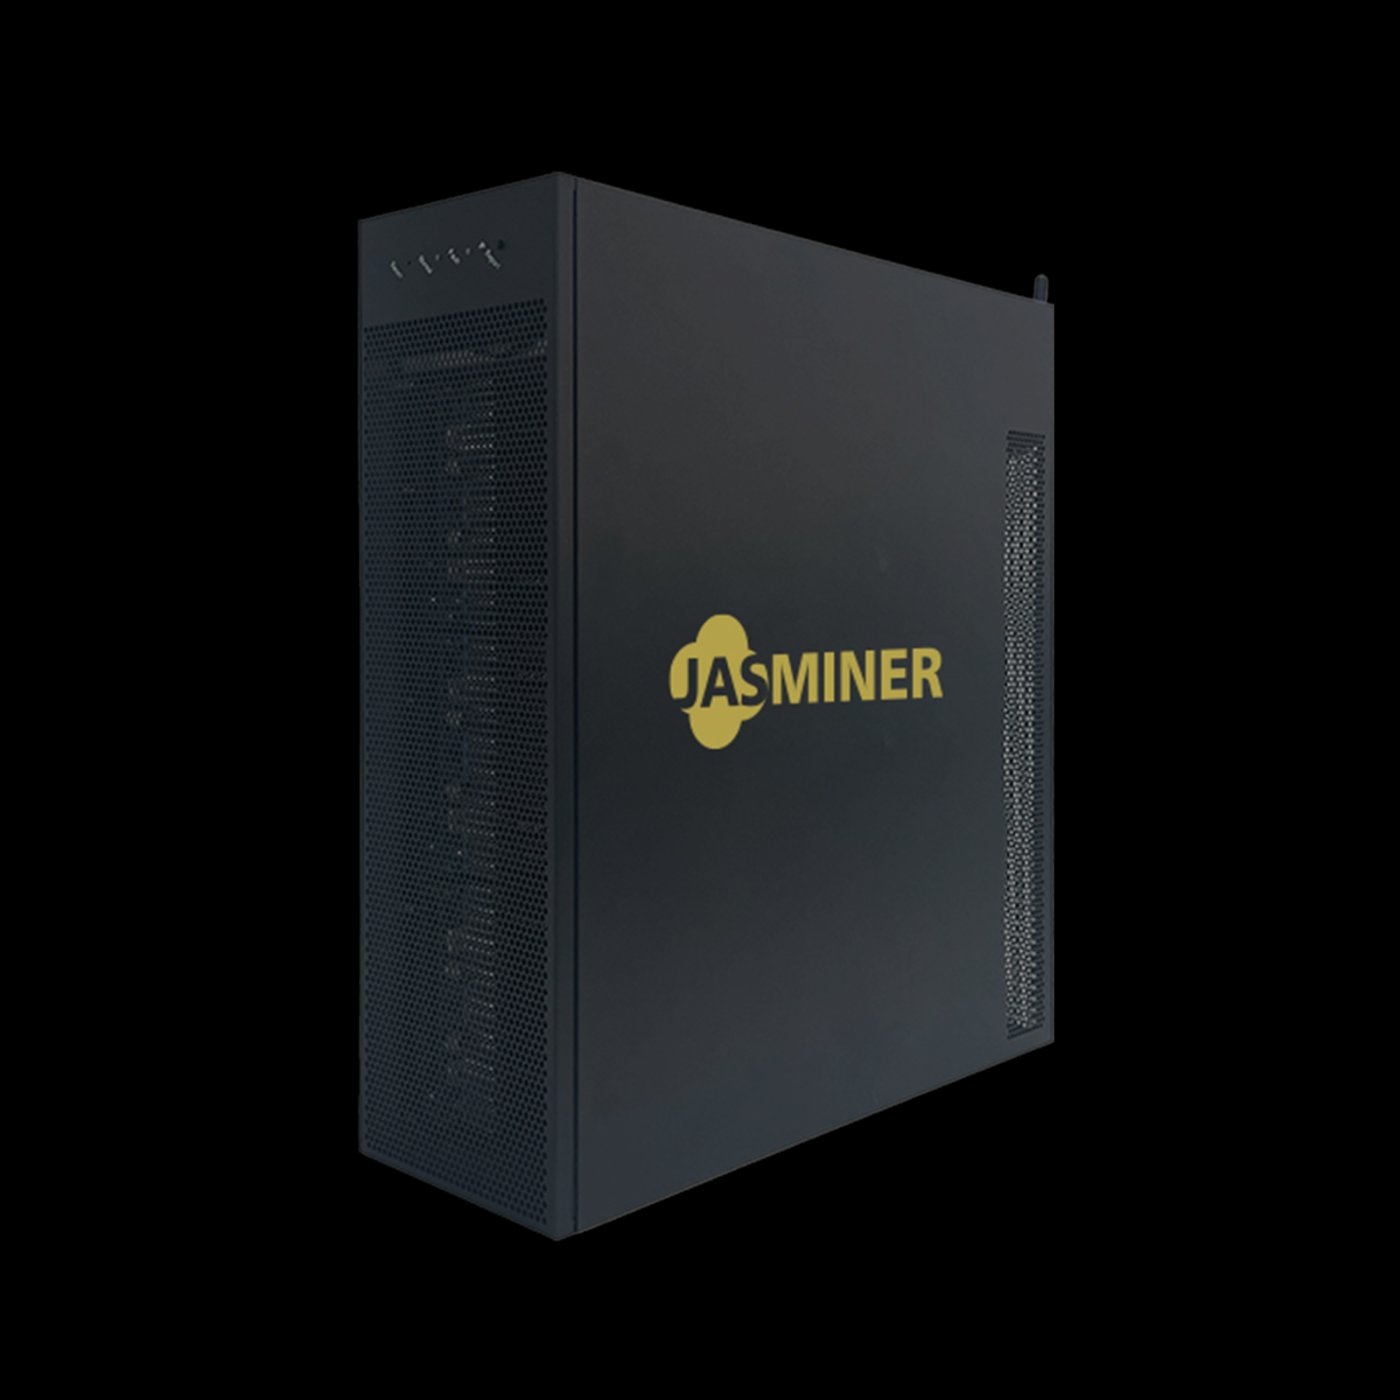
The JASMINER X16-Q Pro stands out as a powerhouse in ETH mining, delivering enterprise-level performance with unmatched energy efficiency. With a staggering 2050MH/s (±10%) hash rate and an industry-leading 0.25J/MH power efficiency, this miner is designed for both large-scale mining farms and dedicated home setups.
One of its most notable features is its dual-mounting capability, allowing for flexible installation in various environments—whether rack-mounted in a data center or suspended in a home mining rig. Proper installation not only ensures optimal cooling and performance but also extends the lifespan of your hardware.
In this guide, we’ll explore best practices for installing the JASMINER X16-Q Pro, covering both rack-mount and hanging configurations, thermal management considerations, and setup optimizations to maximize your mining returns.
Why Installation Matters for the JASMINER X16-Q Pro
Before diving into installation specifics, it’s crucial to understand why proper setup is essential for this high-performance miner:
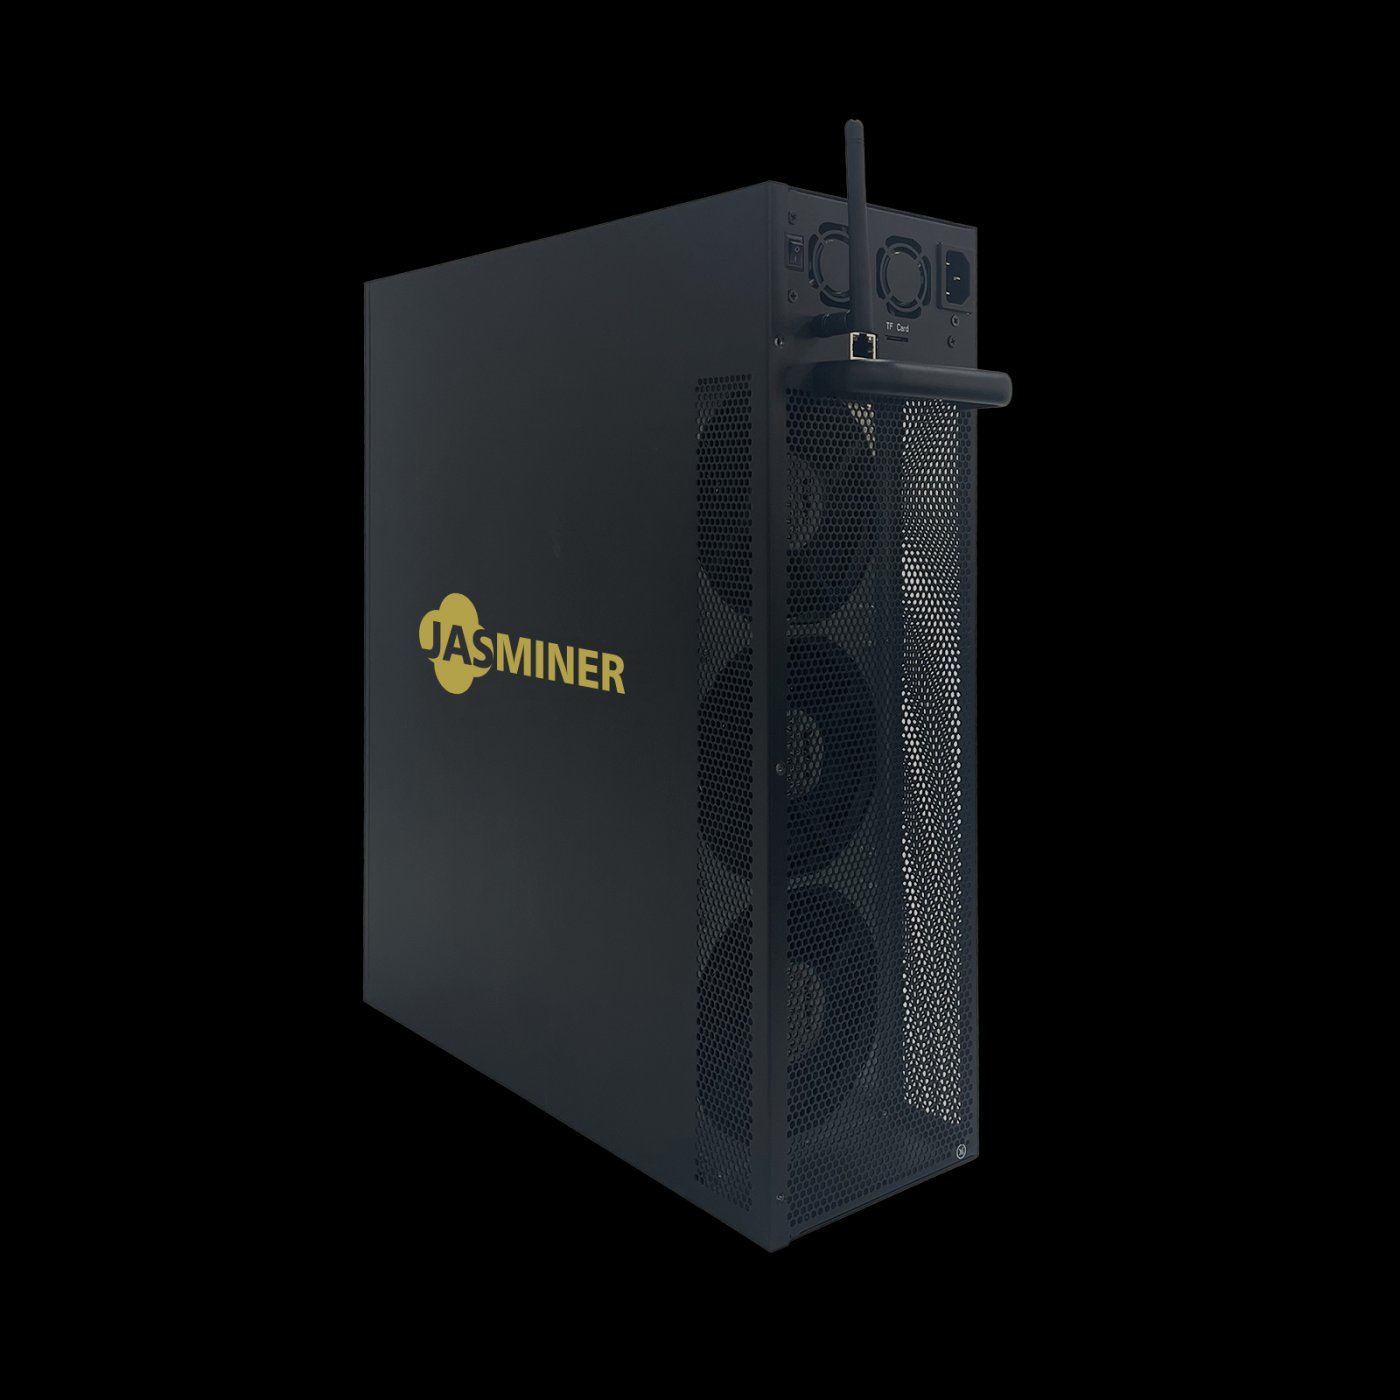
- Thermal Efficiency – The X16-Q Pro features a triple-fan cooling system designed to maintain stability even under heavy loads. Poor airflow due to incorrect mounting can lead to overheating and throttled performance.
- Noise Reduction – Operating at ≤40dB, this miner is relatively quiet, but improper placement (e.g., against a wall or in an enclosed space) can amplify noise and disrupt cooling.
- Longevity & Reliability – Dust accumulation, vibration, and poor ventilation can degrade components over time. A well-planned installation minimizes these risks.
- Space Optimization – The 3U server form factor (445mm × 132.5mm × 443mm) allows for dense deployments, but strategic positioning ensures efficient use of rack space or hanging setups.
Now, let’s break down the two primary installation methods.
Option 1: Rack-Mount Installation
Recommended Setup for Mining Farms & Data Centers
The JASMINER X16-Q Pro is built for standard 19-inch server racks, making it ideal for professional mining operations. Here’s how to optimize rack installation:
Step 1: Verify Rack Compatibility
- Ensure your rack has sufficient depth (at least 600mm) to accommodate the miner without obstructing airflow.
- Use sturdy rails (included or purchased separately) rated for at least 20kg to support the miner’s weight.
Step 2: Positioning for Optimal Airflow
- Hot aisle/cold aisle layout: Place the miner so that its intake fans face the cold aisle (cool air source) and exhaust vents expel heat efficiently.
- Leave 1U of clearance above and below the miner to prevent heat recirculation.
- If stacking multiple units, consider alternating front/back orientations to balance airflow.
Step 3: Secure the Miner Properly
- Slide the miner into the rack and fasten all screws tightly to prevent vibrations.
- Avoid over-tightening, which can warp the chassis and affect cooling.
Step 4: Cable Management
- Use braided cables or Velcro straps to organize power and Ethernet connections.
- Keep cables away from fan intakes to avoid obstruction.
Rack-Mounting Benefits:
✔ High-density deployment – Ideal for scaling operations. ✔ Easier maintenance – Units are accessible for cleaning and troubleshooting. ✔ Better cooling control – Works seamlessly with HVAC systems in data centers.
Option 2: Hanging Installation
Best for Home Miners & Space-Constrained Setups
For those without a server rack, the JASMINER X16-Q Pro’s hanging lugs allow for wall or ceiling mounting. This method is popular among home miners looking to save floor space.
Step 1: Choose a Suitable Location
- Avoid enclosed spaces (closets, cabinets) unless they have active ventilation.
- Maintain at least 30cm clearance from walls/ceilings to allow proper airflow.
- Use a stud finder if mounting on drywall—the miner weighs ~12kg and needs solid anchoring.
Step 2: Install Mounting Brackets
- Heavy-duty L-brackets or unistrut channels work best.
- Ensure brackets are level before securing them with lag bolts (M6 or larger).
Step 3: Hang the Miner Securely
- Attach steel chains or reinforced straps to the miner’s lugs.
- Double-check that all connections are tight to prevent swaying or accidental drops.
Step 4: Optimize Airflow in Hanging Configurations
- Point exhaust fans downward to let heat dissipate naturally.
- Add a small desk fan nearby if ambient temperatures exceed 30°C.
Hanging Installation Benefits:
✔ Saves floor space – Perfect for garages, basements, or small rooms. ✔ Reduces dust intake – Elevated placement keeps it away from ground debris. ✔ Minimal vibration transfer – Less noise compared to rack setups.

Post-Installation Best Practices
1. Thermal Monitoring & Maintenance
- Regularly check internal temps via the miner’s dashboard.
- Clean dust filters (if used) every 2-3 weeks in dusty environments.
2. Power & Network Considerations
- Use a dedicated 15A circuit per miner to avoid tripping breakers.
- For WiFi setups, ensure a strong 5GHz signal to prevent connectivity drops.
3. Noise Reduction Tips
- Rubber dampeners under rack feet reduce vibration noise.
- Acoustic foam panels help absorb sound in home setups.
Conclusion
The JASMINER X16-Q Pro is a high-efficiency mining beast, and proper installation ensures it runs at peak performance for years. Whether you choose rack-mounting for scalability or hanging for space savings, following these tips will maximize your ROI while keeping noise, heat, and maintenance in check.
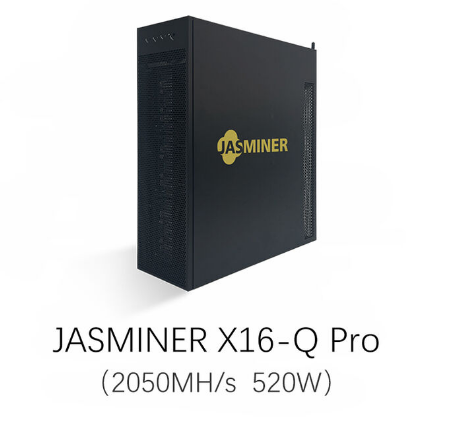
By optimizing airflow, securing the miner properly, and monitoring environmental factors, you’ll get the most out of its 2050MH/s hash rate and 0.25J/MH efficiency. Happy mining!
Pro Tip: For large-scale deployments, consider testing different layouts with a single unit first to fine-tune airflow before scaling up.
Would you like recommendations on compatible PSUs or cooling accessories? Let us know in the comments!