JASMINER X16-Q setup guide for beginners
As a seasoned cryptocurrency enthusiast, I’ve had the privilege of witnessing the rapid evolution of mining technology. From the early days of GPU-based rigs to the current era of specialized ASIC miners, the landscape has transformed dramatically. In this guide, I’ll share my experience with the JASMINER X16-Q, a state-of-the-art Ethereum and Ethereum Classic (ETHash/ETC) miner that has truly raised the bar in terms of performance, efficiency, and reliability.
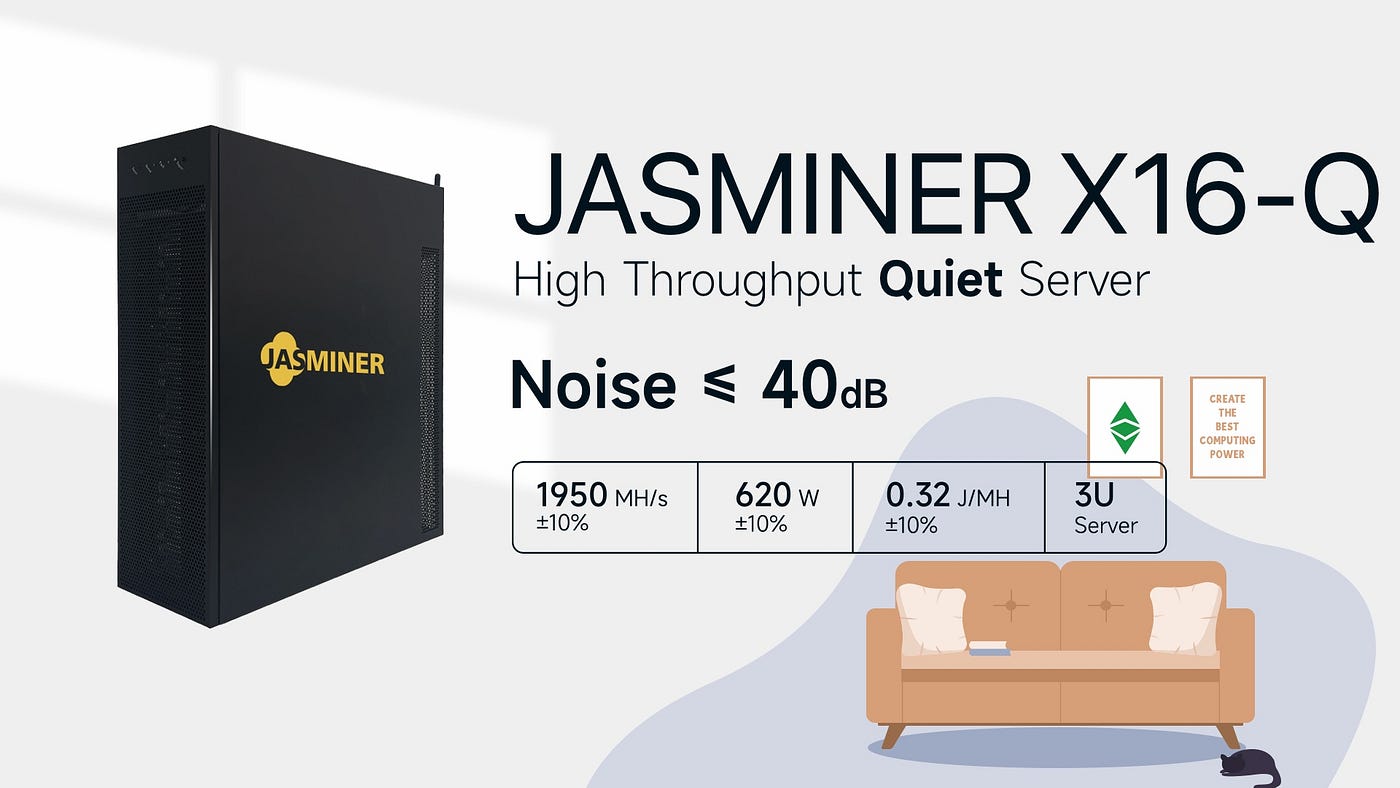
The JASMINER X16-Q is a remarkable piece of engineering, and I’m excited to walk you through the process of setting it up and unleashing its full potential. This miner represents a significant advancement in ETHash/ETC mining, boasting an impressive hashrate of 1950MH/s (±10%) while maintaining an industry-leading power efficiency ratio of just 0.32J/MH. In other words, this miner packs a powerful punch while keeping your energy costs in check.
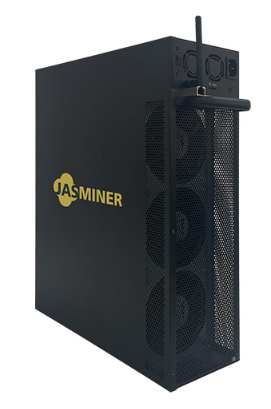
One of the standout features of the X16-Q is its innovative thermal management system. Utilizing a precision-engineered air-cooling solution with three strategically placed fans, this miner maintains optimal operating temperatures between 0-40°C while keeping noise levels at or below 40dB. This is a remarkable achievement, as most miners in this class tend to be noisy and heat-intensive. The X16-Q, however, seamlessly blends performance and acoustic comfort, making it suitable for deployment in a wide range of environments, from professional mining facilities to your own home.
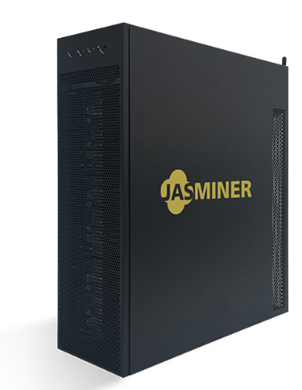
The professional-grade architecture of the X16-Q is another defining characteristic. Designed in a standard 3U server form factor, this miner offers versatile deployment options, with its robust construction and enterprise-grade components ensuring consistent performance and operational stability. The integrated 8GB memory further enhances the miner’s readiness for current and future mining requirements, future-proofing your investment.
In terms of connectivity, the X16-Q offers both high-speed Ethernet (10/100/1000M) and WiFi options, allowing for flexible integration into your existing network infrastructure. This level of flexibility is particularly valuable for those with diverse mining setups or the need to place miners in remote locations.
Now, let’s dive into the setup process and get your JASMINER X16-Q up and running. I’ll guide you through the essential steps, ensuring a smooth and hassle-free experience.
Unpacking and Inspection
When your JASMINER X16-Q arrives, carefully unpack the device and inspect it for any signs of damage during shipping. Ensure that all the components, including the miner itself, power supply, and any accessories, are present and in good condition. If you notice any issues, immediately contact the manufacturer or your retailer for assistance.
Site Preparation
Before setting up the miner, choose a suitable location that meets the following criteria:
– Adequate ventilation and cooling: The X16-Q requires a well-ventilated space to maintain optimal operating temperatures. Ensure that the area has sufficient airflow and that the miner is not placed in direct sunlight or near heat sources.
– Stable power supply: The X16-Q accepts a wide input voltage range (110-240V), but it’s crucial to have a reliable and stable power source to ensure consistent performance.
– Secure and level surface: Place the miner on a flat, sturdy, and level surface to prevent it from tipping or wobbling during operation.
– Accessible network connection: Depending on your setup, you may want to place the miner near your router or other networking equipment to facilitate easy Ethernet or WiFi connectivity.
Connecting the Hardware
1. Power Connection:
a. Locate the power input port on the rear of the X16-Q.
b. Connect the provided power supply cable to the miner’s power input port.
c. Plug the power supply into a suitable electrical outlet.
2. Network Connection:
a. If you’re using an Ethernet connection, locate the Ethernet port on the rear of the miner and connect it to your network router or switch using an Ethernet cable.
b. If you’re using a WiFi connection, ensure that you have the necessary WiFi credentials (SSID and password) readily available.
3. Mounting:
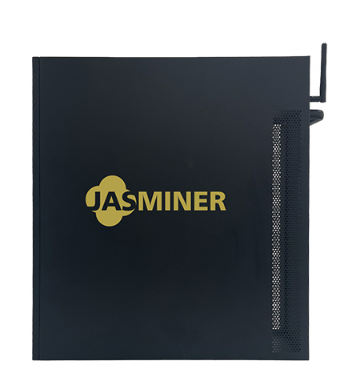
a. The X16-Q features dual-sided hanging lugs, allowing for flexible installation options.
b. Depending on your setup, you can either place the miner on a flat surface or mount it on a rack or wall using the provided hanging lugs.
Powering On and Initial Configuration
1. Power on the miner by pressing the power button on the rear of the device.
2. The miner will go through its initial boot sequence, and you should see the LED indicators on the front panel illuminating.
3. If you’re using an Ethernet connection, the miner should automatically obtain an IP address from your network. You can use a network scanning tool to identify the miner’s IP address on your local network.
4. If you’re using a WiFi connection, you’ll need to configure the miner’s network settings:
a. Access the miner’s web interface by entering its IP address (or hostname, if you’ve configured one) in your web browser.
b. Navigate to the network settings section and input your WiFi credentials.
c. Save the changes, and the miner should connect to your wireless network.
Monitoring and Troubleshooting
1. Web Interface:
a. Access the miner’s web interface by entering its IP address (or hostname) in your web browser.
b. The web interface provides a comprehensive overview of the miner’s performance, including hashrate, temperature, fan speeds, and more.
c. Use the web interface to monitor the miner’s status and make any necessary adjustments.
2. Troubleshooting:
a. If you encounter any issues during the setup process or while the miner is in operation, refer to the manufacturer’s troubleshooting guide or contact their customer support team for assistance.
b. Common issues may include network connectivity problems, temperature or fan-related errors, or unexpected hashrate fluctuations. The manufacturer’s support resources should help you quickly identify and resolve any problems.
Joining a Mining Pool
1. Select a reputable mining pool that supports ETHash/ETC mining.
2. Register an account with the pool and create a new worker for your JASMINER X16-Q.
3. Obtain the necessary pool connection details, including the pool URL, your worker name, and password.
4. Configure the miner’s pool settings in the web interface, entering the provided information.
5. Save the changes, and the miner should start submitting shares to the mining pool.
Optimizing Performance
1. Monitor the miner’s performance through the web interface and make adjustments as needed.
2. Consider fine-tuning the miner’s settings, such as overclock parameters or fan speed, to achieve the optimal balance of hashrate and power efficiency.
3. Stay up-to-date with the manufacturer’s firmware updates, as they may introduce performance enhancements or address any known issues.
Maintenance and Care
1. Regularly clean the miner’s air intake and exhaust vents to ensure proper airflow and cooling.
2. Inspect the power cables and network connections for any signs of wear or damage, and replace them if necessary.
3. Monitor the miner’s operating temperatures and address any concerns that may arise, such as increased fan noise or unexpected temperature spikes.
4. Store the miner in a clean, dry, and well-ventilated environment when not in use.
Conclusion
The JASMINER X16-Q is a remarkable achievement in the world of ETHash/ETC mining. Its unparalleled performance, industry-leading efficiency, and enterprise-grade reliability make it a standout choice for both professional mining operations and sophisticated home setups. By following the comprehensive setup guide outlined in this article, you’ll be well on your way to unlocking the full potential of this cutting-edge miner and contributing to the growth of the cryptocurrency ecosystem.
|
Please feel free to contact me to assist you in resolving your issues: E-mail: Minerfixessales@gmail.com WhatsApp/WeChat:+86 15928044684
The services we offer include:
a.New and Used Miners b.Miner Accessories c.Miner Repair Courses d.Global Repair Stations e.Overclocking and Underclocking Services |

|